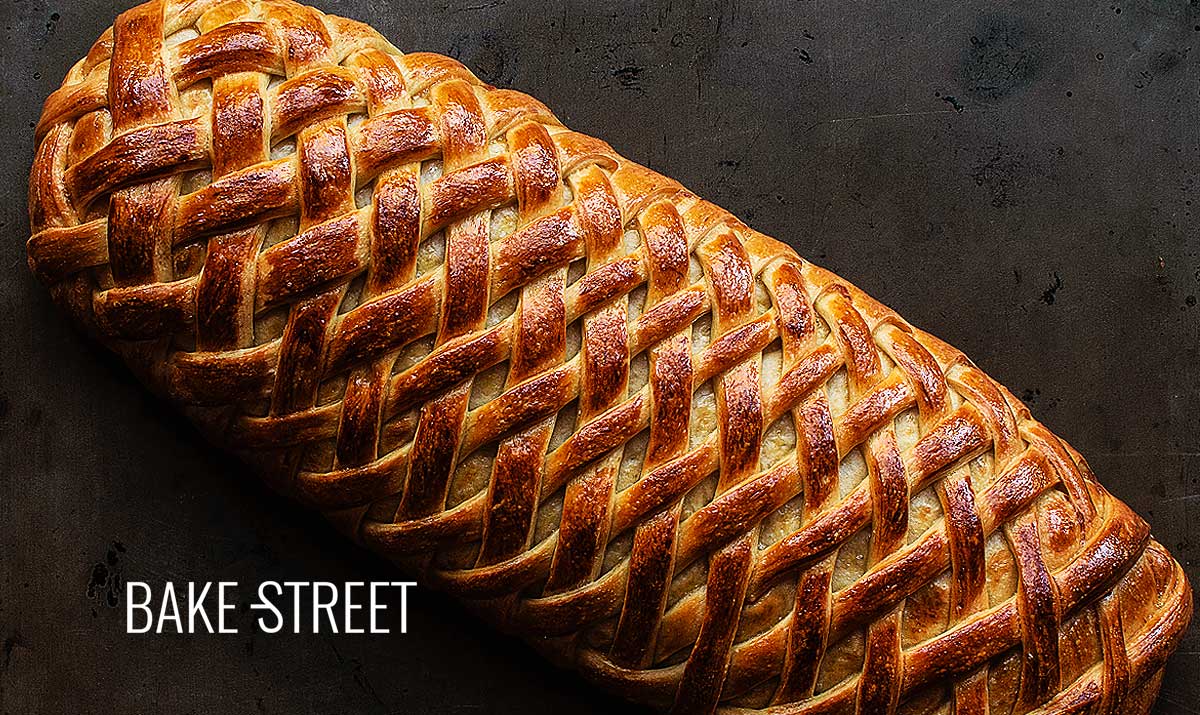
Chain-mail bread with cream and apple
You’ll think what a name I’ve given to today’s recipe… Chain-mail bread with cream and apple. Yes, I know, it’s a bit peculiar, but everything that is related to medieval times, castles, Vikings, kings and even everything that encompasses the epic fantasy with elves, orcs, dwarfs… I love it. That’s why when I have time, that much sought-after jewel, I play WoW.
I turned the name around a lot, in fact I changed it several times, until it came to my head talking to my “half lemon” and I said – well, this is going to be!
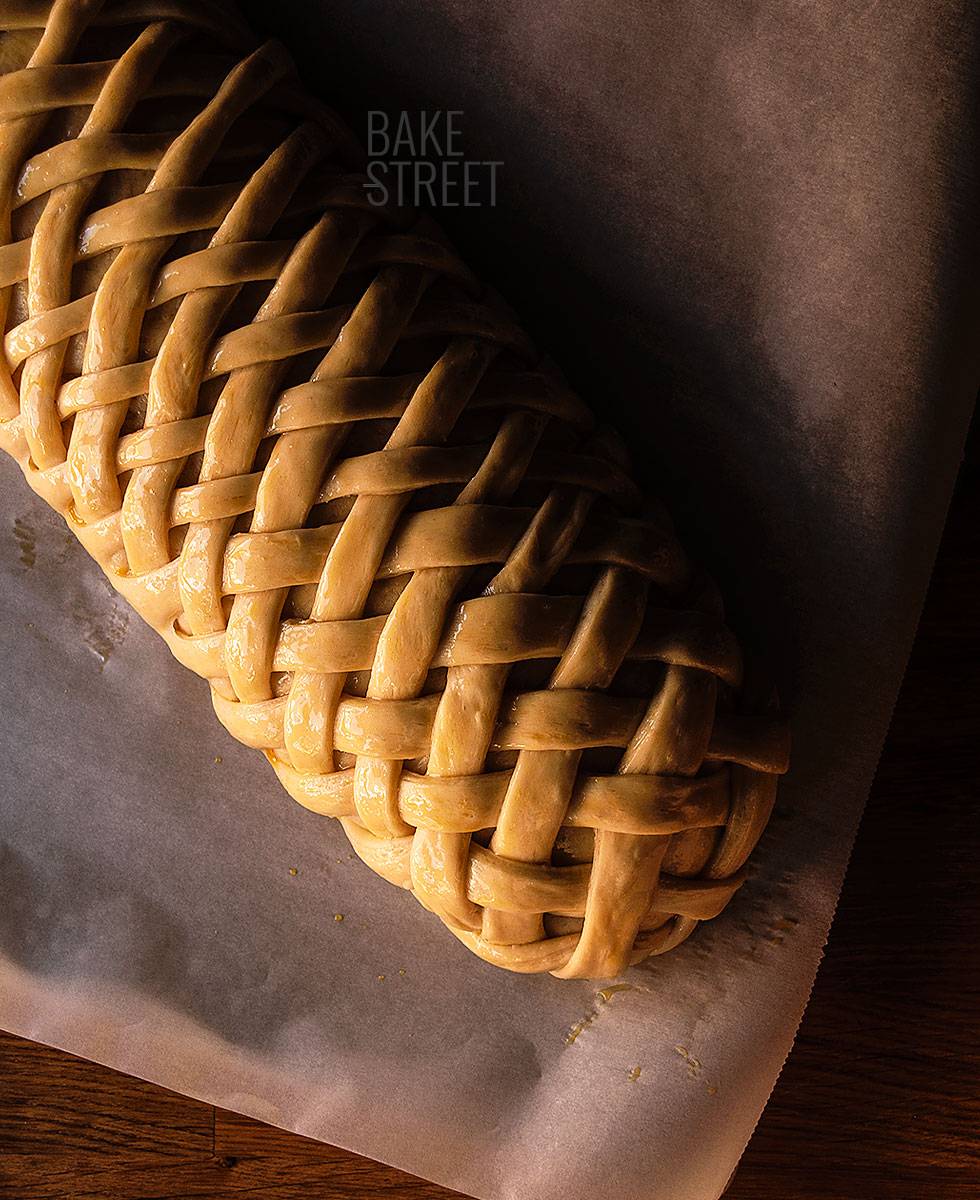
I’ve been obsessed with braided breads for a while now, they look like genuine works of art to me. It is the union of two wonderful manual works; bakery and basketwork.
That’s why looking for more about them I found this shaping, so beautiful!, in this Russian blog. I knew right away I had to do it. To tell you the truth, I was a little afraid of the upper braid. I had already made similar braids in tarts, but this seemed like a challenge to me because there is little scope for correcting possible mistakes. Still, I did it.
What kind of fillings are suitable for this bread?
When we make stuffed breads we must take into account how long we want it to last. If we use very wet fillings we will make it much shorter. Not only will it spoil your bread as the days go by, but it can also cause mold to grow inside. It’s something you should always consider.
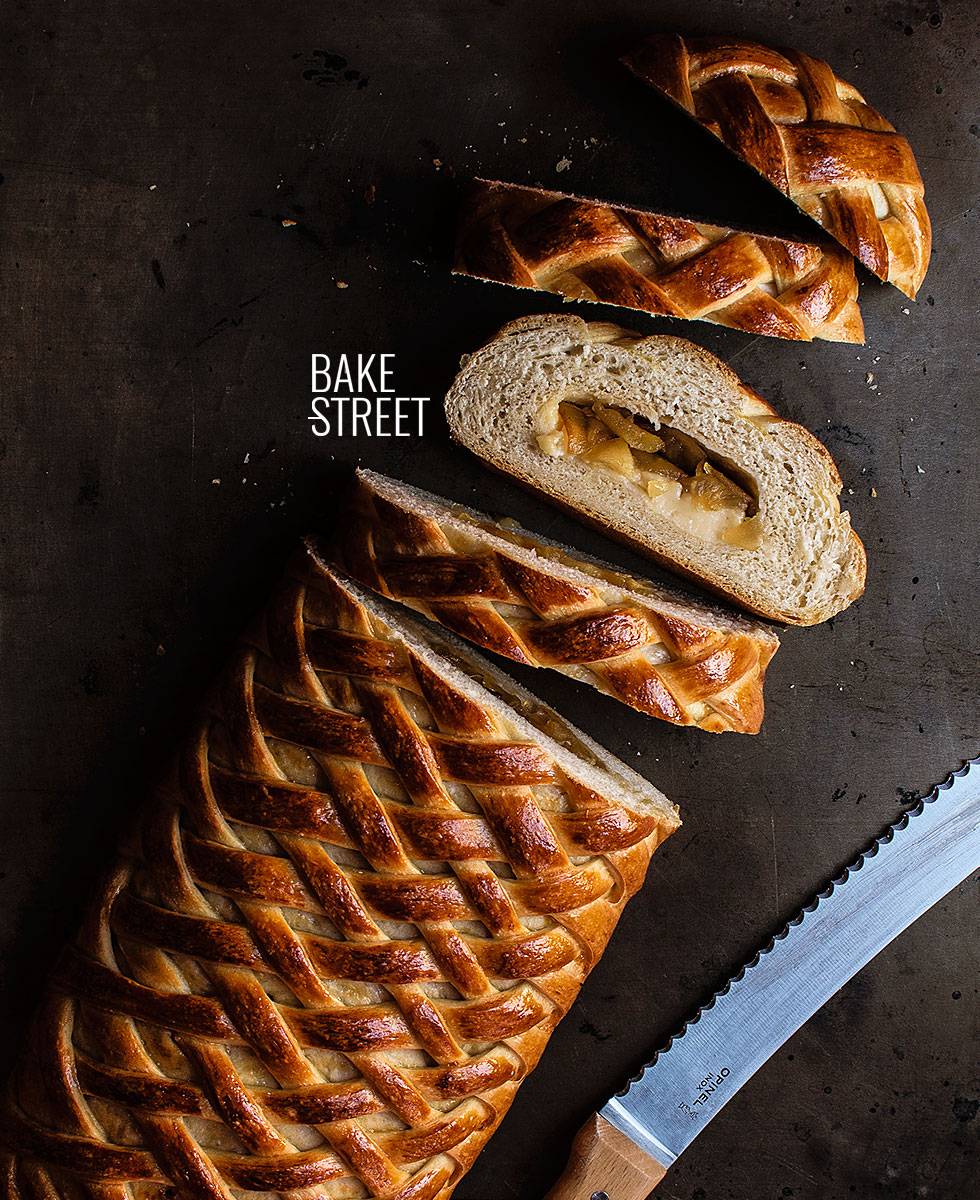
For my part, I’m very fond of apple with pastry cream, that’s why I thought that filling would be perfect.
In order for the apple to withstand the passage of time, we must remove practically all the water it contains. What we will do is to caramelize it, with a touch of butter, which will intensely enhance its flavor and also favor an optimal filling.
To make the bread we must shape two pieces.
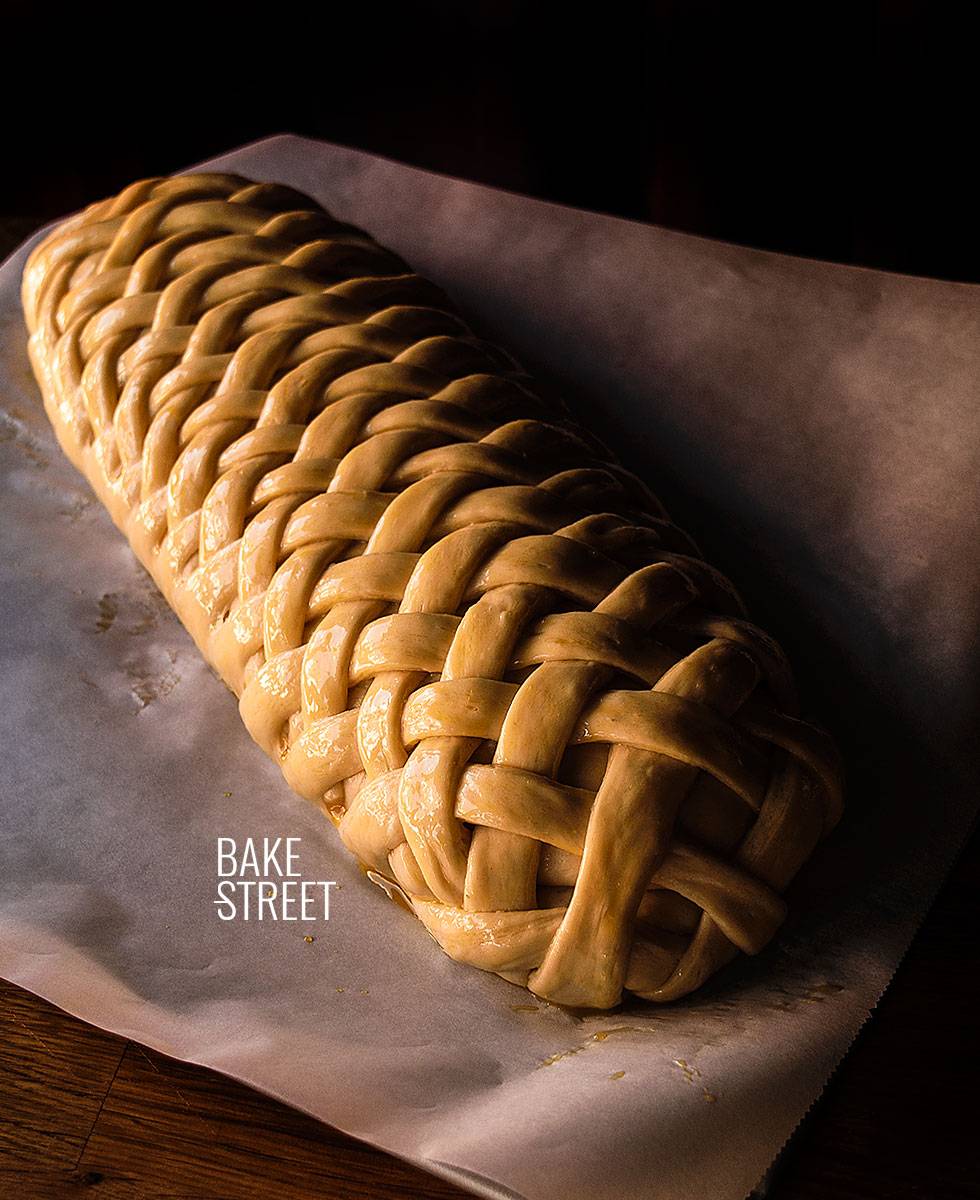
We will make this bread in two parts, one of them will be the one that we fill and with the other form the braid on the previous piece. Do not be afraid when the time comes to braid it, take your time before proceeding to do so. But without overdoing it too much…
It is likely that as we shape, some strips will be slightly longer. In that case you will only have to cut the small surplus and continue with the braiding.
Let the bread rise for the right amount of time to prevent it from exploting and spoiling the braided. After you’ve come this far, be patient! You will know when it has risen enough because it will increase considerably in size.
Ingredients
FOR THE DOUGH:
- 21,1 oz (600 g) T45 flour
- 10,5 oz (300 g) whole milk at room temperature
- 0,1 oz (3 g) dry yeast
- 1 large egg (1,9 oz / 55 g)
- 3,35 oz (95 g) unsalted butter at room temperature
- 0,7 oz (20 g) honey
- 1 tsp vanilla extract
- 0,35 oz (10 g) salt
FOR PASTRY CREAM:
- 8,8 oz (250 g) whole milk
- 1 tsp vanilla extract or a vanilla pod open lengthwise
- 2 large egg yolks
- 2,1 oz (60 g) sugar
- 1 y 1/2 Tbsp wheat flour
- 1 y 1/2 Tbsp corn flour
FOR CARAMELIZED APPLES:
- 2 large Fuji apples
- 3,2 oz (90 g) sugar
- 1,2 oz (35 g) butter
- few drops of lemon juice
FOR BRUSH:
- 1 large egg yolk
- 1 y 1/2 Tbsp whole milk
- pinch of salt
Instructions
Make the pastry cream.
- In a saucepan pour the milk together with the vanilla. Place it in a medium heat and leave it until it boils gently.
- In a bowl, beat the yolks together with the sugar, cornstarch and flour previously sifted. Mix well with the help of a whisk.
- Once the milk is boiling, pour some milk (with the help of a strainer to keep cream or vanilla seeds from seeping in) into the egg yolk mixture.
- Beat well with the whisk to warm the yolks and avoid lumps.
- Add the rest of the milk and mix again.
- Pour the mixture into the saucepan and place it in a medium heat to bring it back to the boil, stirring constantly. You will notice that the texture becomes thicker.
- Once it boils, let it cook for another 1 minute, always stirring.
- Remove from the heat and pour over a tray/tupper, cover with transparent film to prevent a layer of skin that looks like "crust" on top, and let it cool completely.
- Once ready, set aside at room temperature until ready for use.
Make the caramelized apples.
- Peel and remove apples core. Cut into quarters and cut into thinly slices.
- Transfer them into a big bowl and squeeze fresh lemon juice over them. Mix with your hands.
- Place a large skillet over medium heat and add the butter. Let it melt.
- Add sliced apples along with sugar. Cook over medium heat for 15-18 minutes stirring from time to time.
- The apples should loosen the water and reduce slightly more than half their juice. A syrup should remain around them and its texture should be translucent.
- Remove from heat and let cool completely.
Make the dough.
- In a bowl add the flour together with milk, vanilla, egg and dry yeast.
- Mix the ingredients in the bowl until a homogeneous dough is obtained.
- Add the honey and knead until it is fully integrated. Add salt and mix again.
- Transfer to a work surface and start kneading. We will have to obtain a smooth, silky and developed dough.
- Once we have a medium-developed gluten, add the butter. The ideal is to do it little by little, waiting for the dough to absorb it and facilitate the kneading process.
- Knead for about 15-20 minutes to develop the gluten well and obtain an elastic, soft and very well developed dough. The dough, always after a rest, must pass the membrane test. Here's how to do it.
- If we do rest we must always cover the dough to prevent it from drying.
Make bulk fermentation.
- Make a ball with the dough, grease a bowl/tupper lightly with oil and introduce the dough inside.
- Cover with film and let rise until it doubles its volume. In my case it was 2 hours at 76ºF.
Divide and preshape the dough.
- Degass the dough gently and divide it into two equal pieces. Remember that if there are any pieces of dough leftover, we will always place them in the center of the dough before preshaping.
- Preshape, make a ball and cover with a cloth. Let stand for 20 minutes.
Shape the bread.
- Take one of the dough pieces and stretch with a roller. We will shape a rectangle of approximately 14 x 6,7 inches (35 x 17 cm).
- Place the caramelized apples in the middle of a row.
- Over them, and with the help of a pastry bag, place the pastry cream covering them completely.
- Close the piece by bringing the ends to the center and making sure to seal the joint and the ends very well.
- Place the sealed side face down on a tray lined with baking paper. Cover with film and reserve while shaping the other piece.
- Stretch the second piece with a roller to form a rectangle of approximately 17 x 12 inches (42 x 30 cm).
- Place the filled piece that we had reserved in the center of this rectangle.
- Using a sharp cutter or knife, cut strips on both sides at a 45° angle. Strips should be 0,3 inches (7-8 mm) wide.
- Cut the excess dough on the top off, leaving only a tongue that will cover the initial part of the bread.
- Braid the bread, this better see it in the video so that you know how to do it.
- Once we have the bread shaped, carefully transfer it to the baking tray lined with baking paper.
- Lightly grease the surface of the bread with olive oil, cover it with film and let it rise until it doubles in size. In my case it was 2 hours at 77,7°F.
Bake.
- Preheat oven to 355ºF.
- Brush the bread with whipped yolk with milk and salt, place it in the oven for 40 minutes. Watch the final minutes of baking, if the bread gets very colorful, cover it with a sheet of aluminum foil.
- Remove and allow to cool completely in a rack.
Notes
- If you have not made this type of braiding before, I recommend you to try some cords before shaping this bread.
- It is important to intertwine the strips on both sides, don't forget!
- The filling must be placed inside one of the pieces, otherwise it could come out through the braiding during baking and spoil the exterior appearance.

- Can honey be replaced by sugar? Yeah, no big deal. Just bear in mind that invert sugars speed up the rising process compared to normal sugar.
- The apple must be Fuji? Personally, it is the one I like best, it has a hard meat and with the right point of sweetness. If you prefer you can use another variety as long as it is not Reineta. This one crumbles.
- To know if our bread has finished the cooking time, remember that with a digital thermometer and checking its temperature we will know. It must be around185-195ºF.
- The bread alone is not very sweet, but the combination with the apple and cream makes it perfect. Of course it is in your hands to increase the amount if you prefer.
- Preservation: This bread can be kept in an airtight bag for 4 days. If you prefer, you can freeze it in film wrapped portions.
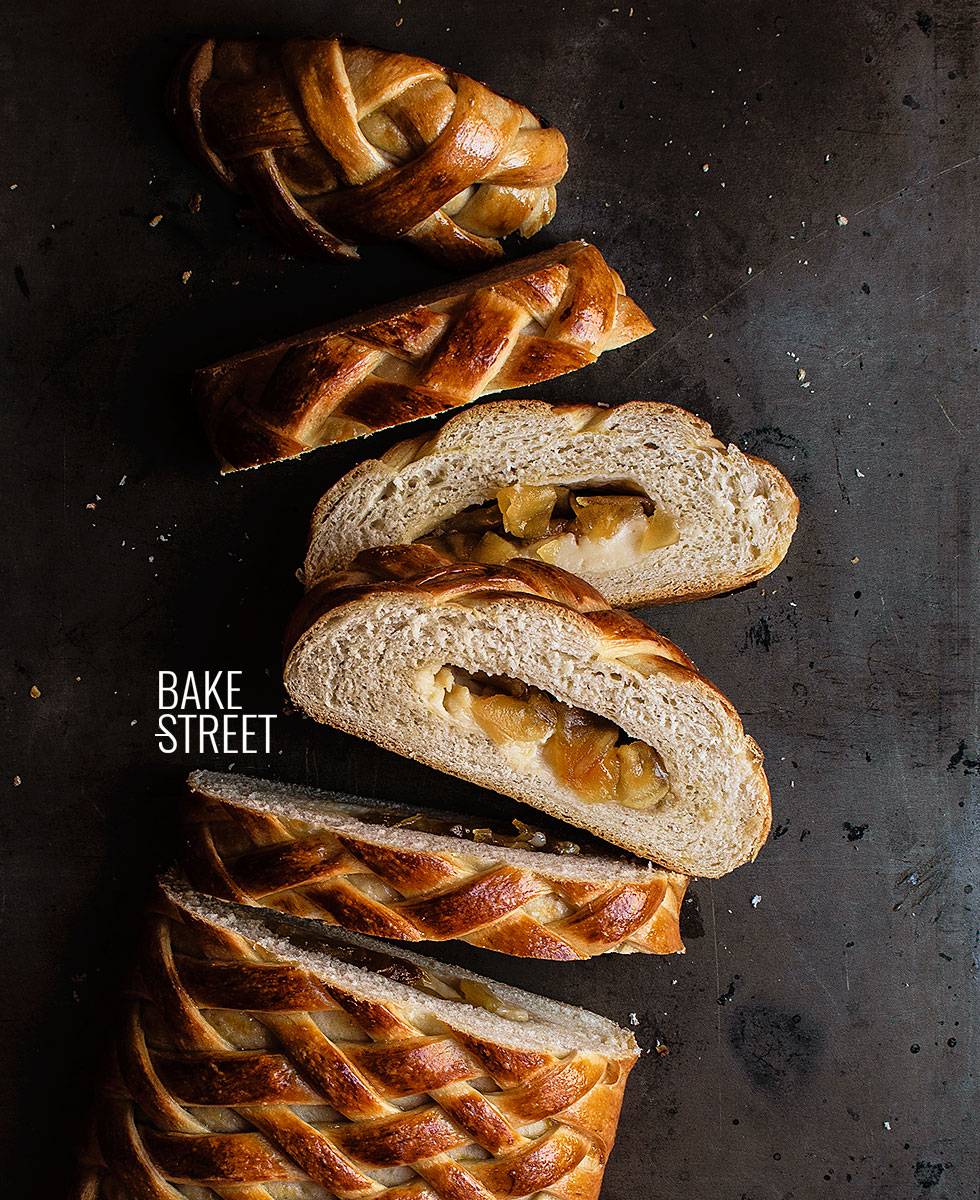
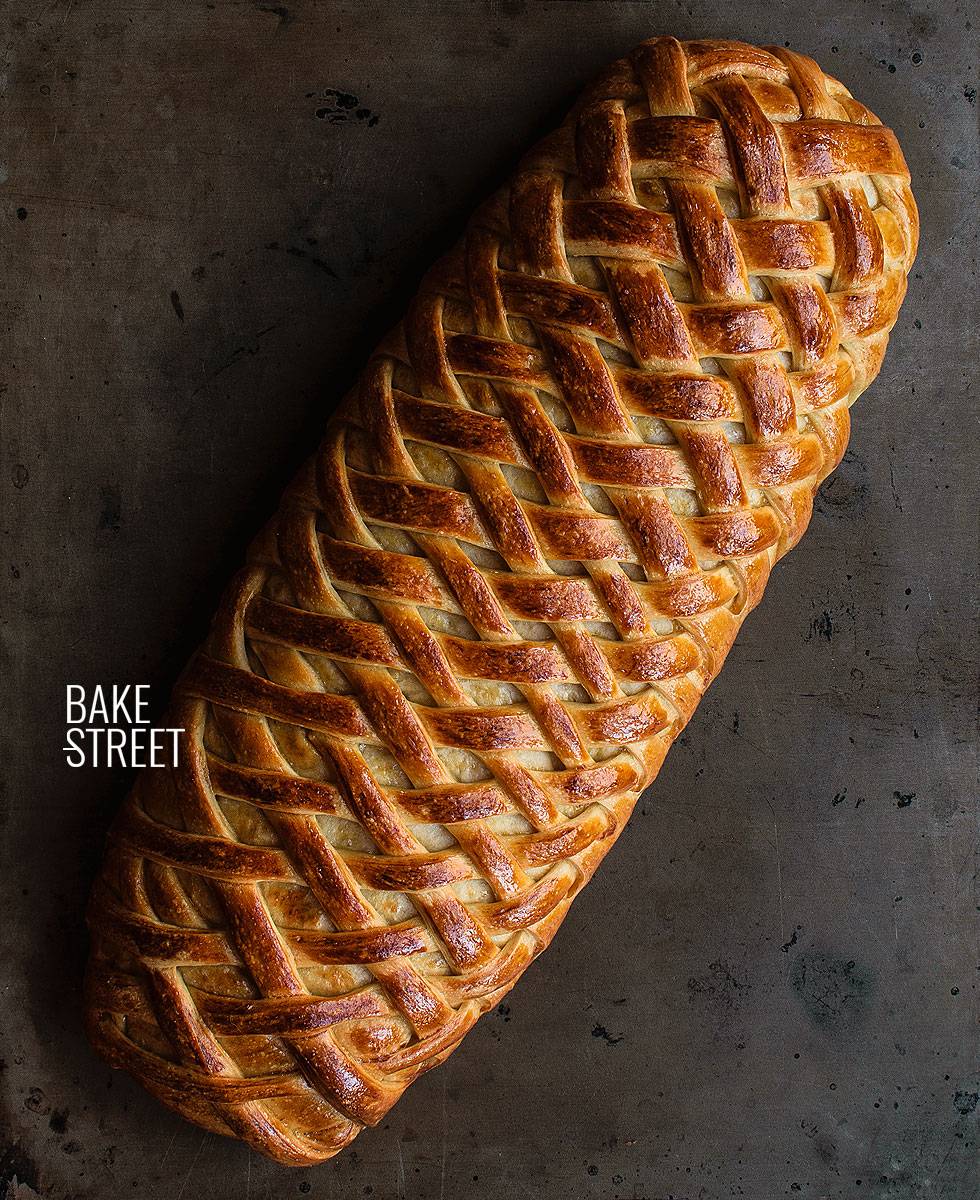
This chain-mail bread with cream and apple has been a lot of fun to make. I really haven't been able to enjoy the whole process any more, but even more so when it comes to tasting it. How good it looks!
As it could not be otherwise, and on Friday, I leave you homework for the weekend :D
Enjoy, relax and I'll see you on Monday!
Big hugs,
Eva
