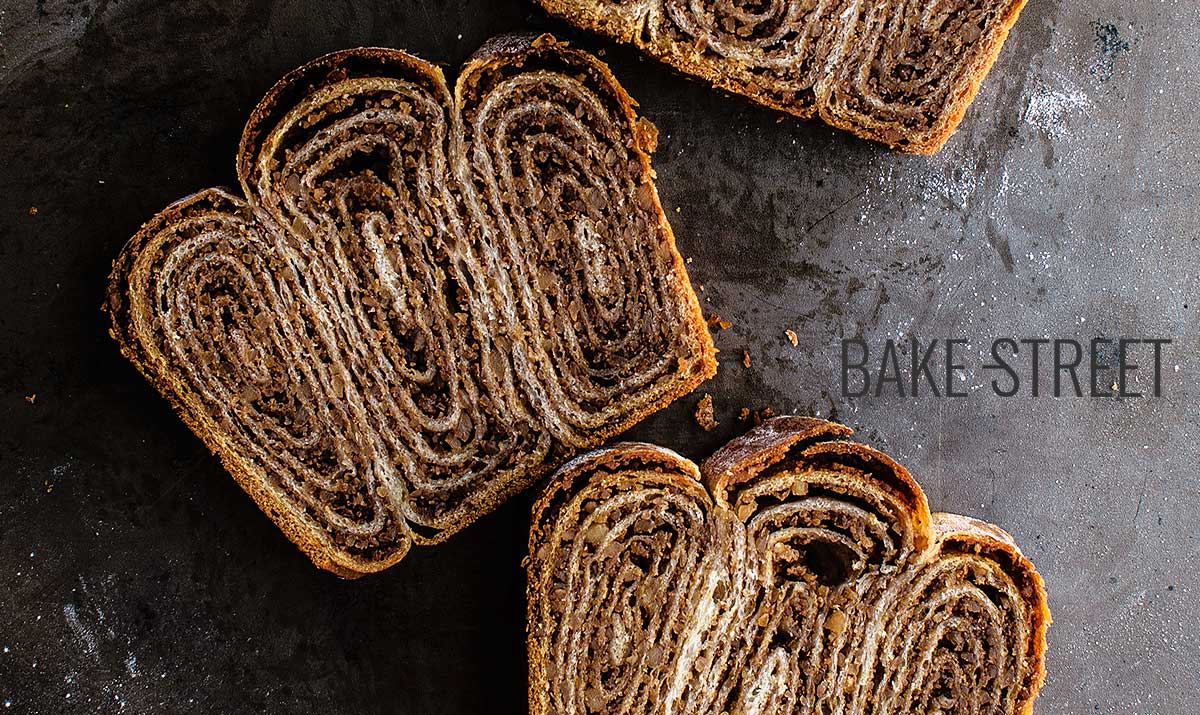
Potica – Povitica {Video recipe}
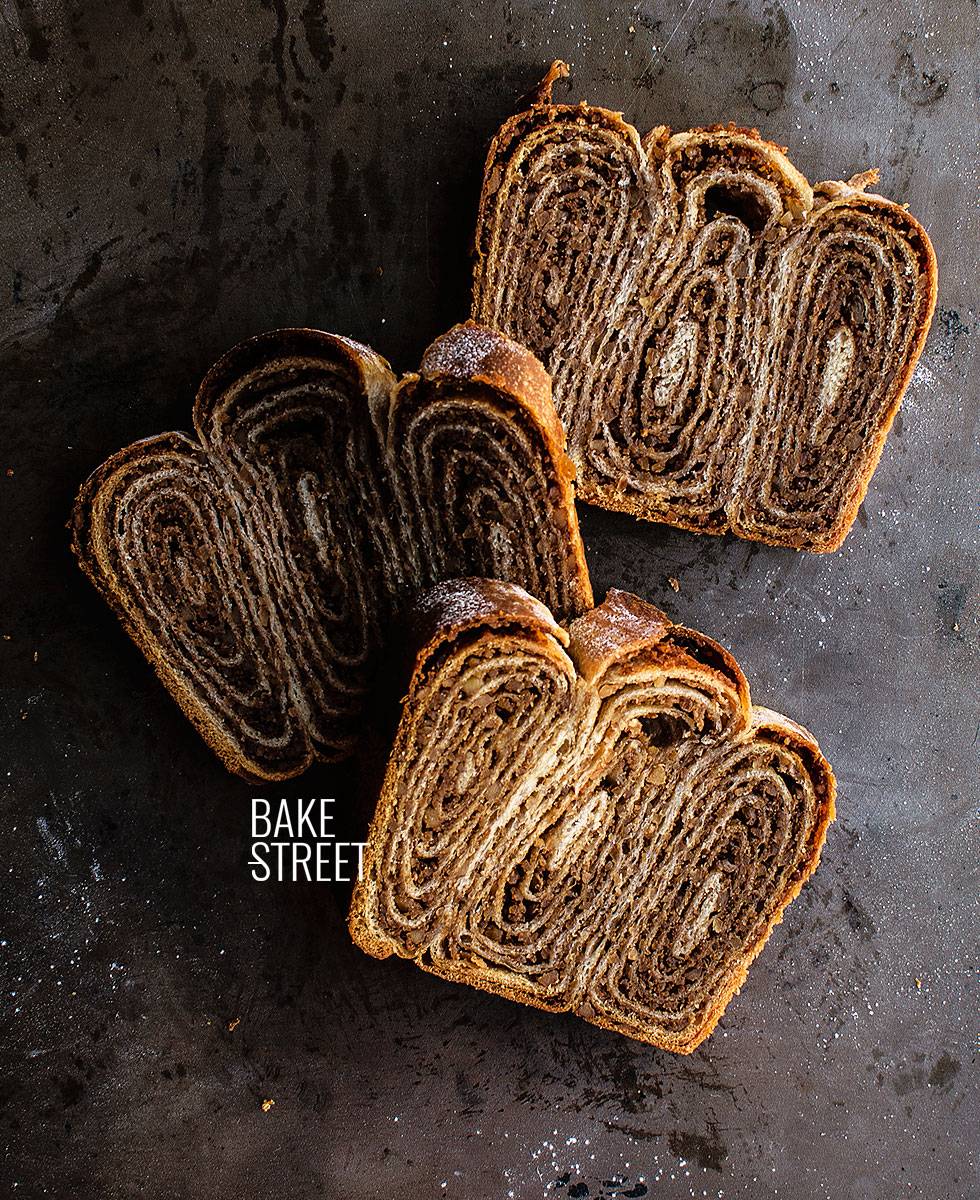
You know that this summer I have been looking for and trying many recipes, another one that stole my heart was the Povitica or Potica. As soon as you see it, the evidence speaks for itself, it is a wonderful elaboration no matter how you look at it.
Going a step further and encouraging you to try it, you will see that it is not only beautiful, but also delicious. This isn’t saying it, this is doing it. You have to try it for sure.
Origin of Povitica or Potica.
This sweet bread, traditionally made with a walnut filling, can be found named in two different ways according to its origin:
- Povitica, gibanica, orahnjača / orehnjača (poh-vee-TEET-sah) in Croatia and Serbia (first mentions in 1575)
- Potica, gubana, guban’ ca (poh-TEET-sah) in Slovenia
We can also find another variant made from poppy seeds called Makowiec of Polish origin. although nowadays you can find countless different fillings such as honey, chocolate, marmalades, coconut, almonds, carob…
An unknown and ancient Slovenian rule says that anyone who can do a walnut potica deserves the title of “good cook”
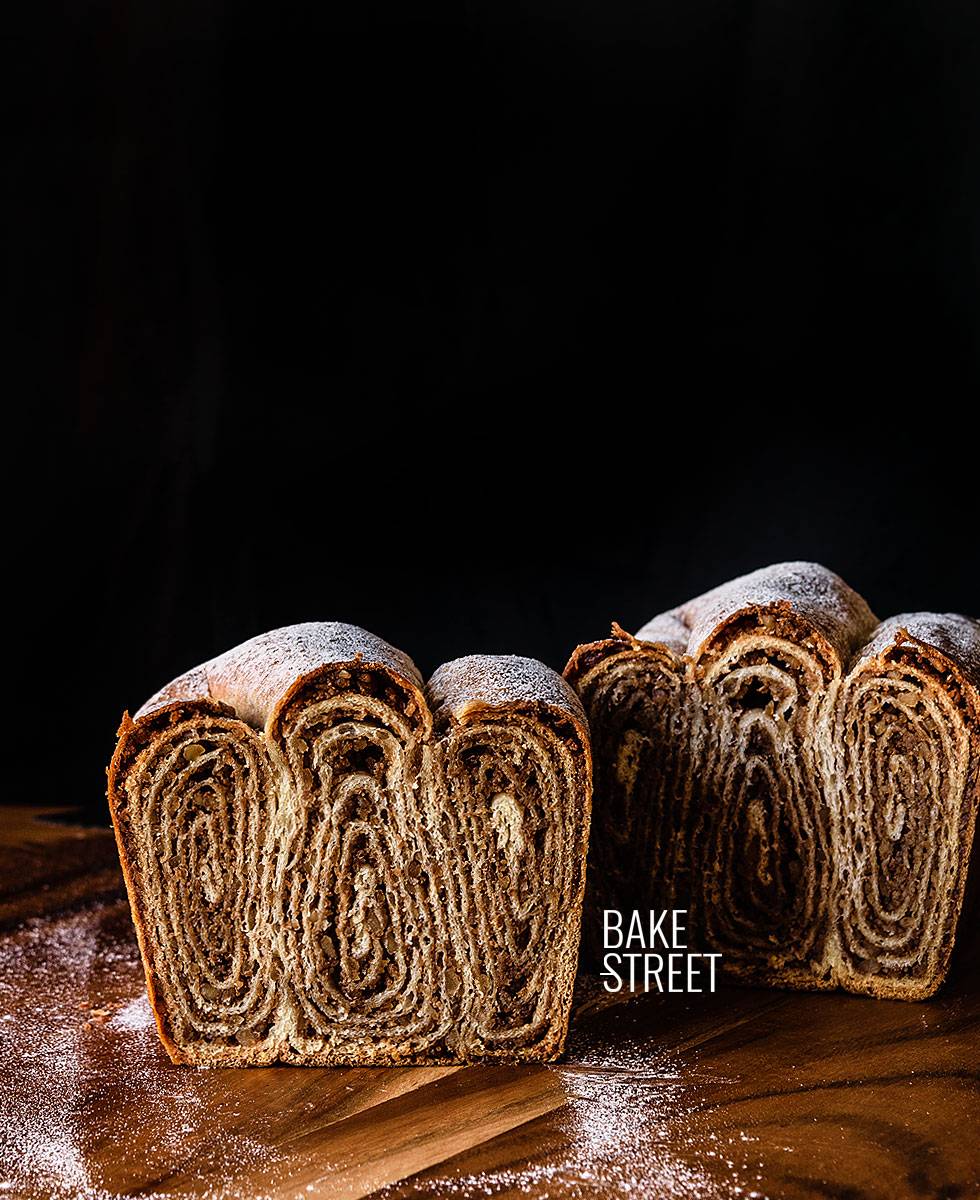
Its name derives from the Slovenian word poviti which means “to envelop”.
The recipe can vary a lot from one home to another, the hands that make it end up giving its magic and personal touch. You can also find salty versions of this elaboration, the most traditional is the tarragon potica, and serve it as an entrée or main dish.
Povitica emerged as a fusion of different influences.
Such as the”Gubanca of Friuli Venezia Giulia”, Pogača and other sweets from Central Europe and the Danube basin. These were, for the most part, typical breads made on holiday, presumably with one of the oldest known forms: a circle with a hole in the middle.
It is believed that potica was created in medieval monasteries. It was prepared in different ways, the two most popular methods were to roll the potica in a circular way or simulating the shell of a snail and baked in a earthenware baking tin. These baking tins have been used for centuries to bake potica and represented an important step in the elaboration of this one.
In the second half of the 19th century there are mentions of potica as Putica in German cookbooks referring to”The Carniolan Pastry“.
The poticas that were baked in rectangular pans, were usually cut into 2-3 equal pieces, closing the ends and were placed inside the pan. This type of potica is usually called Štruklji.
One of the most recognized shops in the elaboration of Povitica
Strawberry Hill Povitica opened its doors in 1984 thanks to Harley, who loved her mother’s povitica. It is one of the most recognized bakeries and pastry shops in the elaboration of this sweet and all of them are handmade. There you can find a multitude of fillings, the most varied, that will leave you speechless.
Ingredients
FOR THE DOUGH:
A pan 10 x 4 x 3 inches (25 x 11 x 7 cm)
- 10 oz (285 g) T45 flour
- 4,25 oz (120 g) whole milk
- 0,5 oz (15 g) water
- 0,05 oz (1,4 g) dry yeast
- 1,75 oz (50 g) sugar
- 1 large egg (2,1 oz - 60 g)
- 0,8 oz (22 g) unsalted butter melted and cooled
- 0,18 oz (5 g) salt
FOR THE FILLING:
- 9,9 oz (280 g) walnuts
- 2 oz (58 g) unsalted butter
- 2,1 oz (60 g) whole milk
- 3,35 oz (95 g) sugar
- 1/2 Tbsp unsweetened cocoa powder
- 0,1 oz (3 g) cinnamon powder
- 1 large egg yolk
- 1/4 tsp vanilla extract
- pinch of salt
FOR BRUSH:
- 0,9 oz (25 g) unsalted butter melted and cooled
- icing sugar (optional)
Instructions
Make the povitica dough.
- In a bowl add the flour together with milk, water, egg and dry yeast.
- Mix the ingredients in the bowl until a homogeneous dough is obtained.
- Add the sugar and knead until it is fully integrated. I recommend you do it in two batches since sugar tends to liquefy the doughs (I tell you in the notes section).
- Transfer to a work surface and start kneading. We will have to obtain a smooth, silky and developed dough.
- Once we have a medium-developed gluten, add the butter. The ideal is to do it little by little, waiting for the dough to absorb it and facilitate the kneading process.
- Knead for about 12-15 minutes to develop the gluten well and obtain an elastic, soft and very well developed dough. The dough, always after a rest, must pass the membrane test. Here's how to do it.
- If we do rest we must always cover the dough to prevent it from drying.
Make bulk fermentation.
- Make a ball with our dough, grease a bowl lightly with oil and introduce the dough inside.
- Cover with film and let rise until it doubles its volume. In my case it was 3 hours and 10 minutes at 85ºF.
Make the filling while the dough is rising.
- In a food processor add nuts together with sugar, cinnamon, salt and cocoa powder. Blend and set aside.
- In a saucepan, heat the milk along with the butter until it boils gently. Remove from the heat.
- Transfer the walnut mixture to a bowl and pour in the milk.
- Add the vanilla together with the yolk and mix until completely homogenized.
- Let it stand at room temperature, covering the bowl with film or a plate, until needed.
Stretch the dough to shape the povitica.
- To stretch the dough we will do it on a sheet, just like we did with the strudel.
- Sprinkle the working surface very lightly with corn flour.
- Dump the dough and degass it gently.
- Roll the dough out with a roller to shape a 25,5 x 18 inches (65 x 45 cm) rectangle. As we stretch the dough, we will use our hands to stretch and shape it. Work the dough without stressing it (I mean, work calmly, without squeezing the dough or stretching it abruptly. Love, love and more love) so that it remains elastic throughout the stretching process.
- We will always stretch from the center to the ends.
Spread the filling.
- With the aid of a spatula we place small piles on the entire surface of the dough and proceed to spread it.
- The filling is somewhat dense, you will most likely have to help your hands to distribute it evenly.
- Cover to the edges except for the one that will seal the dough when rolled up. The longest side, the farthest from us. (You will see it better in the video)
Roll up the dough.
- Roll the dough on itself making sure that there is no gap between each layer. To do this we will roll carefully and with the help of both hands.
- Once it's rolled up, we'll make sure the joint is sealed.
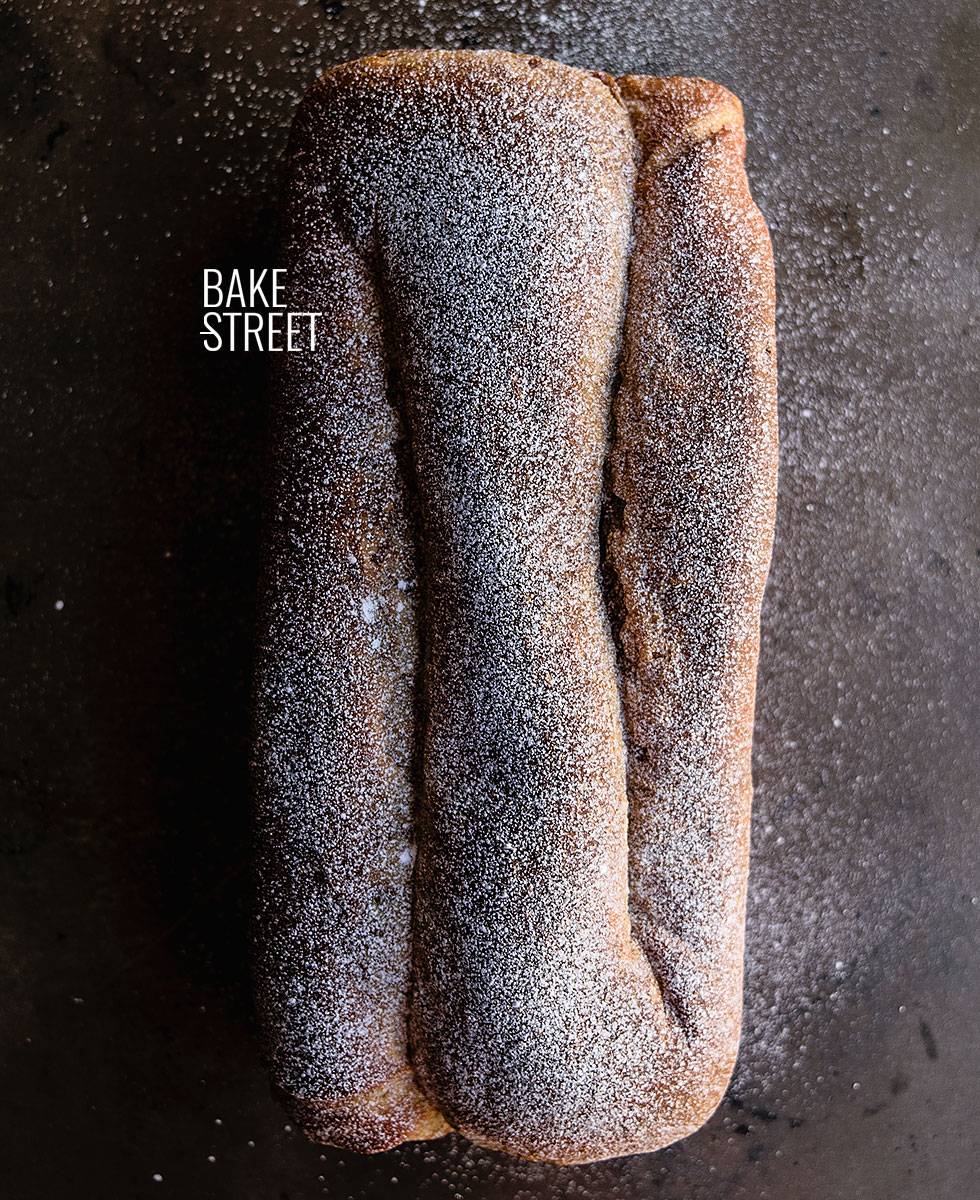
- Shape a -S with the dough roll and place it into the pan. Always with great care.
- Cover with film and let the dough rise until we notice that the dough has grown in size. Given its shape, it will be difficult to notice its increase in volume. Ideally you should look at the ends of the dough, there you will see the increase of this. In my case, it was 3 hours at 85ºF.
Bake povitica.
- Preheat the oven to 350ºF.
- Brush the povitica with half of the butter and introduce at medium height.
- Bake for 15 minutes, reduce heat to 300ºF and leave for 45 minutes more. The total baking time is 60 minutes.
- Remove from the oven and brush with the remaining butter.
- Let it rest in the pan for 20 minutes. Unmould and let cool completely on a rack.
Notes
- I recommend you to use a flour with good extendibility/tenacity ratio and an optimal elasticity. It should withstand well the manipulation, stretching (very important) and fermentation time. And what flour is that? A T45 or a special flour to make laminated doughs. In this post I tell you more about this topic.
- Why did I tell you that sugar should be integrated in two batches? Well, it's been a long time since I talked to a friend about this (Isa, it's you) and we had both noticed this. Sugar produces a "liquefying" effect on the dough. When we add it and it is integrated, the dough behaves as if we had increased hydration. Why is this happening? Sugar is hygroscopic in nature, meaning that it absorbs moisture either in liquid or gaseous state (ambient humidity). But, in turn, it correlates with its solubility. For this reason the liquid and/or vapour that it has been able to absorb from the environment is transmitted to the dough once the sugar dissolves and integrates. It wasn't an impression, everything has its explanation. Another thing to keep in mind is that not all sugars have the same hygroscopic nature and therefore do not affect the doughs in the same way. In my opinion and tests, I have found that the sugar mosquito "moisturizes more" than normal sugar. But I think this topic gives for another longer and more extended post that I'll leave you some other time.

- The filling is difficult to spread... don't hesitate to use your hands to help you distribute it better. Be careful not to tear the dough.
- If you don't like walnuts, you can replace them with another nut like hazelnuts or change the filling radically and use instead chocolate, chocolate with cinnamon, a mixture of butter, cinnamon, cardamom and muscovado sugar.... Imagination to power.
- To have a reference of the size of the dough, once rolled, and the pan to be used is as follows: the dough roll must be 3 times the length of the pan.
- Containing nuts and dried fruits, their useful life is longer. It will hold you in perfect condition for 5-6 days stored in a zip bag.
- We can also refrigerate it for 1 week or freeze it in portions.
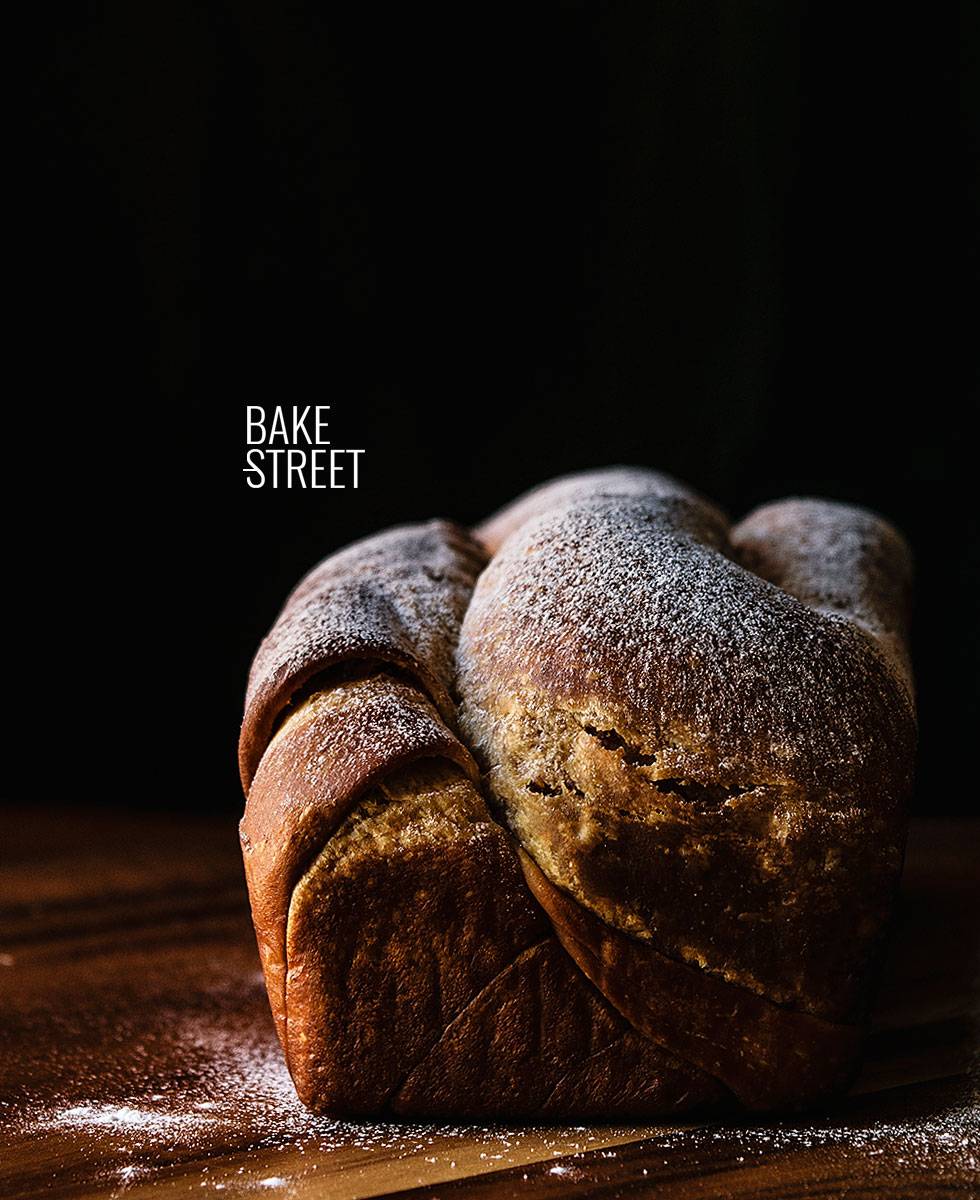
- To cut the povitica, ideally, turn it over completely to start slicing at the base. That way we'll keep it from crumbling when you cut it. In the video I cut the first time on one side (so as not to lose all the icing sugar and that it could be "damaged " for the photos) but I did the rest just as I told you.
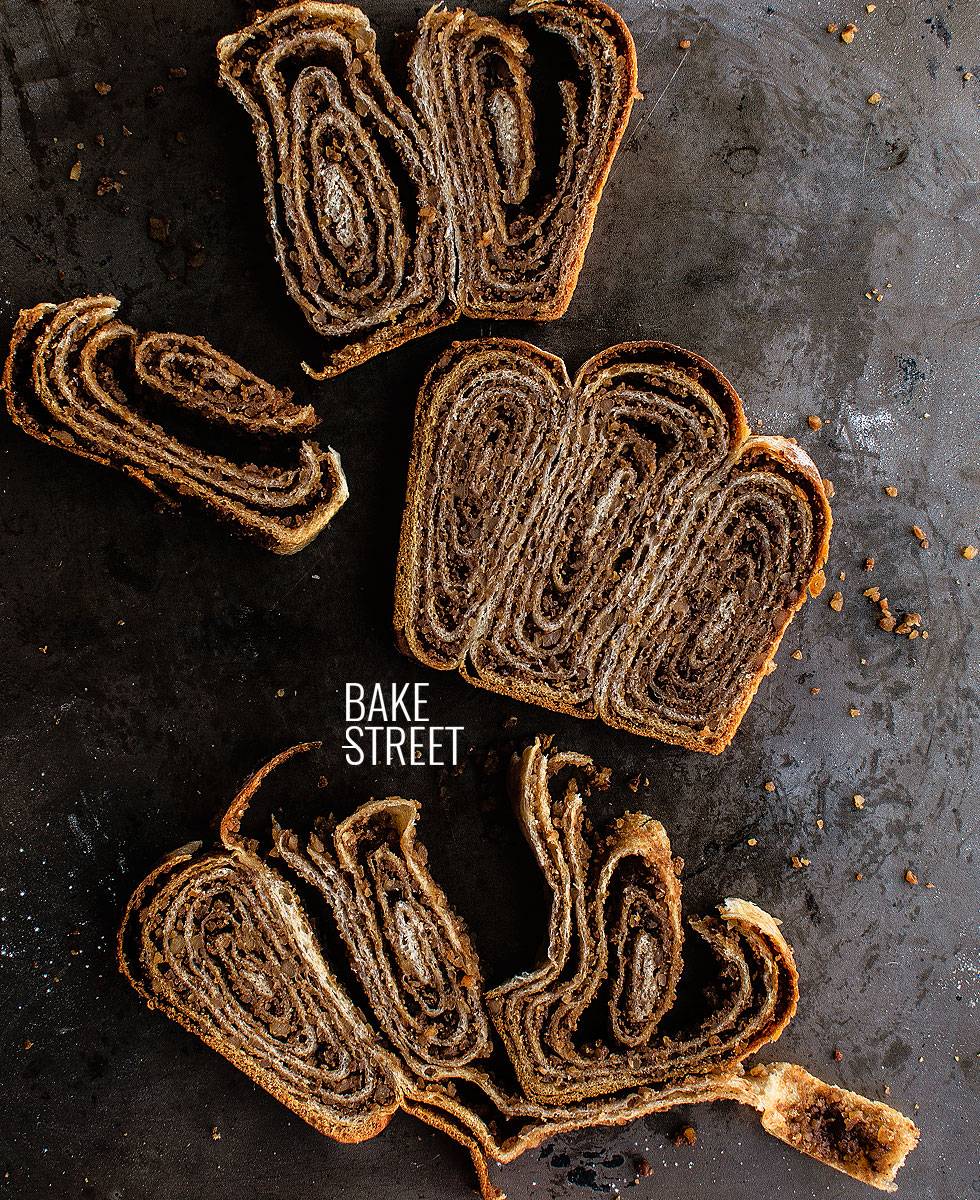
At home they loved Povitica and they want it to become part of the usual recipe book... which really doesn't surprise me at all because I assure you that it is impressive.
How can you enjoy so much with a coffee and a slice of this sweet? I'd love to be able to express with words, but you'd better experience it first-hand. I wish you a wonderful weekend, see you on Monday!
Big hugs,
Eva
Sources: Taste Slovenia, The Spruce , Slideshare
Recipe adapted: The Great Cake Company, Swapna´s Cuisine,
