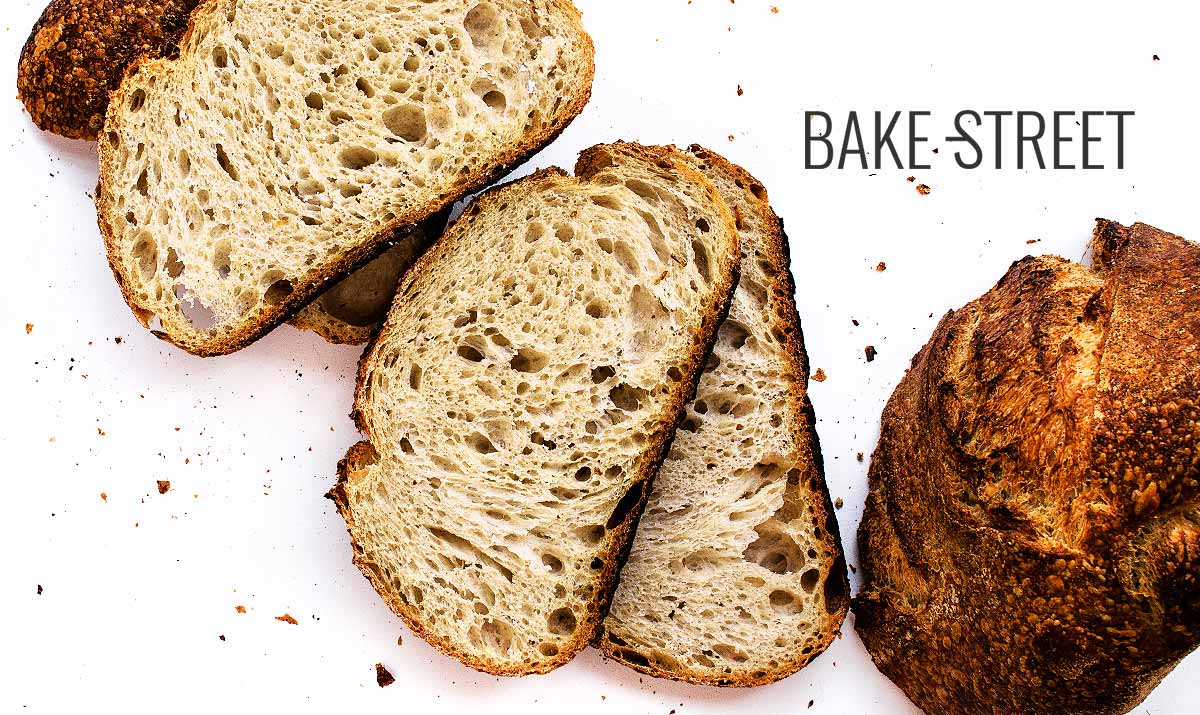
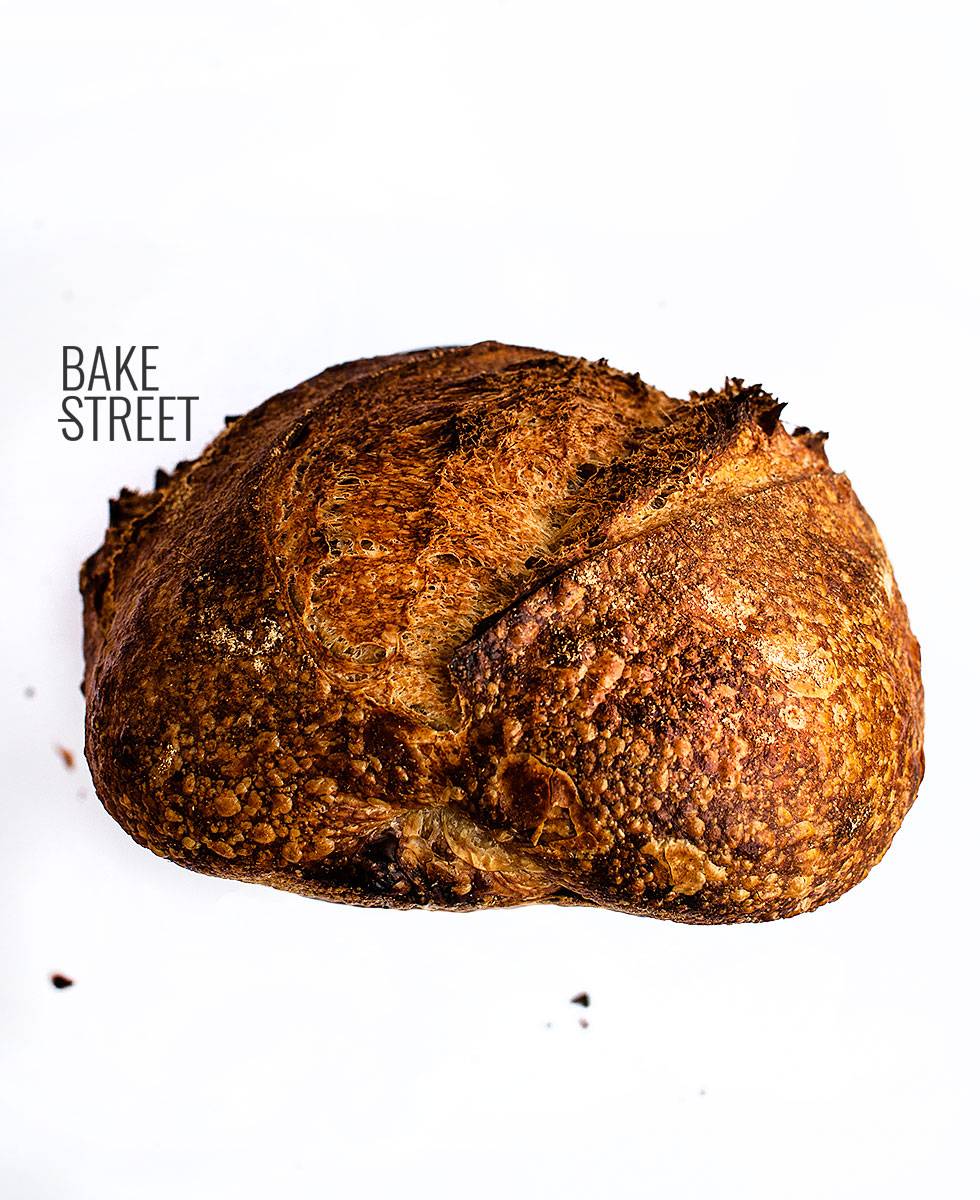
Sourdough bread made with T45
Maybe you think I am crazy to make bread with these hot weather… it is possible. But it is difficult to spend a lot of time without baking it when you enjoy it so much. But above all, without consuming it. I miss it! So last week I got back to bake bread and made this sourdough bread with T45.
I specify this variety of flour because, I think, not in all countries it is denominated in the same way. In Spain it can be found under the name of “puff pastry flour” but I have looked for information and I have not found a similar variety in other places. That is why in this post (in English) I have called it that way. T45 flour that is the one indicated to make laminated doughs. Next we will see the importance of specifying it.
I must admit that this bread was an experiment of several things; Some that I had in mind put into practice and others that emerged along the way. That is perfect because they are situations that can be given to everyone when we bake bread at home. I had been thinking about making bread with puff pastry flour (T45), I always thought the result had to be extraordinary for several reasons.
What benefits can provide a T45 flour?
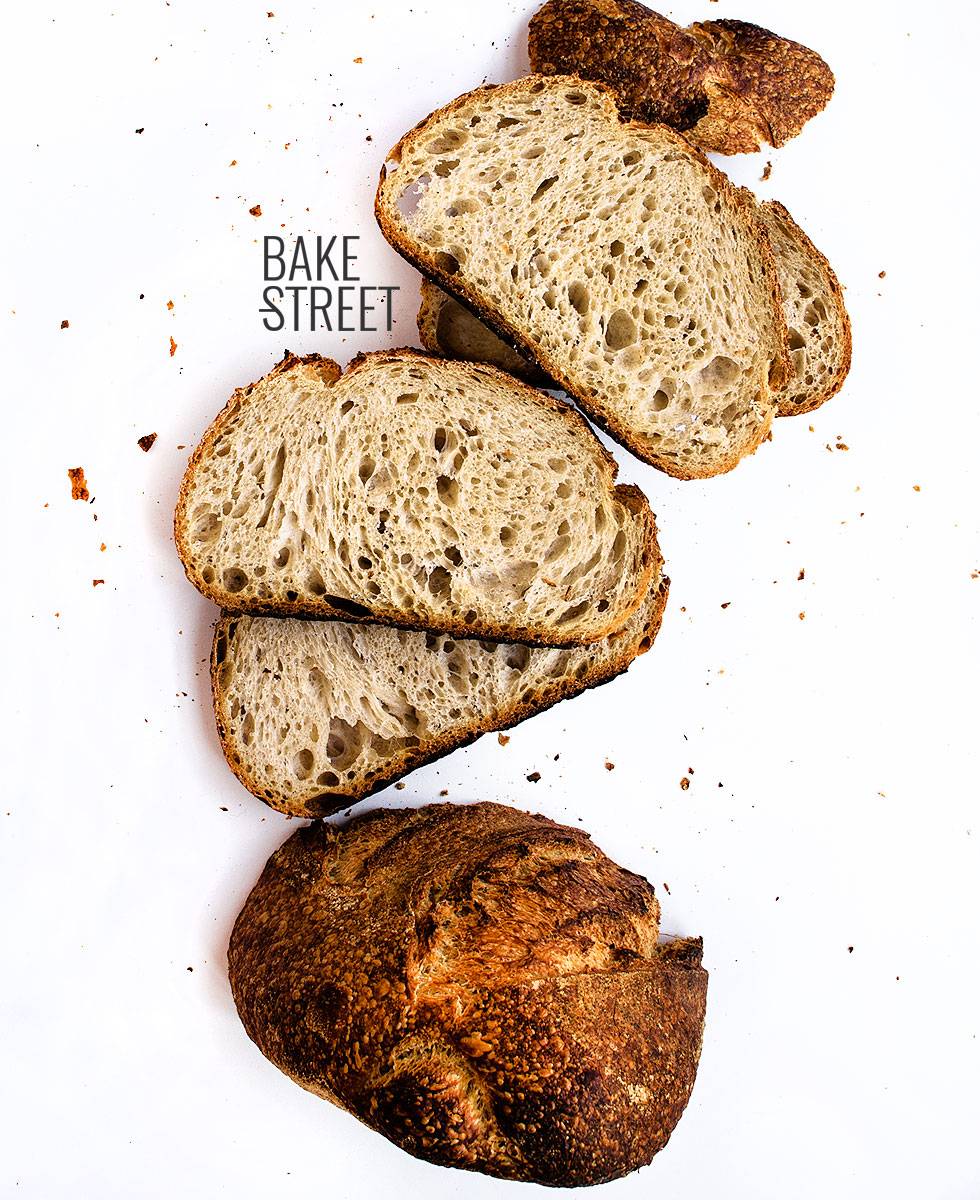
- A flour that is specifically intended to make puff pastry or laminated doughs, must have a good P / L ratio (toughness and extensibility). This means that it is a flour with a great extensibility (capacity of the flour to be stretched) but does not lose its shape after the stretching thanks to its tenacity (ability of the flour to resist the stretching process and / or ability to resist deformation). This will favor a good crumb as the dough will contribute to the alveoli formation. It will stretch without resistance retaining gases and maintain its shape.
- It must have an optimal elasticity, this factor is also very important because it ensures that the flour returns to its initial state or restore shape. Otherwise we would get a dough like slime. We could stretch it to the point that it would lose its shape and be scattered across the table without any form. We are not interested either.
- This type of flour is usually a SuperHero: it supports huge amounts of sugar, fats and even a high hydration. Not forgetting the ability to work with it by subjecting it to long fermentations, since many enriched doughs are elaborated with long processes; Laminated and risen. This favors working with long fermentation times, using sourdough and giving a dough hydration to our choice.
As you can see all its characteristics offer good conditions for baking besides working with enriched doughs, so we have already taken the first step.
Kneading the bread without fear.
Another aspect that I had been wanting to try for a while was to make a bread with lost of kneading. I have always read, have been told me or heard (and I have told you!) that we should not exceed kneading time because we may damage the gluten mesh to the point of breaking it . Well, this is viable of course but very complicated to achieve.
For that reason I decided to make this bread with this flour (which is strong) and with much kneading. In fact to work this bread I used 2 methods of kneading:
- Kitchen Aid, during 15 minutes non-stop + the mixing time before autolysis (about 4 minutes)
- By hand, during 4-5 minutes (I like to finish all doughs by hand)
Of course we always have to make good use of our clinical eye. Observe and know the product with which we work because not all flours work the same way.
What was my result?
An incredibly smooth, developed, elastic dough with an extraordinary gluten mesh.
Here I should like to remind you that whenever you want to make membrane test, you must do it after a rest. Why? Because after kneading, the dough will be tight and this will favor resistance and crack. It will give us an incorrect result of the state of our dough.
With this step will solve many problems and doubts that you have consulted me (and sent by photos) in which the main problem was the lack of bread kneading. If we do not develop gluten properly, the dough can not retain gases correctly and, consequently, we will obtain a dense bread, with few alveoli, indefinite shape …
It is necessary to knead without fear, with delicacy, but without fear to break the structure of gluten. What you must do is add the salt as soon as possible to delay or reduce the dough oxidation.
The inconvenience that came along the way …
When you make bread at the same time that you make photos added to the emotion of seeing the structure of the crumb still unbaked … it is easy to forget things! Lately I try not to preheat the oven to very high temperatures, I try to reduce this more and more because I have the impression that sometimes it still dries on the top. This is a negative factor for the final bread expansion.
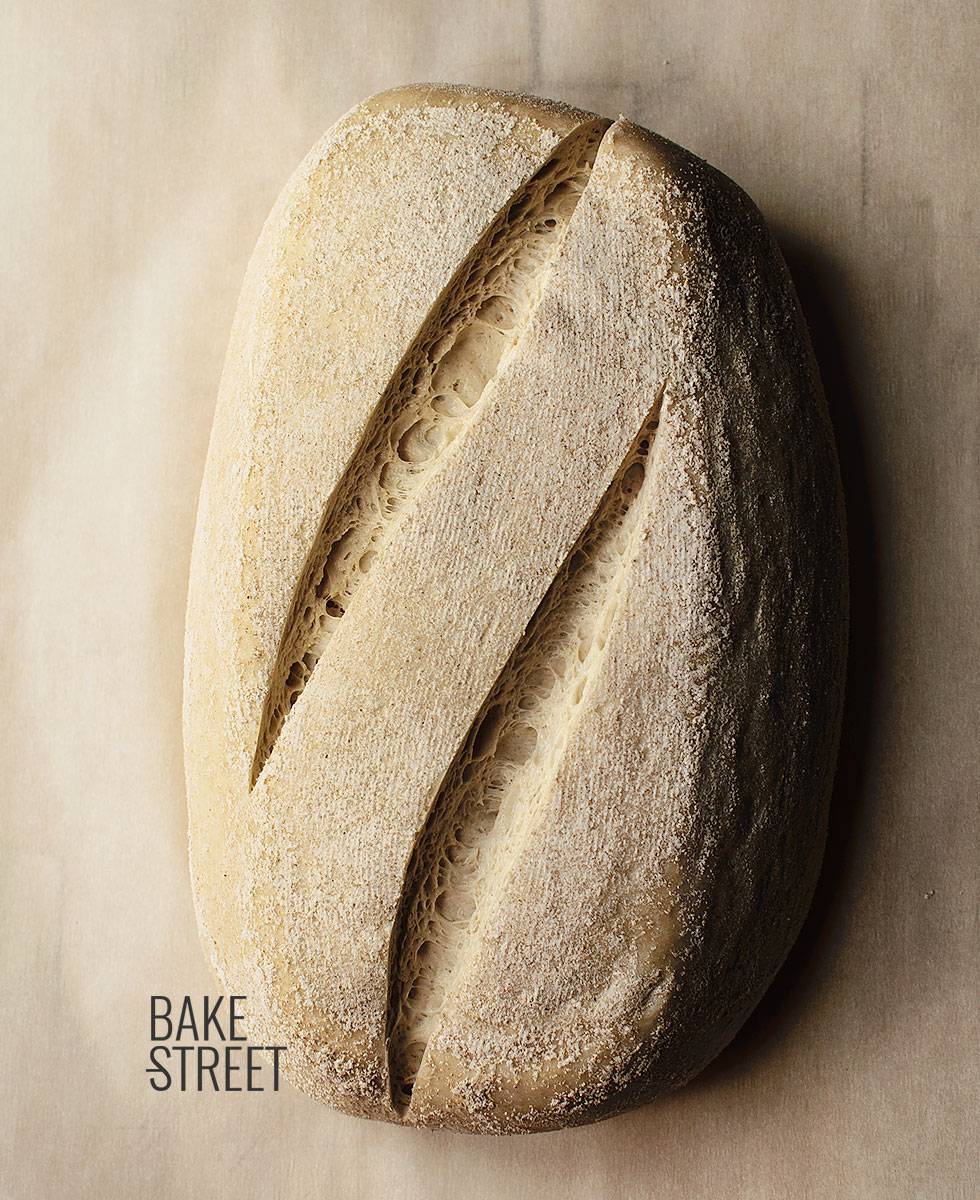
Well, at the moment of placing the bread in the oven (with the scoring made!) I realized that I had not removed the boiled water from the microwave, I did not have the oven gloves on hand, nor did I prepare several things … I got nervous, I did everything running and I left the oven door open. With the consequent lowering of temperature. Long live me!
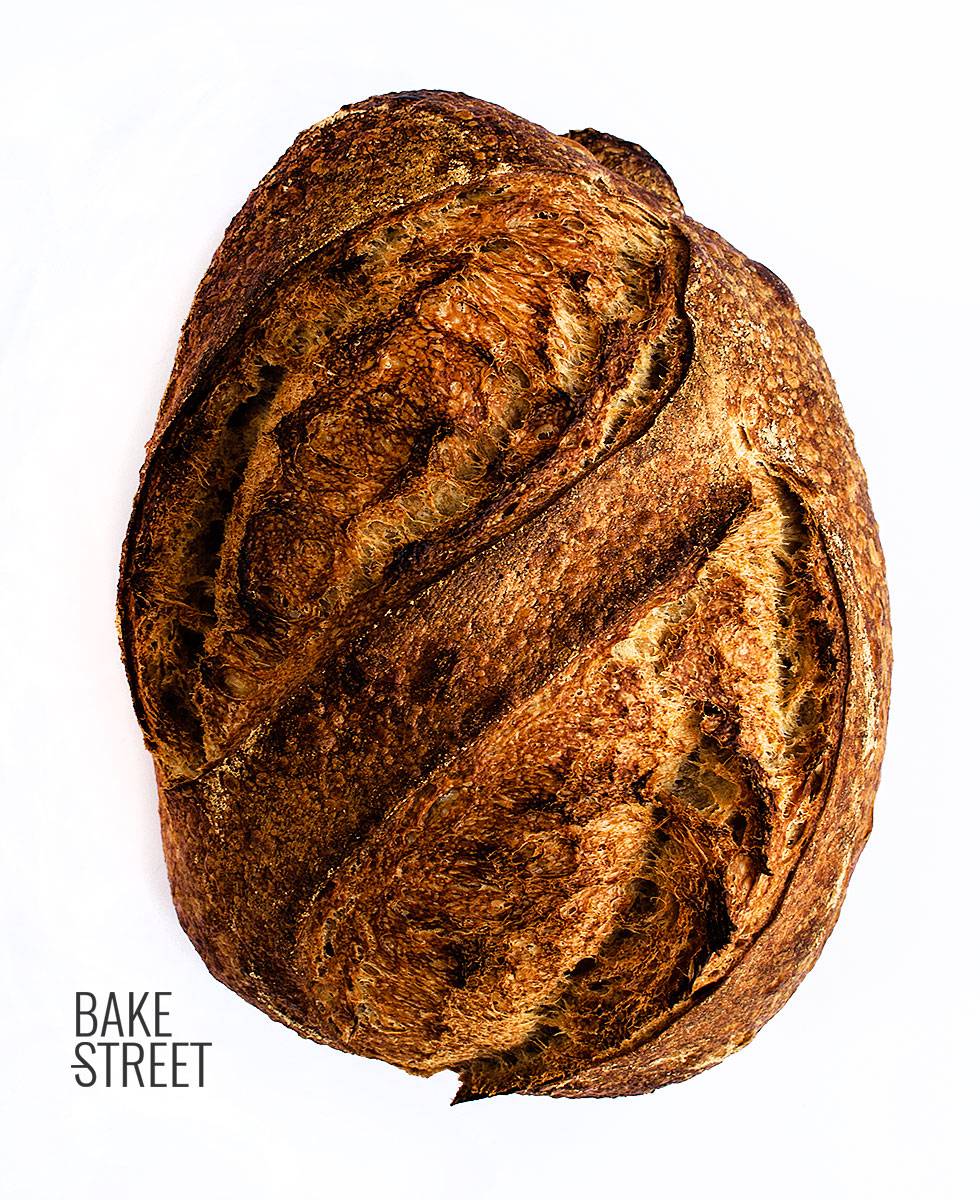
At first I thought that it was a catastrophe, but at all, we can learn from everything. I was able to check firsthand that starting from 390ºF, the temperature that stayed inside, you can get a great bake. The bread expanded greatly and the color was an amazing gold. It is also true that the first point that I have discussed influences and much … but surely the reduction of heat from the oven also helped to improve the result. Undoubtedly.
Conclusion?
Never, ever, we should never stop trying new ways and methods to make bread. Even if they always work for us, maybe we’ll find a better one, or not. You have to try it.
And, of course, do not take things for granted (unless they are very obvious). We must always check first hand each process to know if they are correct or not. Thus we will know for sure if we should work with them or discard them.
NOTE: Maybe it’s good to take a look at this post if you’re starting to bake bread at home.
| INGREDIENTS | BAKER´S % | SOURDOUGH | REST | TOTAL |
|---|---|---|---|---|
| Shipton Mill Wheat | 11,25% | 67,5 g | 67,5 g | |
| T45 wheat flour | 75% | 450 g | 450 g | |
| Shipton Mill Rye | 3,75% | 22,5 g | 22,5 g | |
| 1878 flour (wheat flour + pinch of rye) | 10% | 60 g | 60 g | |
| Water | 66,7% | 90 g | 310 g | 400 g |
| Salt | 1,8% | 10,8 g | 10,8 g |
Ingredients
SOURDOUGH BREAD WITH T45 FLOUR:
SOURDOUGH 100% HYDRATION:
- 6,34 oz (180 g) 100% hydration starter refreshed with 80% Shipton Mill wheat flour and 20% Shipton Mill rye flour
Here you can read how to make water yeast fruits or here how to make common sourdough (By the moment, both are only available in Spanish)
FOR THE DOUGH:
- 15,8 oz (450 g) T45 flour
- 2,10 oz (60 g) 1878 Ylla flour
- 10,1 fl oz (310 g) water
- 0.38 oz (10,8 g) sea salt
Instructions
FIRST DAY
Make bread dough.
- In a large bowl add flour along with water, mix with your hands (in my case I used my KA for 4 minutes) until it is well hydrated and looks smooth. Cover with plastic wrap or cotton cloth and allow to make autolysis for 30 minutes.
- Add sourdough and mix to speed 1 for 15 minutes.
- Once it is fully integrated, add salt and continue kneading.
- Transfer to a work surface, without flour, and knead by hand to finish.
- Combine kneading with resting time. Knead 2-3 minutes and let sit 5-6 minutes. Total time kneading by hand will be 4-5 minutes.
- To check the gluten mesh, we must always do it after a rest. Do not forget it.
Make bulk fermentation.
- Grease with olive oil a bowl or recipient and put the dough inside. Cover and make a bulk proof for 2 hours and 45 minutes at room temperature. My home temperature was 80,6ºF. Turn and fold after 30 minutes three times.
- Let rise until almost double in sized.
- Dust with rye flour a banneton, set aside.
Shape the dough.
- Preshape into a boule (ball), be careful not to degas too much, and allow to bench rest for 15 minutes cover with a cotton cloth.
- Shape a batard, how I made this from Baltic Bake House. I love it!
- Place seam-side up in banneton, cover with a cotton cloth and put in the fridge for 22 hours.
SECOND DAY
Bake the loaf
- Preheat oven 450ºF* at least 30-40 minutes prior to baking with your stone or steel sheet on it positioned on final rack. Put inside a pan with volcanic stones, this helps to get steam in the baking.
- Transfer the bread from the banneton over a wooden board cover with parchment, seam side down. Score the bread.
- Place the bread into the oven and pour boiling water over the pan with volcanic stones. Close the oven door immediately to trap the moisture.
- Bake for 20 minutes at 430ºF.
- After first 20 minutes, open the oven door to allow steam goes out, remove the track with volcanic stones with kitchen gloves and reduce oven temperature to 410ºF. Bake for 10 minutes.
- Reduce temperature to 375ºC and bake 10 minutes more. Finally bake with convection at 375ºC for 10 minutes. Bread will get a better crust this way.
- Total bake time is 50 minutes.
* Remember my problem with the oven...
Ending the bake...
- Once bake has ended, turn off the oven and let sit the bread inside the oven with the door ajar for 15 minutes. Remove from the oven and let cool over a rack.
PRESERVATION:
- Bread can be stored for up 3-4 days cover with cotton cloth. If the beginning is dry, cut the first slice and inside will be still tender.
- You can cut the bread into slices, cover with plastic film and freeze. This way is the better to make perfect toast each morning.
Notes
- Is it imperative to use T45 flour? Absolutely. There are many varieties of special flour to make laminated doughs that can be used instead.
- The 1878 flour is a variety of bread flour with rye and malt, I do not know the percentage accurately, but should be around 15%. You can make the mixture with your own flours at home.
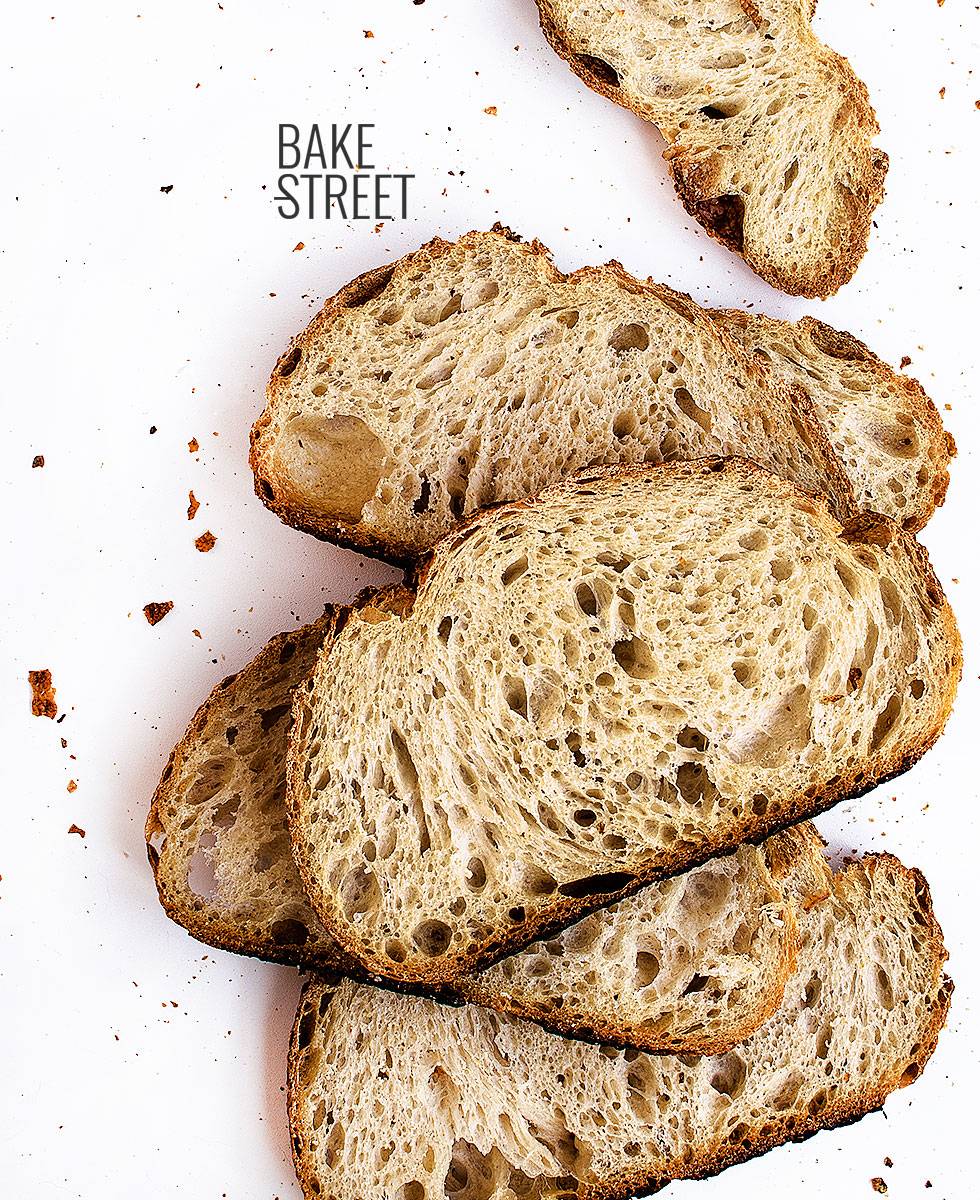
You must always try different things, this sourdough bread made with T45 flour is the result of two things I wanted to do long ago. This recipe is just a simple example to see that we can use many types of flour to bake and, knowing their properties, take advantage of it.
Besides, it has allowed me to take away that little fear of kneading excessively. Although here I must clarify that there are certain flours like the whole wheat, spelled ... that we must be careful with it.
I'm looking forward to hearing from you!
Big hugs,
Eva
