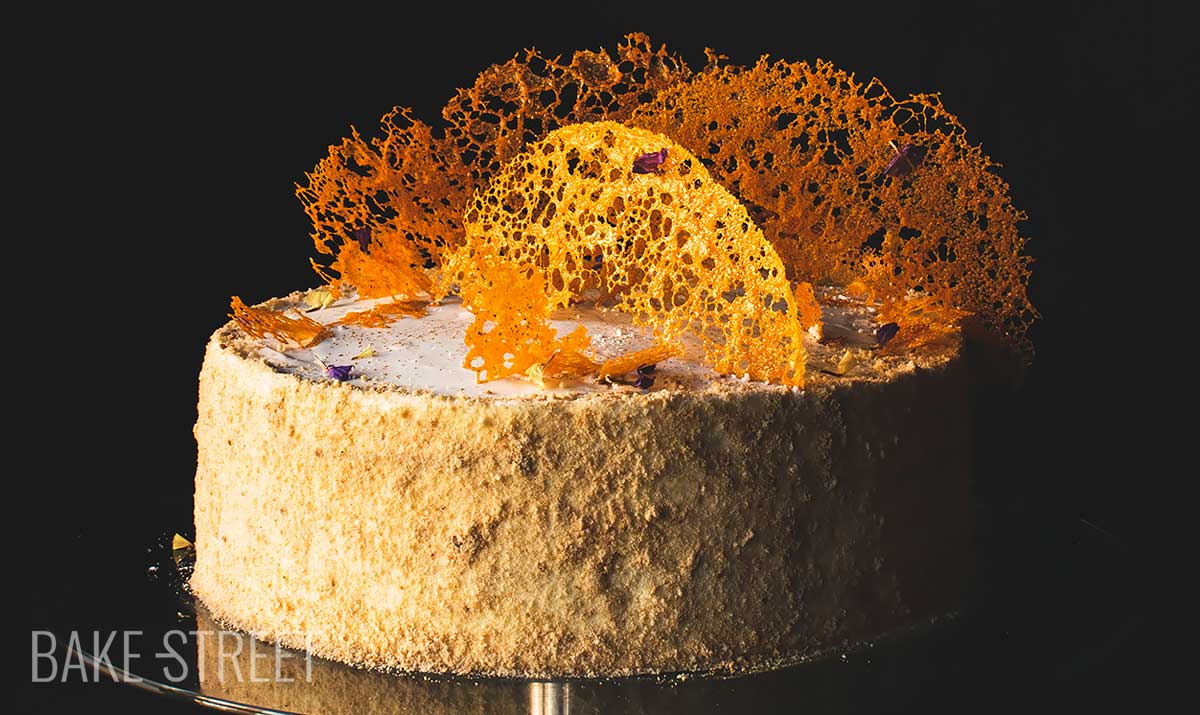
Tort Medovik – Russian Honey Cake
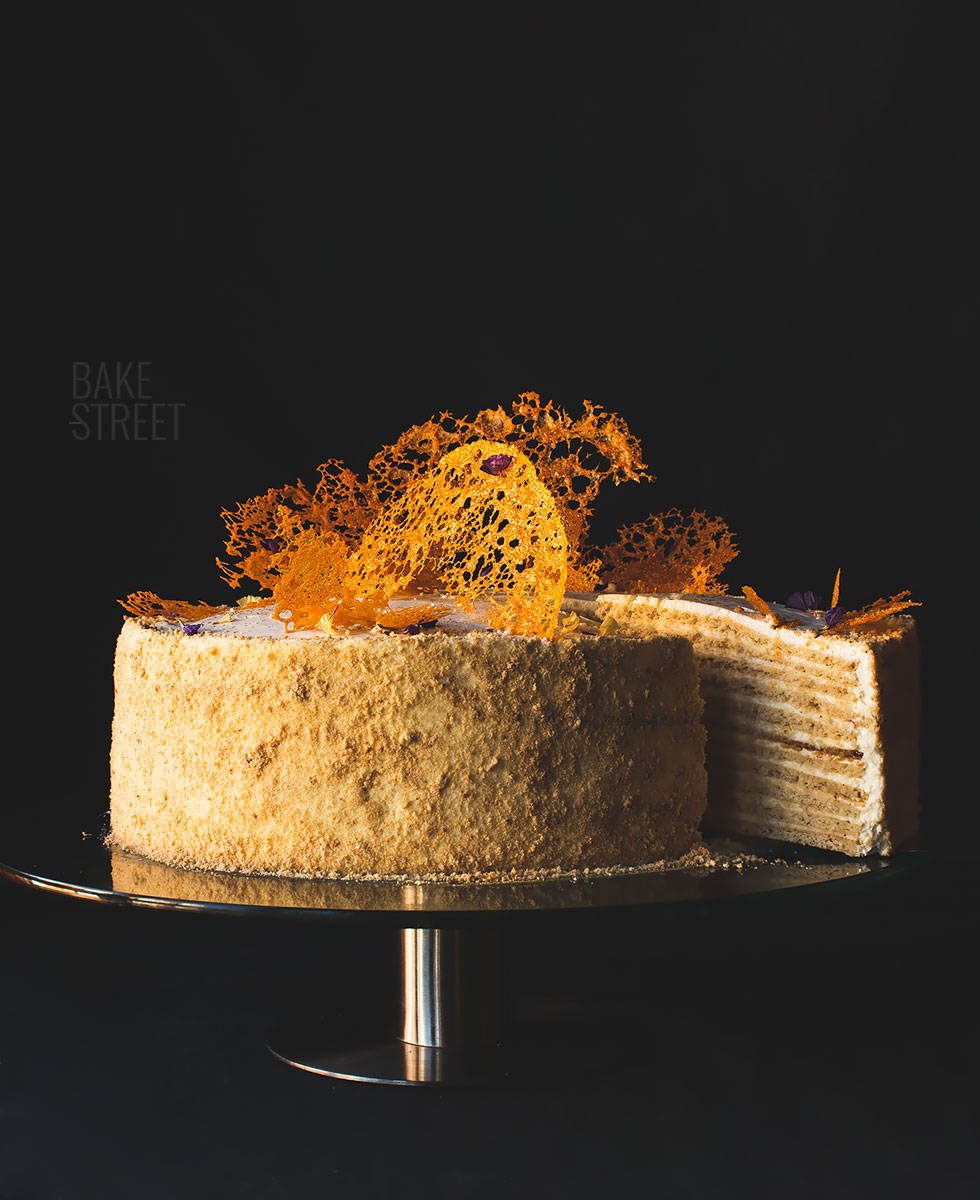
Yeah, I know, I come back on a Friday with a cake. But I can’t help it! I don’t know what’s wrong with me lately, I just want to make cakes. Although I promise that I am already working on other recipes as well, hahaha. Today I’m going to leave you a classic and traditional sweet of Russian gastronomy, Tort Medovik or Russian Honey Cake.
The truth is that I’ve been wanting to prepare this cake for a long time, in fact since I saw one of the Chef Table seasons. In one of the programs, the restaurant “The White Rabbit” came out and, among all the elaborations they prepared and spoke about, they named this cake. The Chef of the restaurant commented that it was a cake that his grandmother always used to make and he wanted to make a more modern and updated version. I loved it and from that moment I said that I would prepare it.
Tort Medovik or Медовик origin.
It is said that this traditional and exquisite dessert dates back more than 200 years. Apparently the first honey cake was created in the 1820s by a personal Chef of the Russian Tsar Alexander I.
Honey was a very important ingredient in Russian gastronomy dating back to pagan times. They used it as a natural sweetener long before sugar was available to make cakes, biscuits… In addition to being used as a natural preservative for many preparations. For example, Kvass, which was sweetened and fermented with honey.
It is a laborious cake. It’s not complicated, but it does require a lot of patience to make all the layers. But I’ll tell you that it’s worth the effort.
There are many ways to prepare it.
There are countless recipes to prepare the Medovik. One of the ingredients that can be found in the filling is dulce de leche or condensed milk cooked for many hours. It is also common to find nuts such as walnuts, apricots or dried plums.
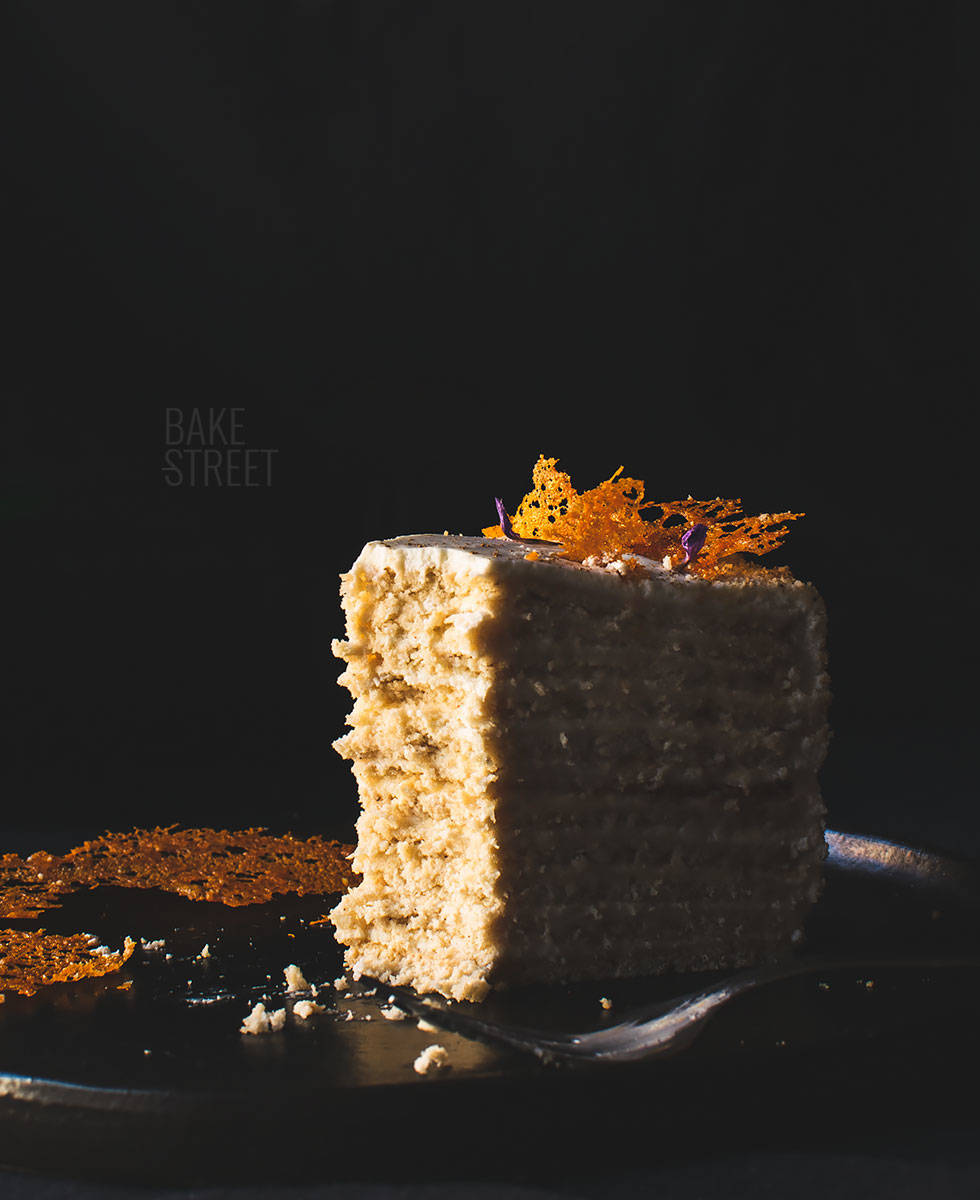
In spite of all the varieties that exist, it is believed that the authentic honey cake is made with sponge cake and a cream filling. That’s all. Although most recipes are made with very thin layers of biscuit.
In my case I have taken notes and references of many recipes. I have read countless of them and, at the end, I decided to mix many adjusting quantities to prepare a cake of 8 inch / 20 cm in diameter.
The peculiarity to prepare this biscuit dough lies in the fact that we must melt part of its ingredients in a water-bath. Then we will beat the eggs together with this mixture and finally with the dry ingredients.
Each layer is stretched and cooked individually. Here we make a great act of love and affection.
The filling is usually made with crème fraîche or sour cream, mixed with whipped cream. It is made this way because it must be lightly runny to help soften and hydrate the layers of cookie during the night’s rest.
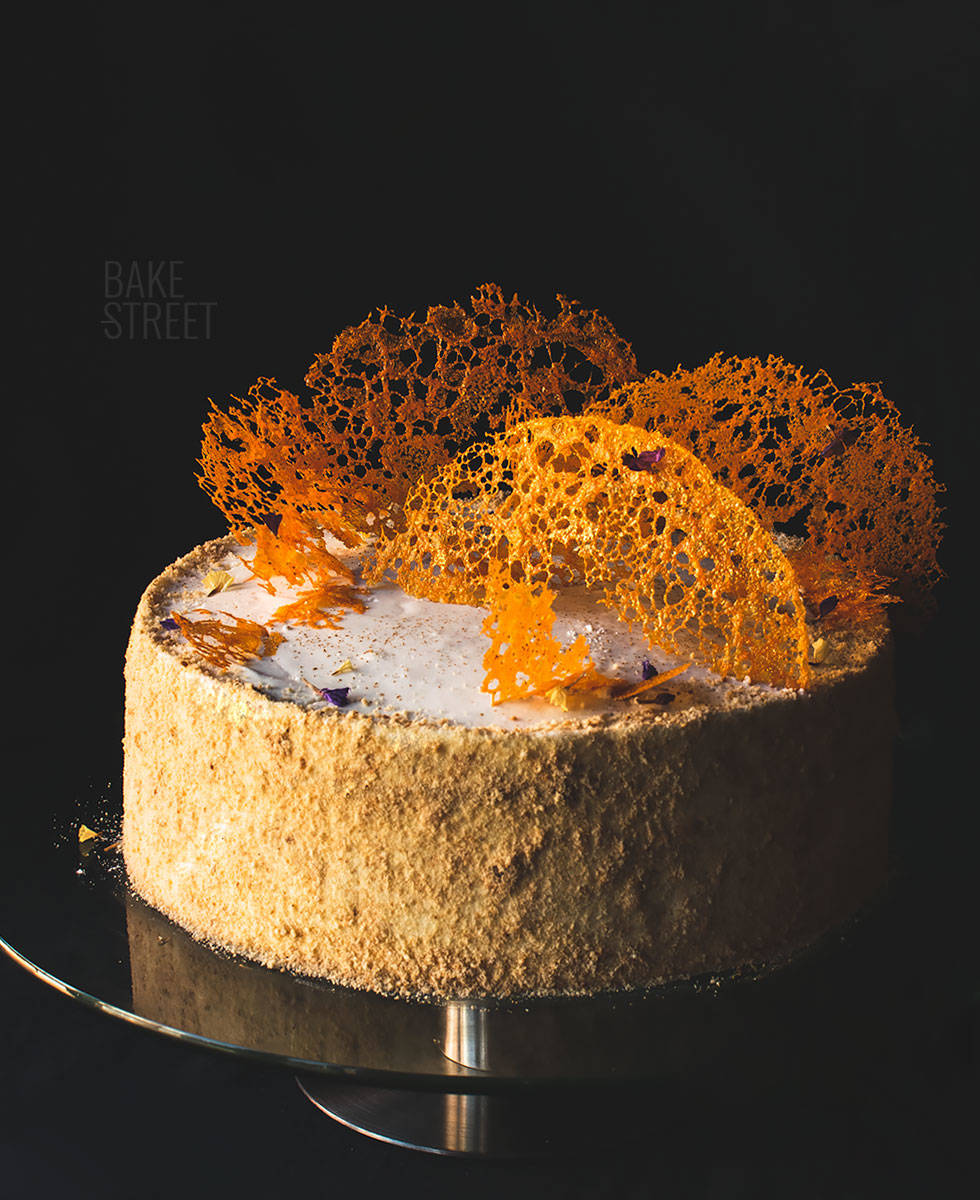
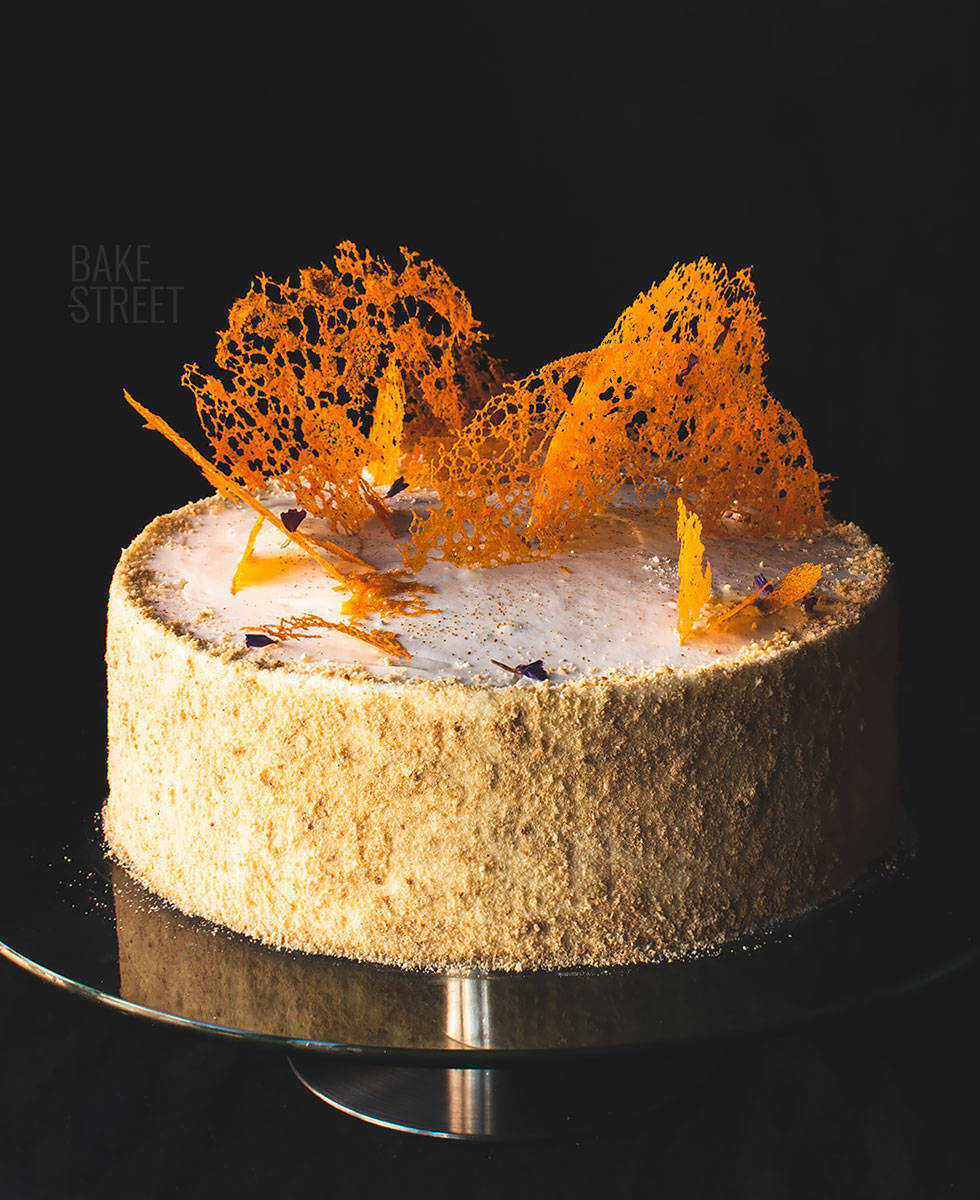
The result is a simple but spectacular cake.
Crunchy coral.
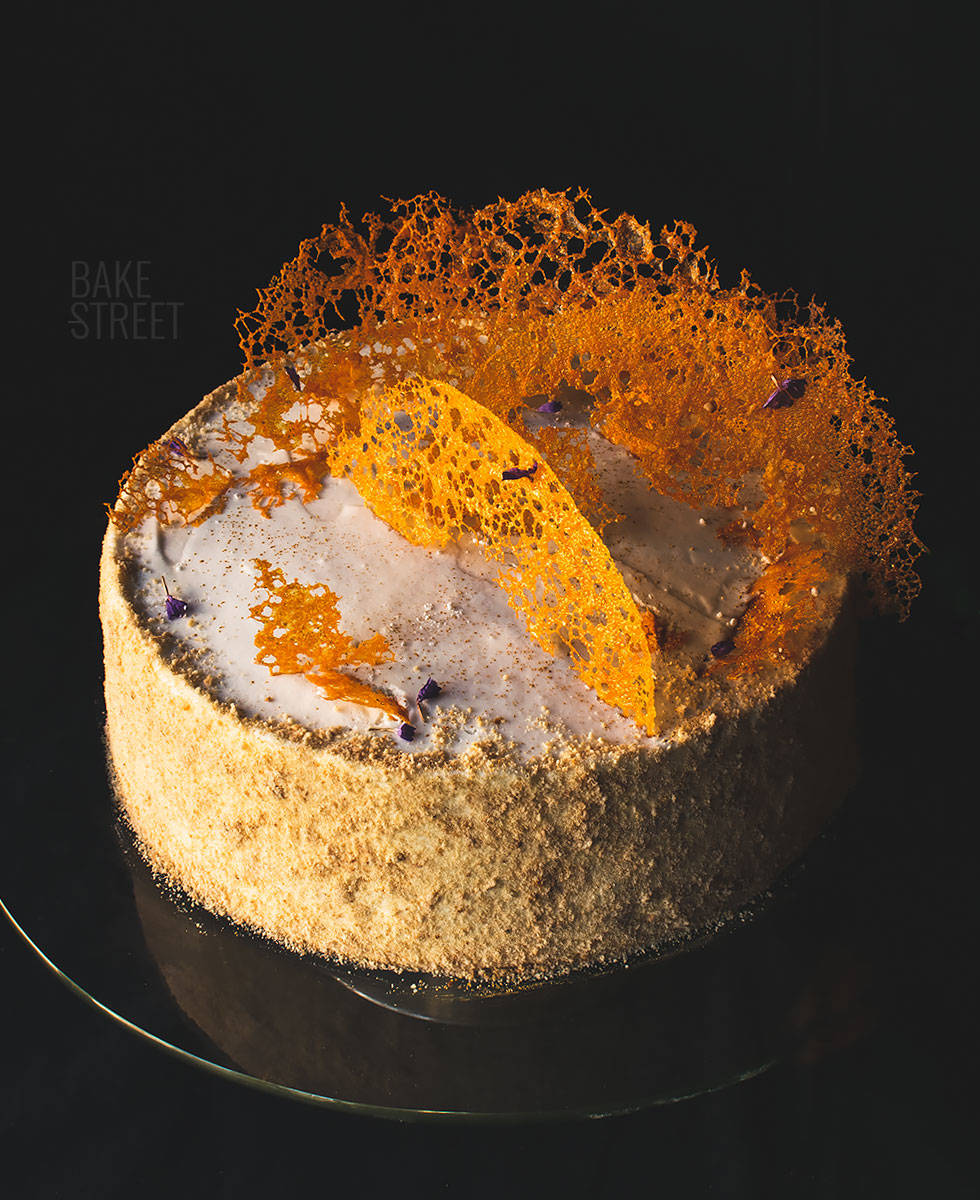
The truth is, I thought a lot about how to decorate the cake. I couldn’t convince myself to cover everything with cookie crumbs. I thought about making a honeycomb with chocolate, decorating it with Honey Comb… But at the last moment, I remembered the crunchy coral!
It’s a kind of tile made with water and flour, we add a little food coloring and cook it at low temperature with oil. The result is a tile or crunchy that reminds a lot of a coral… And in this case, I was convinced by the idea that it could look a bit like a honeycomb. So I didn’t give it any more thought and decided on this 😉
Ingredients for a 8 inch cake
FOR THE COOKIE DOUGH:
- 200 g AP/plain flour
- 300 g cake/pastry flour
- 150 g unsalted butter at room temperature
- 3 large eggs (165 g)
- 150 g honey
- 100 g sugar
- 10 g baking powder
- 1 tsp cinnamon powder
- 3/4 tsp salt
FOR THE FILLING:
- 590 g crème fraîche
- 157 g icing sugar
- 265 g fat cream
- 2 Tbsp icing sugar
- 1 tsp vanilla extract
FOR CRUNCHY CORAL:
- 90 g water
- 10 g plain flour
- yellow food coloring
- olive oil for frying
FOR GARNISH:
- crushed cookies
- edible flowers
- gold edible dust
- smashed dried meringues
Instructions
Make the cookie dough.
- In a heat-resistant bowl add the sugar together with the honey and the butter cut into cubes.
- Place in a water-bath, without the water touching the base of the bowl, at medium low heat and let it melt completely. Stir occasionally.
- Once it has melted, remove from the heat and set aside.
- In the bowl of La KitchenAid or a kneader, add the eggs along with the cinnamon, salt and baking powder. Beat with the whisks at medium speed for 2 minutes.
- Begin to add the honey mixture in a fine, continuous thread as we continue to mix.
- Once we have integrated everything, change the whisk for the flat beater.
- Mix at speed 1 at the same time that we add the flour little by little. We will mix only until obtaining a homogeneous dough and without remains of flour.
- Put the dough over a film, flatten slightly and cover completely.
- Refrigerate for 1 hour to make it firm.
Shape the cookies.
- Preheat oven to 355ºF/180ºC.
- Draw a circle 8 inch/20 cm in diameter on a sheet of baking paper. This will serve as a template.
- Remove the dough from the fridge and divide it into 11 equal pieces. In my case, each of them weighed 95 g.
- Place a sheet of Teflon or baking paper on the template. Sprinkle lightly with flour.
- Take one of the pieces of dough and shape a disc. With the help of a roller pin, stretch the dough trying to give a diameter greater than 8 inch/20 cm in diameter. We will have a very fine dough.
- Place the dough with the Teflon sheet on an oven tray and bake at medium height for 7 minutes.
- Remove from the oven and place a 20 cm diameter plate or cutter on top of the cookie. Use a knife to cut the edges. We must work quickly so that the cookie does not harden.
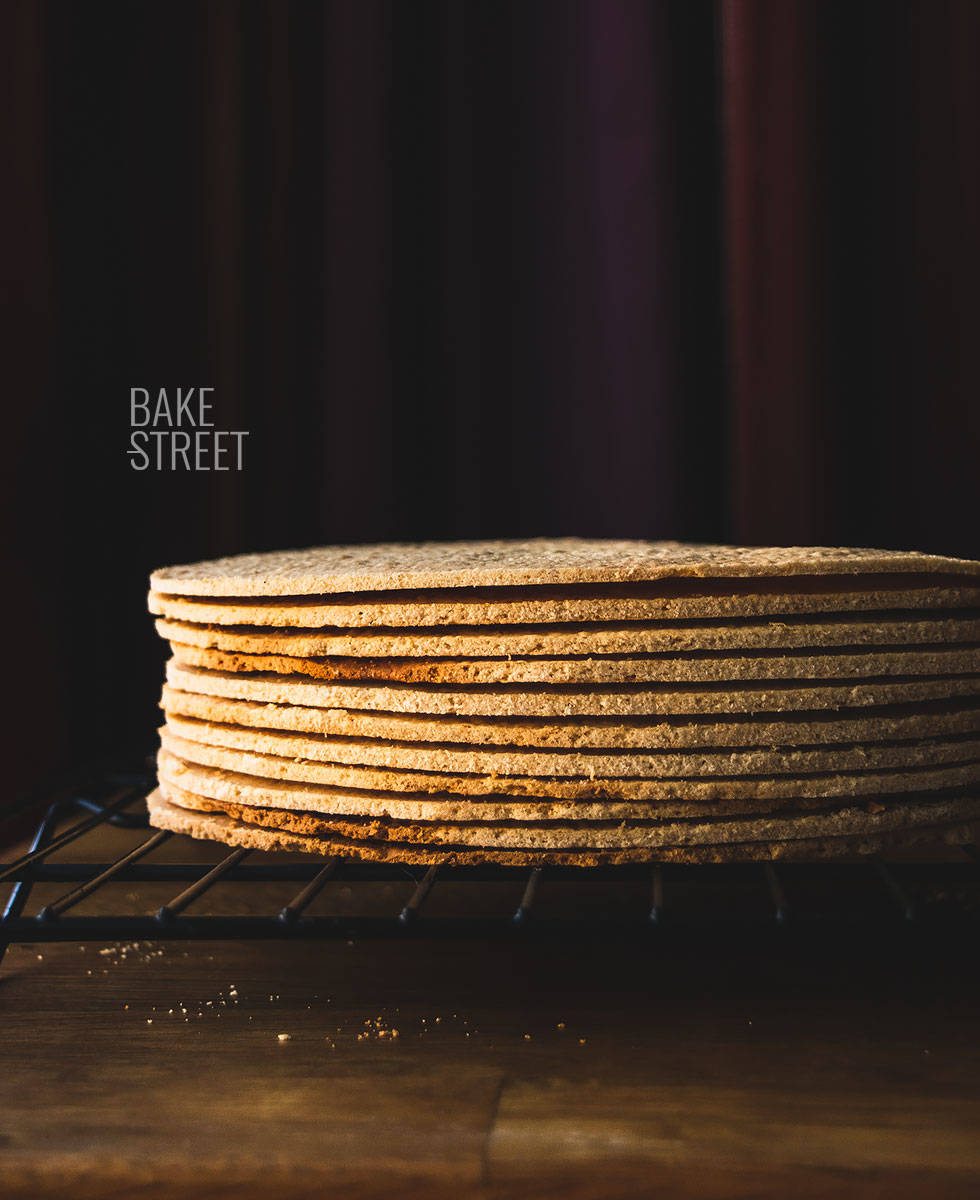
- Place the disc on a rack and store the remains of the biscuits. We will need them to decorate the cake.
- Repeat the process with the rest of the dough discs. While one of the discs is baking, we can stretch another one.
- Once we have all the cookies baked, leave piled on a rack while we prepare the cream of the filling.

Whip the cream.
- Before we get ready to whip the cream we must make sure of two things:
- Cream must be cold 24 hours before used it.
- The bowl in which we are going to make whipped cream must be cold. I recommend to use one aluminium bowl and freeze 20 minutes before beat it.
- Pour heavy cream into freeze bowl and beat with an electric mixer into low speed.
- Once cream is becoming to form stiff peaks, add sugar little by little stirring the whole time. Increase speed gradually but without reaches high one. Ideally use medium speed.
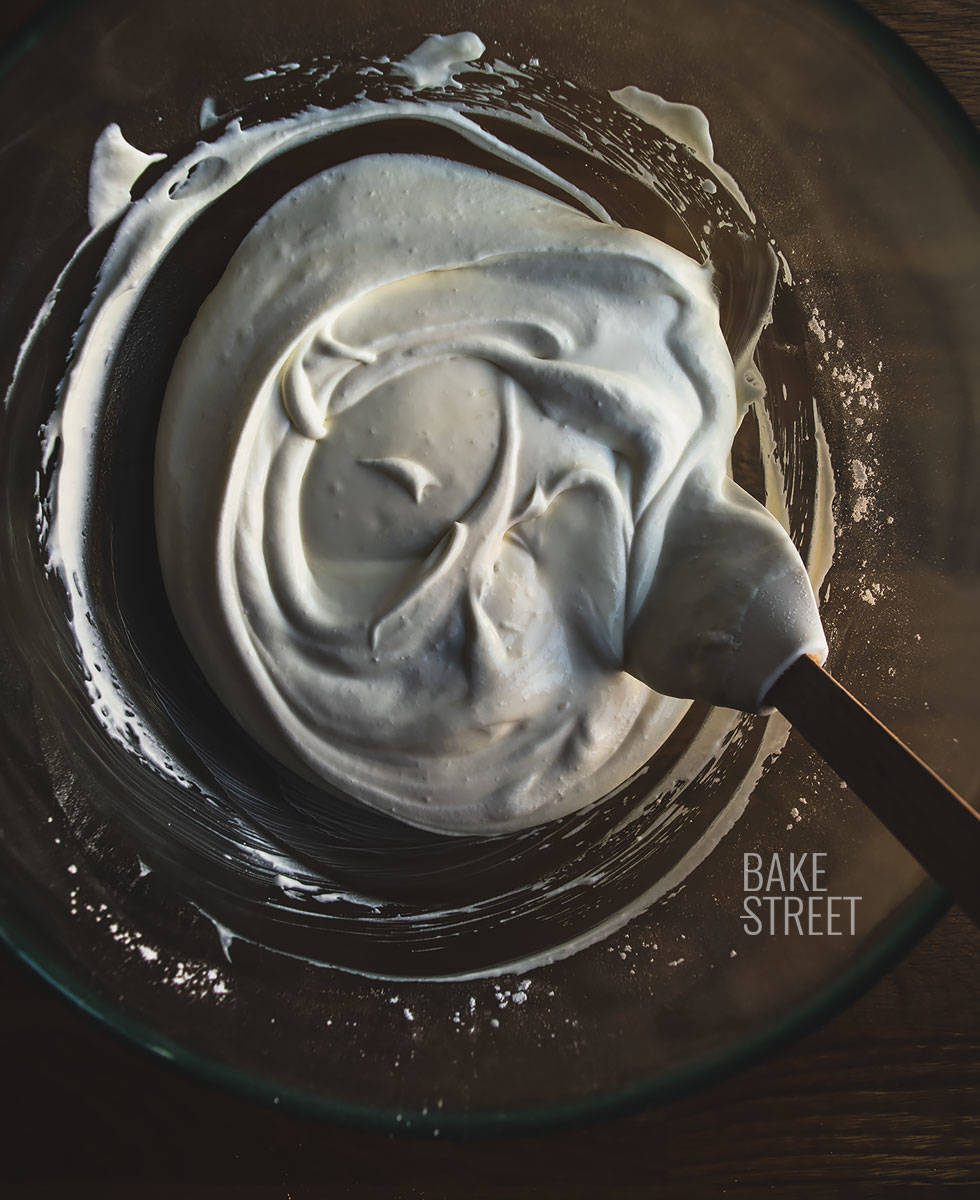
- Before finish to beat the cream, add vanilla extract along and beat until get a perfect whipping cream. Be sure not to over-beat, otherwise cream will become lumpy and butter-like.
- Cover with plastic wrap and chill until used it.
Make final cream.
- In a large bowl add the crème fraîche together with the icing sugar.
- Mix with the help of a silicone spatula in gentle movements. We will do it until all the sugar has been completely integrated.
- Add the whipped cream and mix with gentle, enveloping movements. Mix only until both creams have been integrated.
- Set aside.

Assemble the cake.
- Place a disc to serve the cake on a rotating cake stand. Under the disc place a piece of anti-slip so that it does not move.
- Put a small amount of cream and place the first disc.
- Put 2 or 2 1/2 tablespoons of cream, more or less, and spread with the help of a spatula. We will try to leave it as smooth as possible.
- Place another disc of cookie and press lightly. Repeat the same process as the previous time. Spread a layer of cream trying to leave it as smooth as possible.
- We make this same step with all the layers.
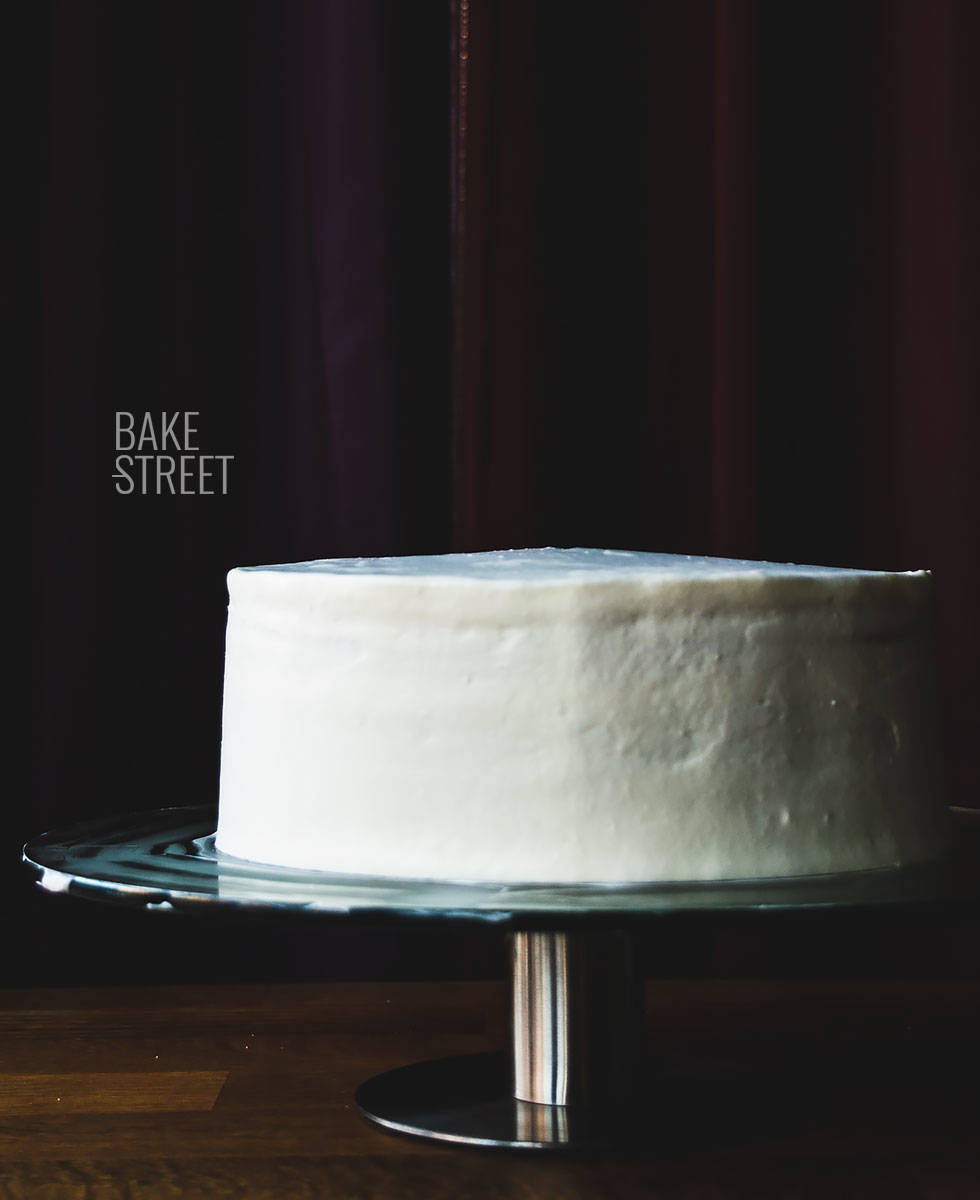
- Spread the cream with a spatula over the entire surface and remove the excess with the help of an edge smoother. This layer will help us to "pick up" possible crumbs from the cake that could come to the surface when we decorate it.
- Refrigerate for 15 minutes for the cream to harden. Remember place the cream in the fridge too.
- Remove from the fridge, place another layer of cream all over the surface, smooth removing the excess and refrigerate until the next day. This step is very important because the cookie must absorb the moisture from the cream and lose the crunchy texture.

Make crunchy coral.
- In a bowl pour the water together with the food coloring. Dissolve completely.
- Add the flour and mix until it dissolves completely, there should be no lumps.
- Place a non-stick frying pan in low heat and let it take temperature.
- Add a little oil, tilt to cover the entire surface and pour a little of the mixture.
- Cook, without touching, until the batter is consumed. You will observe that it begins to reduce and will give place to a grid that reminds us of the coral.
- We must leave in the heat until the batter stops bubbling.
- Remove very carefully and let it dry on absorbent paper to remove the excess oil.
- Repeat the same process with the rest of the mixture.
Decorate.
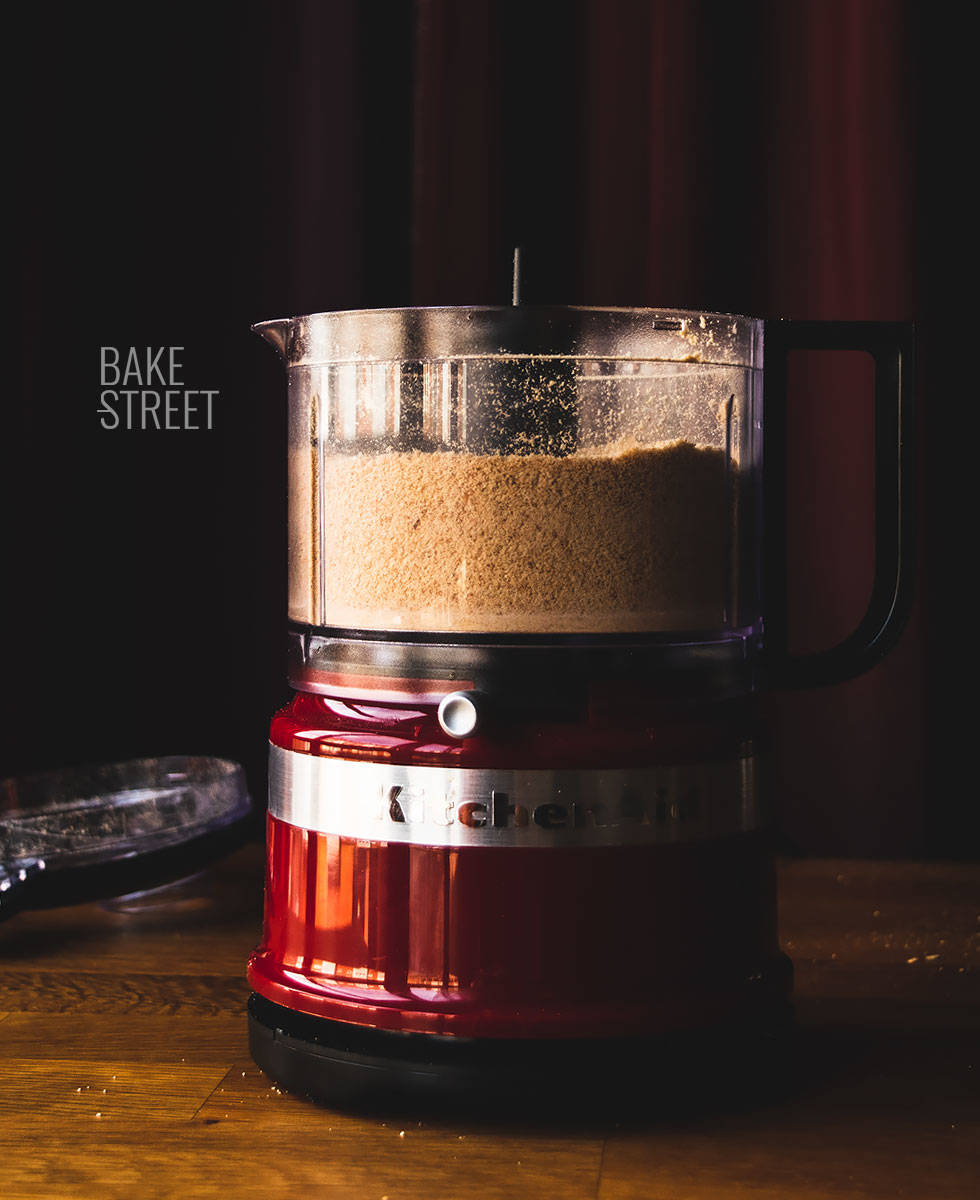
- In a food processor, add the pieces of biscuits and crush. We must obtain a very fine powder.

- Decorate the sides of the cake with the cookie crumbs.
- Arrange the crunchy coral on the surface, flowers, sprinkle with golden powder and powdered dry meringues.
- Serve.

Notes
- The cookie dough is slightly sticky. In order to work well with it, it is important to refrigerate it so that it becomes firm. Also use a little flour when you are about to stretch it to prevent it from sticking to the roller pin and tearing.
- The dough will be very fine, do not worry because during cooking it will rise a little.
- You have to cut the cookie right after you take it out of the oven, that's when it will still be tender. Otherwise, it will split when you try to cut it to give it a round shape.

- The crème fraîche will be liquefied a little when the sugar is added. This is normal.
- The consistency of the cream is soft, it should not be too firm. Add the whipped cream to give firmness to the crème fraîche.
- Let the cake rest in the fridge for at least 12 hours. This step is important for the cookie dough to become tender.
- You can keep it refrigerated for 3-4 days.

I'm sure many of you have already tasted and enjoyed this Medovik Tort or Russian Honey Cake. I don't have to convince you of anything because you already know how incredible and wonderful it is.
It is a cake that does not hide secrets or complex elaborations. Just love, patience and good ingredients. Come on, I think it's an ideal cake to enjoy this weekend we're starting ;)
I wish you an incredible weekend, see you on Monday!
Big hugs,
Eva
