Punch Cake – Punschtorte
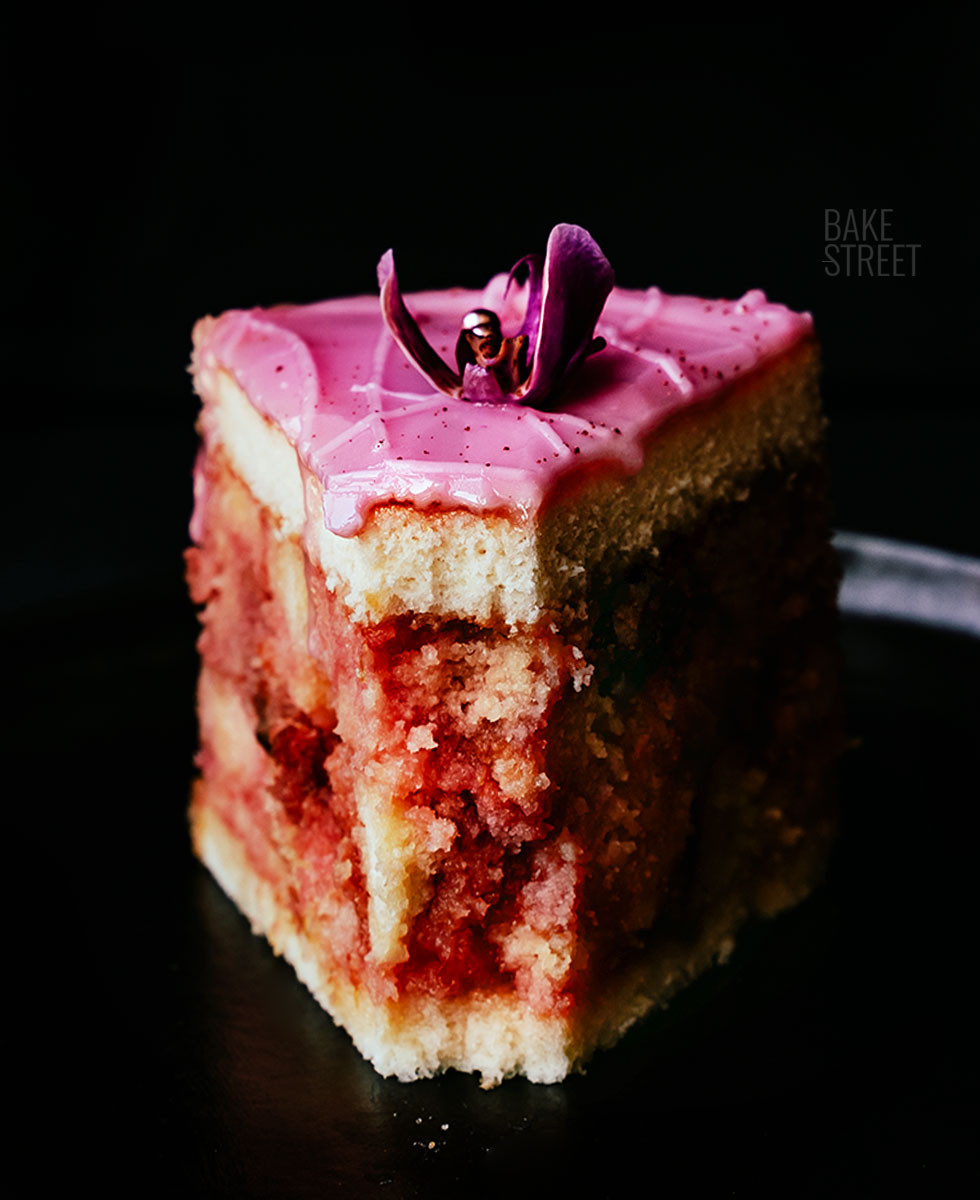
Despite taking a short break during the summer, I couldn’t help but share with you this wonderful treat Punch Cake – Punschtorte, to celebrate my birthday! You know, those of you who have been around for a while, that it is always a pleasure for me to blow out the candles with you and celebrate another year of learning, enjoyment and wonderful and incredible life experiences. This year’s cake comes to you thanks to a reader who asked me if I knew this recipe and, if so, to prepare it to share it with you (thank you Ana Luisa!).
To tell you the truth, I did not know it. She told me that she tried it on a trip to Vienna and was totally in love with it…. When I saw it, it was clear to me that I was going to look for the recipe to share it with you. In addition to trying it, since I thought it looked outstanding. Thank you for another year by my side, for always accompanying me in this adventure and for being part of my dream.
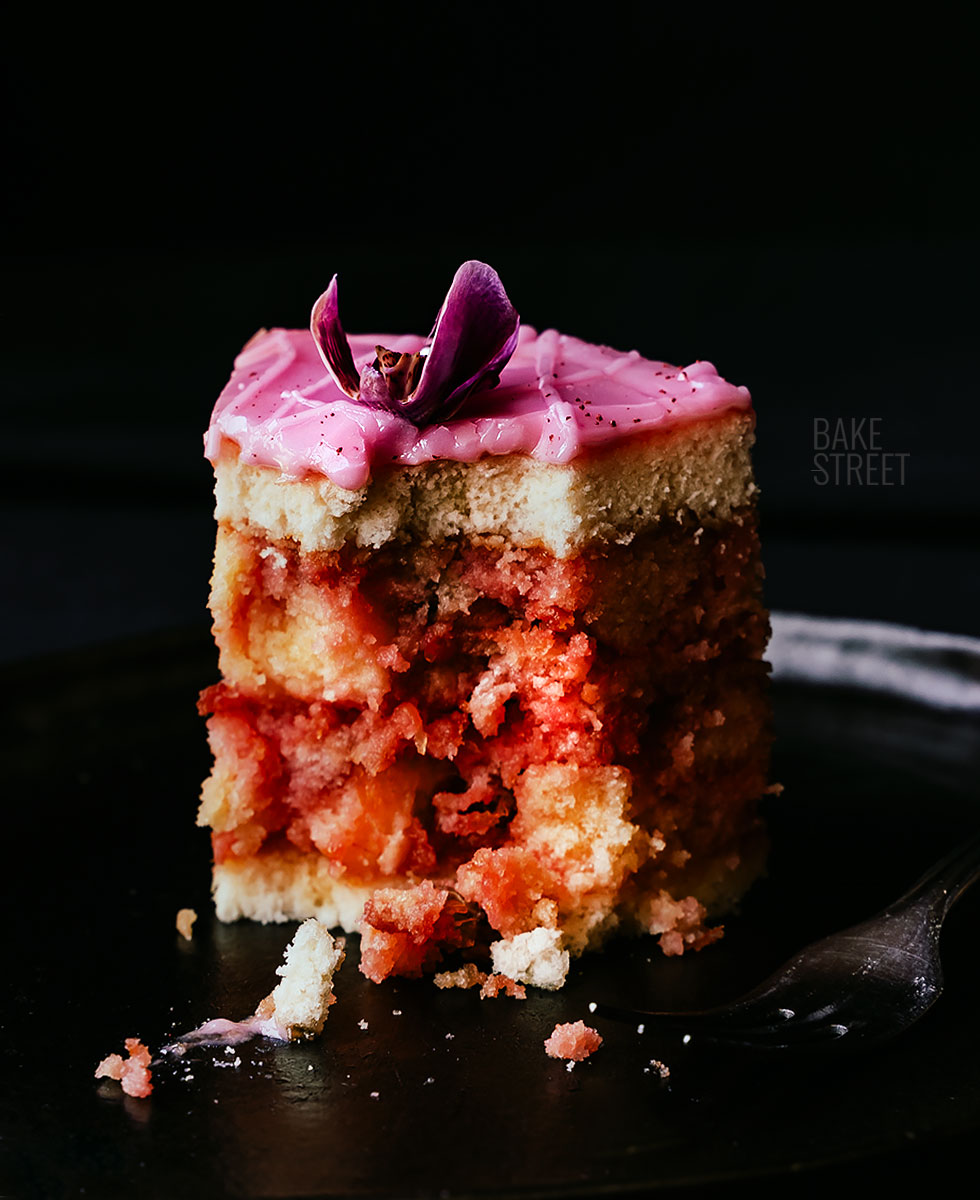
I want to tell you that you have never tasted anything like it before. Believe me. The texture of the cake, the flavor, aroma, moistness… It is incredible. I was totally in love with this recipe and, I assure you, I will make it on more than one occasion. I hope it happens to you as it did to me.
When I started looking for how to make it, I found that most of the recipes I saw on websites were based on this one. That got me thinking. Either the recipe was incredible, or the elaboration process was very traditional and allowed few modifications. So I decided to base myself on that same recipe, only adjusting some details such as the amount of final sugar (I found it too high), the process of elaboration and steps of many parts, as well as the liquid fondant recipe.
Almost everyone uses this last element store-bought, but in my case I show you how to make it. In fact, this recipe I already gave you in these Bakewell tartlets.
Origin Punch Cake – Punschtorte.
Once again, I come across a recipe whose origin is unknown. Every time I come across this, I have a horrible suffering because I am fascinated to know the origin or history of each recipe. It is magic. As an anecdote, my favorite subjects when I was studying were history, classical culture and philosophy. Well, English too. I enjoyed immensely learning about this. In fact those classes were not classes for me. I considered them hours of maximum enjoyment. Except for logic and tables of truth in philosophy…. There I have to admit that I suffered a little. I got it out, but I suffered. I think this has extended in my life to gastronomy, in my case specifically to cooking, and it is another way to enjoy (twice) what I love to do.
Knowing how an elaboration has originated, seeing its evolution over time, as well as observing how it has adapted to the hands that elaborate it. Without forgetting the culture and customs, since these are always reflected in the recipes. For me it is information that completes the process and allows me to close it, in a very gratifying way. So whenever I come across something like this, it always leaves a thorn in my side.
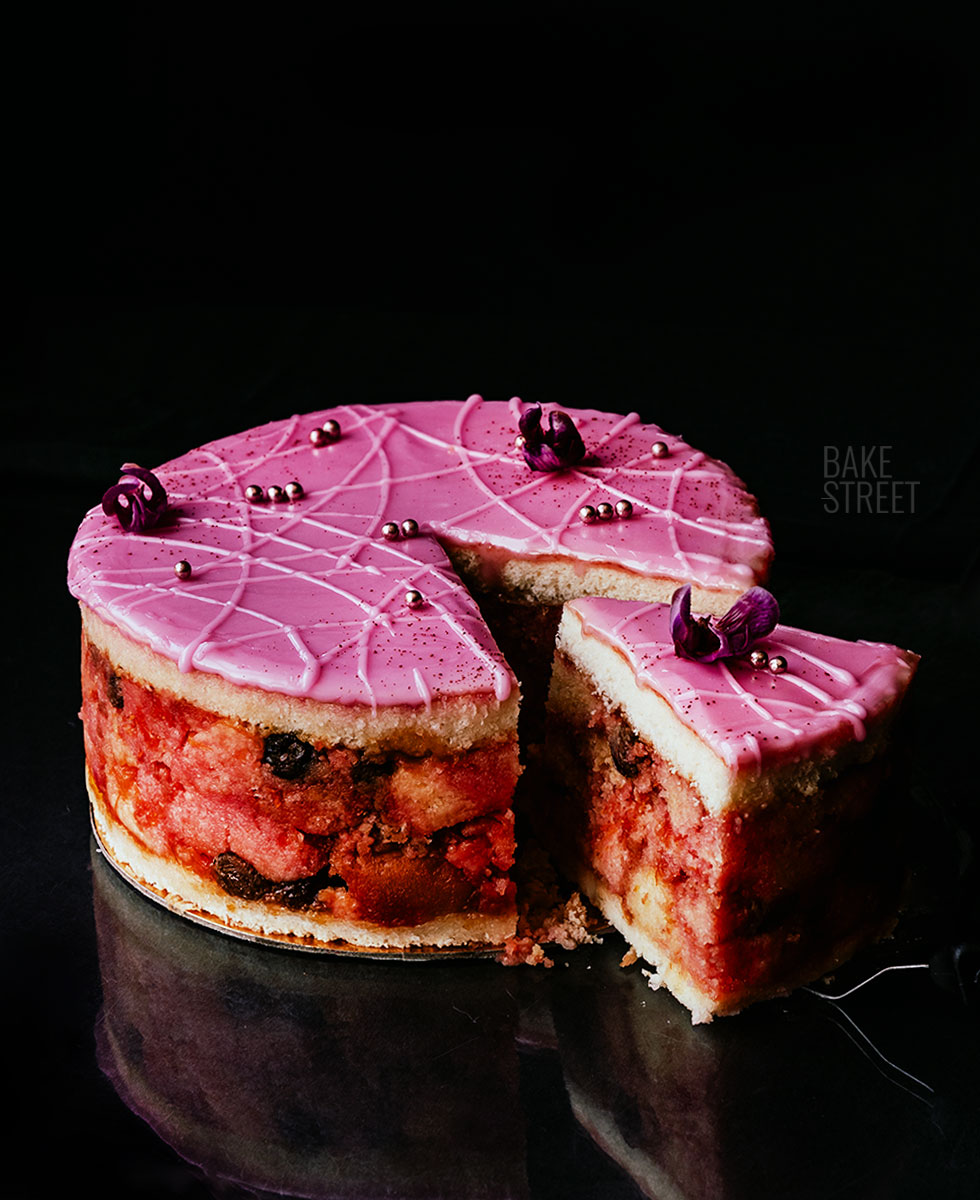
As I mentioned before, the authorship of this preparation is unknown. We can find it under the name of Punschtorte, in its tart format, but it is much more popular the small cake format as a petit four. These are called Punschkrapfenor Punschkrapferl. The name comes from the drink of the same name, Punch, which is made mainly with rum.
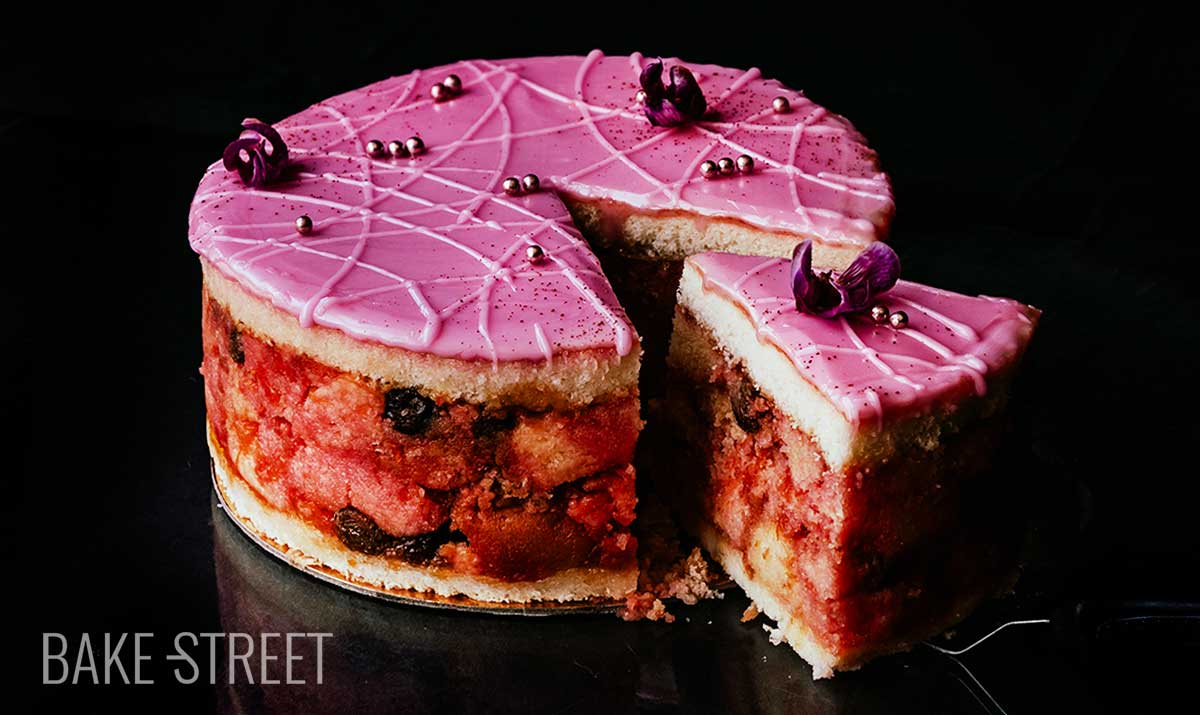
It seems that, in addition, there is no original recipe for Punch Cake as in the case of other elaborations. It starts from a base that could be considered “the way it should be made”, but each person has free rein to carry it out. The rules or requirements, so to speak, perhaps it would be better to say that the aesthetics that must be followed, are two layers of thin sponge cake between which a filling of sponge cake soaked in rum with syrup or apricot jam is arranged. These sponge cakes of the filling, could be either leftovers of other elaborations or “old” sponge cakes.
From this we know that, most probably, it was a recipe of use. Both for the use of leftover sponge cakes, in homes or bakeries, and for the addition of syrup and rum, to moisten them and make the result moist and tasty.
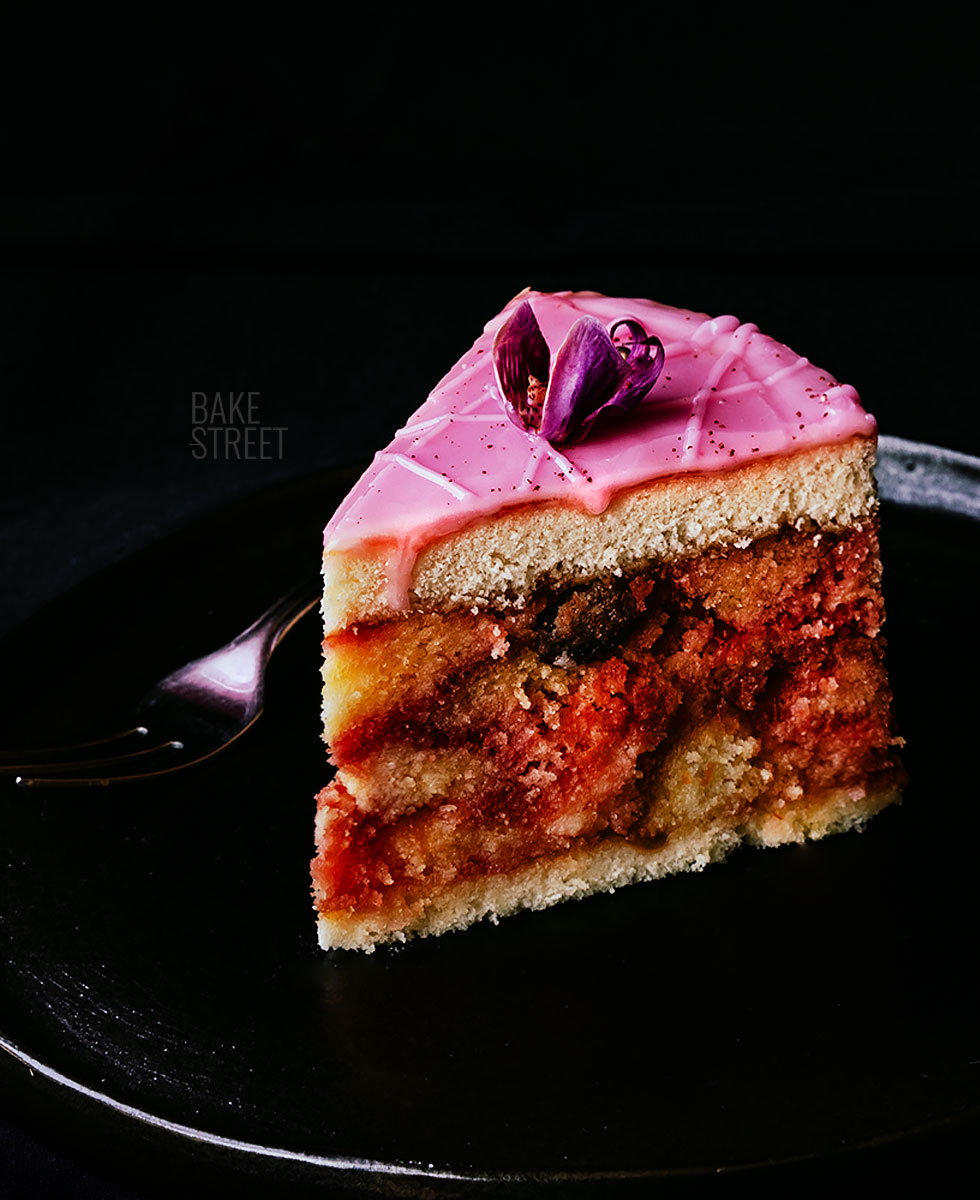
It began to be very popular among pastry chefs and it seemed that it had always been part of the showcases of pastry shops.
The first preparations, most likely in small cake format, were probably made at the turn of the century in Vienna. Recipes were found in cookbooks, written in German, dating back to the 19th century. Apparently, it is a recipe that fits perfectly with this period of the last years of the monarchy. Sweet, slightly boozy and with aromas that could waltz the Danube on the palate.
Speaking of the Danube, don’t miss this Danube Wave Cake that I left you some time ago.
There are many variants of this cake among which we can find a filling containing cocoa or chocolate, as well as nuts. Mostly ground almonds. They can also be made with dried fruits or candied cherries. It is a cake that, as you can see, allows you to be quite free in its elaboration process.
Apricot jam is used, both in the filling and on the outside. This helps to preserve the tart very well. In Germany, the jam used to be mixed with rum to make the filling, together with the sponge cake pieces. In Austria, on the other hand, the sponge cake cubes are mixed with chocolate, syrup and nuts.
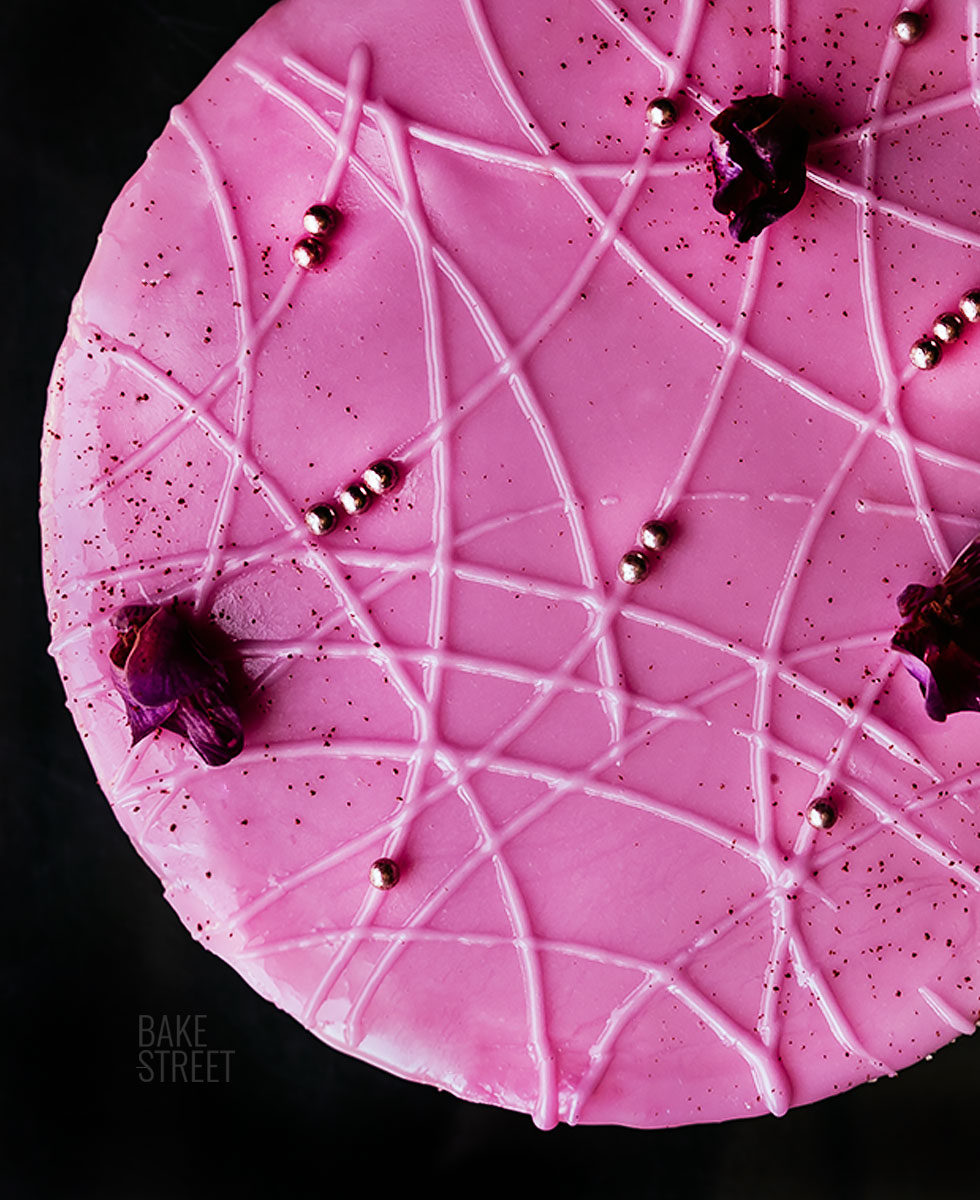
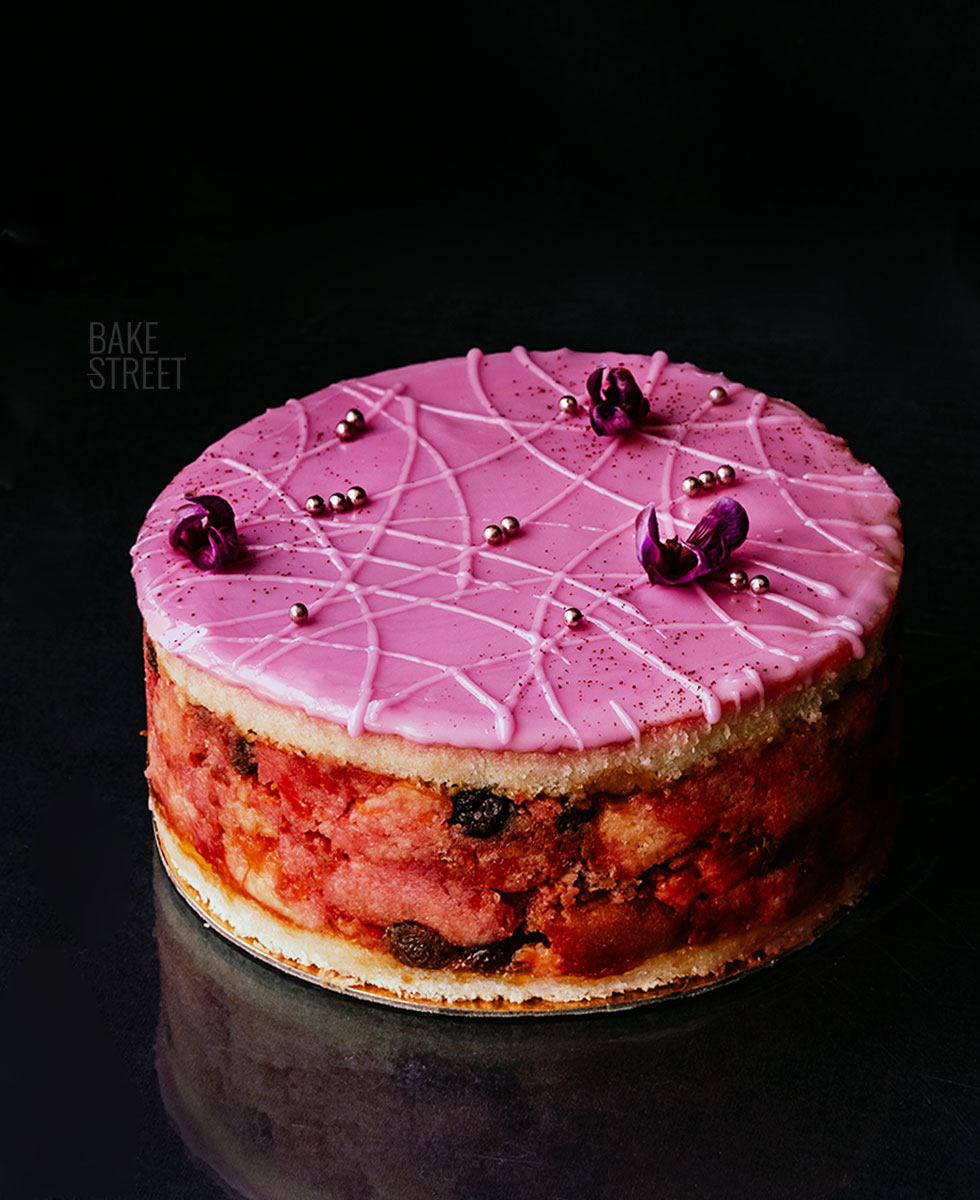
Finally, it is covered with icing and decorated, traditionally, with a cherry and fondant or chocolate lines. In Germany the fondant icing is usually white, while in Austria it is usually pink.
For my part I leave you this version that, I hope and wish you like this Punch Cake very much. It is less sweet, but very moist, very much. And with a wonderful flavor and aroma.
Recipe Punch Cake - Punschtorte
SPONGE CAKE:
- 5 large eggs, egg whites and yolks separated
- 150 g sugar, divided (75 g + 75 g)
- 70 g pastry/cake flour
- 90 g cornstarch
- 60 g unsalted butter, room temperature
- 4 g baking powder
- pinch of salt
ORANGE AND RUM SYRUP:
- 200 g orange juice, freshly squeezed
- 60 g rum
- 75 g sugar
- zest from one orange + zest from half lemon
- pinch food coloring paste, color "Claret" or pink instead
LIQUID FONDANT:
- 240 g powdered sugar
- 40 g water
- 15 g Corn Syrup
- 2 g glycerin
- coloring food paste/liquid pink, I have used "Claret" color in paste format
DECORATION:
- pink metallic sprinkles
- edible flowers
- ruby-colored metallic powder coloring
- 150 g apricot jam without fruit pieces, for brushing the cakes
- sultanas or candied cherries (recipe here), to taste (optional)
MATERIAL WE WILL NEED AND SHOWN IN THE VIDEO:
- KitchenAid* or stand mixer
- crystal bowl KitchenAid*
- saucepan, mine is this from DeBuyer*
- bowls
- rectangular mold/pan, this is mine from Naturals Nordic Ware 25 x 18 x 2,8 cm*
- round mold 15 cm, mine is similar to this
- acetate
- scraper*
- silicone spatula
- pastry spatula (optional)
- digital kitchen scale
- digital kitchen thermometer
- cooling rack
- piping bag + nozzle
- pastry brush
- 15 cm cake stand (optional)
- rotating cake stand (optional)
- precision tweezers*, optional
*In these products you have a 5% discount on the website Claudia&Julia using this code BAKESTREET. Delivers throughout Europe.
Instructions
Prepare sponge cakes.
- In the bowl of the KitchenAid, add the egg yolks and 75 g of sugar. Whisk at medium-high speed until a whitish color and a creamy texture is achieved, you will notice that it increases in volume.
- Add the butter and whisk again until a homogeneous mixture is obtained.
- Begin to incorporate the flour, little by little. We will integrate while mixing at speed 1.
- Add baking powder together with salt and mix.
- Finally, add cornstarch. We will do it in the same way, little by little and mixing at the same time.
- Once everything is integrated, set aside.
Whip meringue.
- In another bowl, add the egg whites and begin to whip. Once it begins to foam, add the sugar (the remaining 75 g).
- Whip with the whisk at medium-high speed until the meringue is firm, a little more soft peaks, but not dry. In other words, do not over whip the meringue until it is very stiff.
Add the meringue to the egg yolk mixture.
- Start incorporating the meringue, little by little, into the egg yolk mixture.
- Add a little, mix with a spatula until completely integrated and continue adding more. The first part of meringue will help us to smooth the mixture. As we add more, the mixture will become smoother and lighter.
Pour the batter in molds and bake.
- Preheat the oven to 355ºF/180ºC, with heat up and down.
- We will have two molds prepared and lined with baking paper; a rectangular one of 25 x 18 x 2.8 cm and a round one of 15 cm in diameter.
- Pour 285 g into the rectangular mold. To achieve a smooth and uniform surface, we will help ourselves with a scraper.
- The remaining 355 g are poured into the round pan.
- Bake the rectangular mold for 12 minutes and the round mold for 24 minutes.
- Remove from the oven, allow to cool and unmold.
- Place on a wire rack and let cool completely.
- At this point we can prepare to assemble the cake or, if we have little time, wrap well in film and reserve at room temperature. If it is very hot, it is better to keep it in the refrigerator.
- NOTE: The final amount of batter may vary a little, this will depend on the size and weight of the eggs.
Prepare syrup.
- In a saucepan, add the juice together with the rum, sugar, citrus zest and coloring.
Mix very well. - Place over medium heat and let it come to a gentle boil, set aside while preparing the cakes to assemble the cake.
Cut sponge cakes and assemble the cake.
- With the help of a 15 cm disc/cake base, cut 2 circles in the rectangular sponge cake. It is very likely that you will not be able to cut 2 perfect circles, in the video I show you how to cut the second circle using the sides of the cake.
- Place the cake base inside the round cake pan and line the sides with acetate. This will help to keep the cake in perfect condition, as well as help to unmold it very well.
- Cover the other cake disc with cling film.
- With the help of a serrated knife, cut the round cake into cubes. If they are too large, we can cut them or cut them in half.
- Incorporate the sponge cake cubes in a bowl, if we wish, we can incorporate the excess of the sponge cake sheet. Or we can eat it.... Because it is very good.
- If we wish, we can add a few raisins or candied cherries cut into small pieces. We can also omit this step without any problem.
- Pour the syrup over the sponge cake, do not worry if some pieces are not impregnated. The cut of the cake looks very nice when there are different shades of color.
- Stir gently with a silicone spatula.
- Generously brush the base of the sponge cake inside the mold with slightly warm apricot jam. When the jam is heated, it liquefies and helps the brushing process.
- Fill the mold with the pieces of sponge cake soaked in syrup. At the same time that we are filling, we will press gently to compact the pieces and avoid gaps.
- When we have placed about half of the filling, brush the surface of the moistened sponge cake pieces with apricot jam.
- Finish filling the mold with the rest of the sponge cake.
- Press the surface to equalize and compact the filling.
- Brush the other disc of sponge cake, on the golden side, with warm apricot jam. By brushing the golden brown side, we make the cut more attractive. Although in this case it is not very noticeable.... Maybe it's just me, hahaha.
- Place this cake, with the jam face down, and press to even the surface.
- Line with film, touching the cake to prevent it from drying out, and place a little weight on the surface (the weight must be distributed identically over the entire surface). In this way we favor that when we unmold it, it will be level.
- Refrigerate until next day or a minimum of 12 hours.
Unmold and brush a new layer of jam.
- The next day, unmold the cake and remove the acetate.
- Generously brush the top of the cake with warm apricot jam.
- Replace the acetate and refrigerate for 1 hour. This will help the jam to harden a little and prevent it from mixing with the liquid fondant when it is spread on the surface.
Prepare liquid fondant.
- Leave a medium pot with boiling water ready so that, in case the temperature of the fondant is reduced, we can raise it while we work. In my case I did not need to use it, but it never hurts to leave everything prepared in case it is necessary.
- Sift the powdered sugar in a heat resistant bowl. In case it is necessary to reheat the liquid fondant in a bain-marie later. Set aside.
- In a saucepan add the water together with the Corn Syrup and the glycerin. Place over medium heat and let it reach 131ºF/55ºC, the mixture should not boil in any case.
- Remove from the heat and add the coloring in paste or liquid and dissolve.
- Pour the mixture over the powdered sugar and mix until a homogeneous and uniform mixture is obtained.
Cover the cake with liquid fondant.
- Pour a little fondant over the surface of the cake, just enough to cover the top.
- Let dry at room temperature for 2 hours.
- Cover the excess liquid fondant with cling film. It will liquefy after two hours, but we can beat again to achieve a homogeneous mixture.
Finish decorating the cake.
- Once the fondant has dried, carefully remove the acetate.
- If the edges are uneven, with the help of a pastry spatula (or a round-tipped knife, if not), even them out.
- Beat the liquid fondant to homogenize it and put it in a piping bag with a nozzle.
- Decorate the surface as you like. Traditionally a lattice is usually made, but in my case I was inspired by the wonderful creations of
- Maja Chocolat.
- If desired, decorate with sprinkles, metallic powder coloring and edible flowers. This step is completely optional, you can decorate the cake as you like.
- Let dry for 30 minutes and serve. At this point, we can refrigerate and keep it there until serving time. In the notes section I detail how to store it to prevent it from drying out.

Notes
- To line the molds, we can grease the base and sides with butter to help the baking paper adhere. The butter can be replaced with release spray.
- To weigh the amount of batter to be poured into each mold, place the digital scale under the mold.
- The acetate helps the cake to keep the perfect shape and, in case of using liquid or moist ingredients, to stay in place. It also favors a perfect unmolding.
- Sultanas or candied cherries can be omitted.
- Some recipes contain cocoa powder or chocolate in the syrupy sponge pieces of the filling, in my case I decided to make the format that does not contain it. I find it much more attractive and visually beautiful.
- If we do not want to use rum to make the syrup, we can omit it and use more orange juice instead.

- If we do not have pink coloring, we can use syrup from candied cherries.
- Traditionally, orange and rum syrup has more sugar. I decided to reduce it because it seemed too much. Besides, they incorporate the marmalade in it. I also decided to omit this step and, instead, brush half of the filling with marmalade. I find the result, made in the traditional way, to be extremely sweet.
- We must let the apricot jam dry/harden before spreading the fondant on the surface. The reason is that, if we do it right away, both elements will mix and the result will not be as expected.
- We cannot touch up the fondant, the surface, once it has been spread. As it begins to dry, the surface dries quickly, cracks or ripples will be created.
- Top decoration, in some cases (such as versions containing chocolate) is usually decorated with chocolate lines instead of liquid fondant.
- To preserve this cake and prevent it from drying out, line the entire outside with baking paper. The fondant will keep the surface very fresh, but the sides are exposed and must be covered. When cutting portions, in case the whole cake is not consumed, remember to cover all the sides with baking paper.
- If we decide to cover the entire cake with liquid fondant, in this case, we will only cover the cut area with baking paper. If you decide to cover the entire cake with fondant, remember that you must also cover the entire outside with apricot jam beforehand.
- It keeps moist, tender and in perfect condition for 5-6 days, always refrigerated.

Thank you for joining me for another year, I would like to enjoy this cake with all of you. But, as it is not possible, I am sending you a virtual piece of this wonderful Punch Cake - Punschtorte and I hope you enjoy it very much. For my part, I will take a short break from the web until the end of August, more or less.
I wish you a wonderful summer, rest, enjoy and do everything that makes you happy! See you when I get back.
Lots of love,
Eva
Sources: Wiki, Servus, Falstaff
This post contains affiliated links.
