Mazurek or Mazurka, traditional Polish pastry
This year I wanted to leave you with several recipes to make at Easter and, with this last one, I am a little short of time…. But, there is still time to make it and enjoy it during these days, together with the great amount of Easter recipes that we have at our fingertips. Because there is nothing like celebrating and enjoying each and every moment of our lives. Today I bring you a recipe from Polish gastronomy, Mazurek also known as Mazurka.
First of all, I am sure many of you know that the word “mazurek” might have its origin in the word “Mazur” (or Mazowsze) which refers to those who live in the Mazovia region of central Poland. It has several meanings, apart from referring to this cake; the mazurka is a Polish folk dance, but it is also the name of a country sparrow.
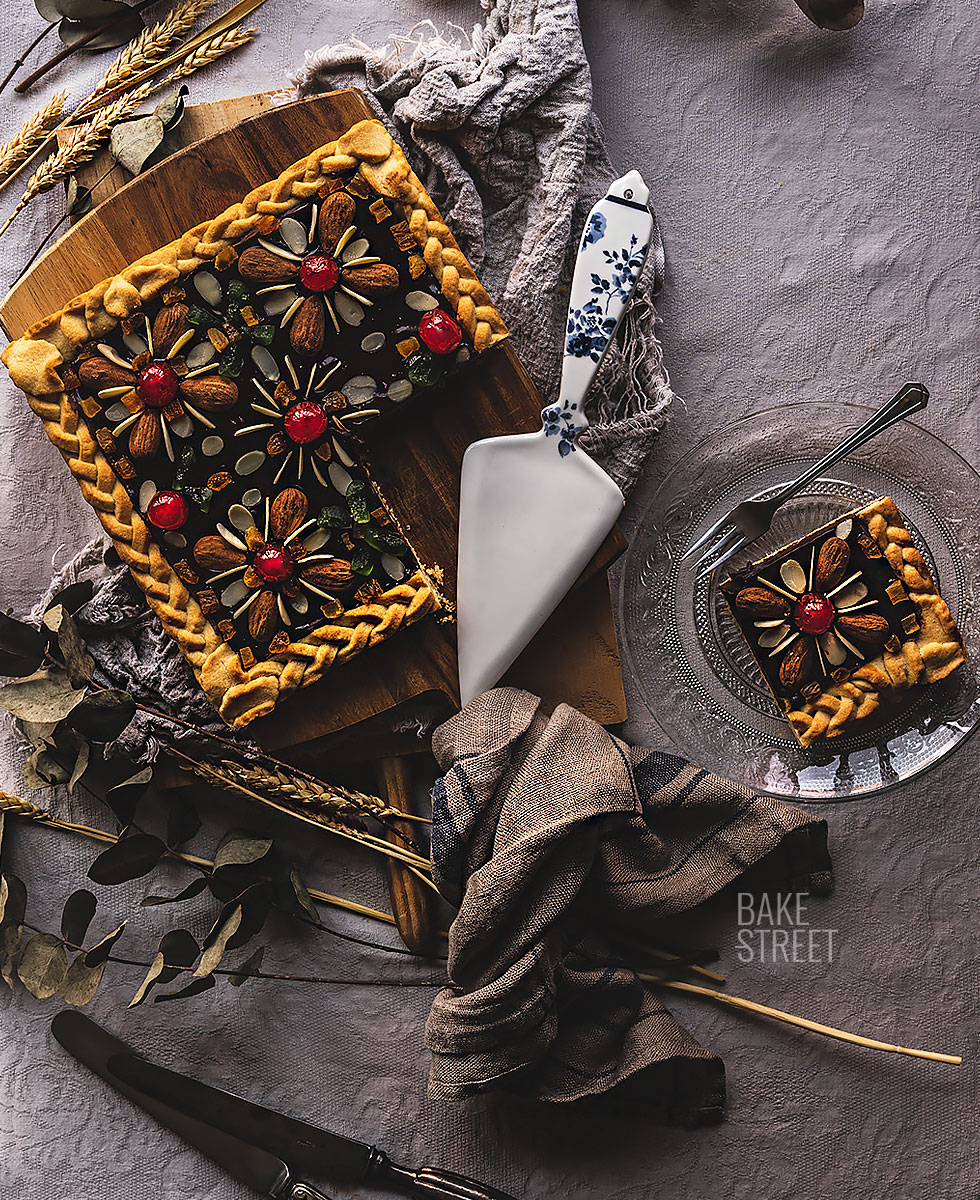
Traditional Easter pastry.
Mazurek, or Mazurka, is a Polish cake that can be made with different types of doughs/bases and fillings. To tell you the truth, when I started looking for information about them, I was a bit confused. The reason is that, normally, when we look for a particular preparation, the variation of ingredients or ways of making them are quite subtle. But, in this case, the difference between one and the other was so different that I didn’t know if I was actually looking at a recipe for the same preparation.
In short, Mazurek is a thin, flat pastry in which we use a base, a filling and decorations of our choice. Ideally, it should not exceed a height of 4 cm, but this rule is not always observed. Based on this information, all we have to do is let our imagination run wild.
This sweet treat was originally served only at Easter and is known as mazurek wielkanocny (mah-ZOO-rrek vyel-ka-NAWTS-nee), but nowadays it can be enjoyed and found all year round.
Making Mazurek.
As I mentioned above, there are few “norms or rules” for making this cake. Not only do they vary from one region to another, but also depending on the family or even the hands that make it. I think, without a doubt, it is the most versatile sweet I have ever come across. Its bases can be made of friable doughs, leveaned doughs, cookie bases or even puff pastry. Not only flour, but also almond, hazelnut or walnut flour can be found among the ingredients.
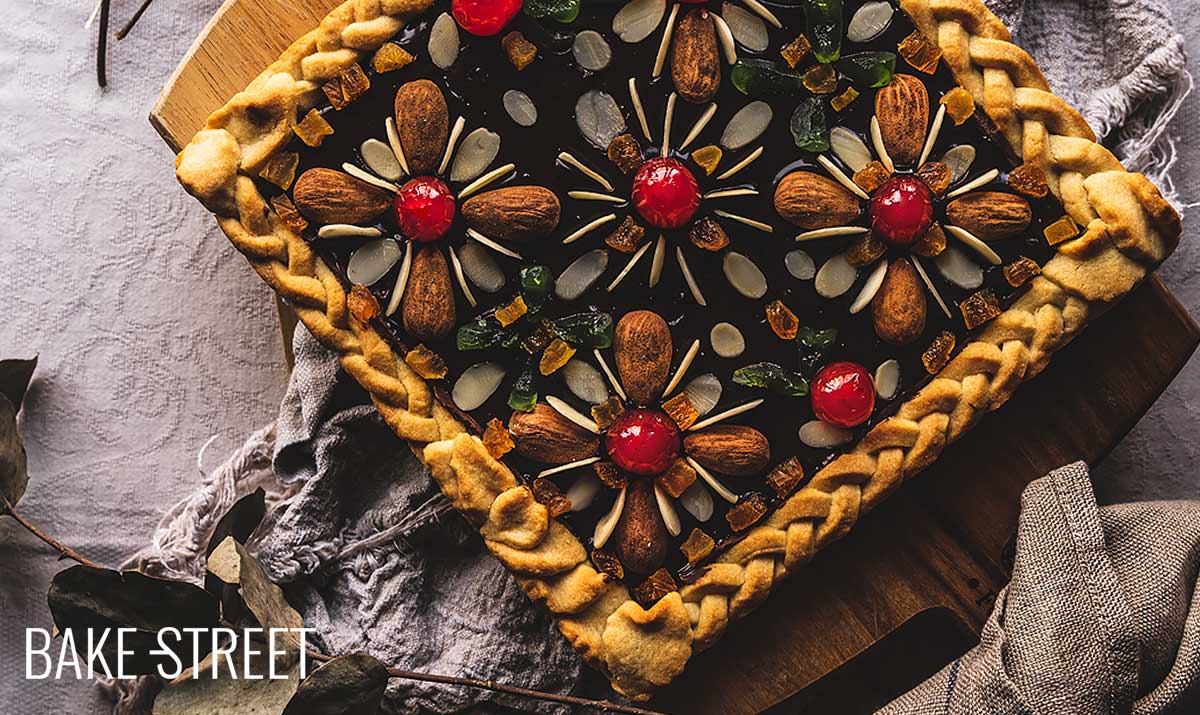
The fillings are incredibly varied; chocolate, jams, creams made with peanut butter or other nuts, marzipan, cream, meringue…. Not forgetting the carefully crafted decorations. Most of them are made with dried fruits and nuts, in fact in my case I followed the pattern of one of them that I loved. I saw it on a website, but it turned out to be a stock photo. My most sincere congratulations for this brilliant decoration that has totally inspired the work that I leave you today.
Mazurek, the origin of the Easter jewel.
It is believed that mazurek was inspired by Turkish sweets that came to Poland via the spice trade route from Turkey in the early 17th century, but its origin is somewhat uncertain. Russians are also fond of mazurki (plural for mazurek), but they differ somewhat from traditional Polish ones. They are usually made with nut flours, which makes them suitable for coeliacs.
Mazurek, whether homemade or bought, is considered an Easter treat after 40 days of fasting during Lent. This is most likely the reason why it is such a sweet and calorific cake.
The period between Palm Sunday and Easter Sunday are very busy days in Polish households. For this reason, many of the Easter preparations are usually made in advance. Especially desserts. That is why the mazurek has a large amount of nuts, so that it can preserve the moisture well and keep it fresh until the moment of consumption.
Among the myriad decorations, especially when the top is a glaze, one can find written details such as ‘Alleluja‘ or ‘Wesołego Alleluja‘, the latter translating as ‘Happy Easter‘. In many cases they may be written with almonds or sour cherries. It is also common to decorate the mazurkas with chocolate or almonds that draw or simulate willow branches, a very popular sign of spring in Poland.
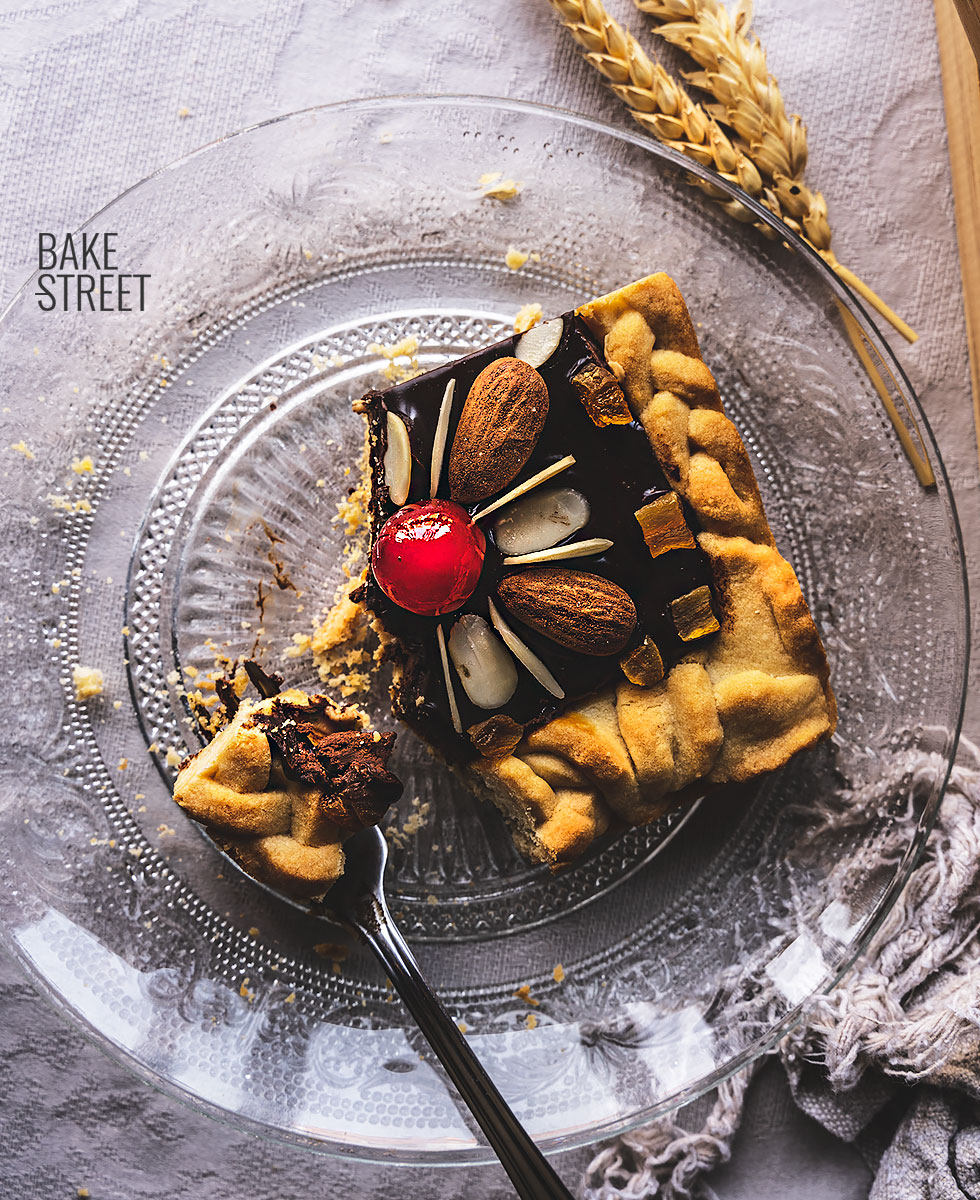
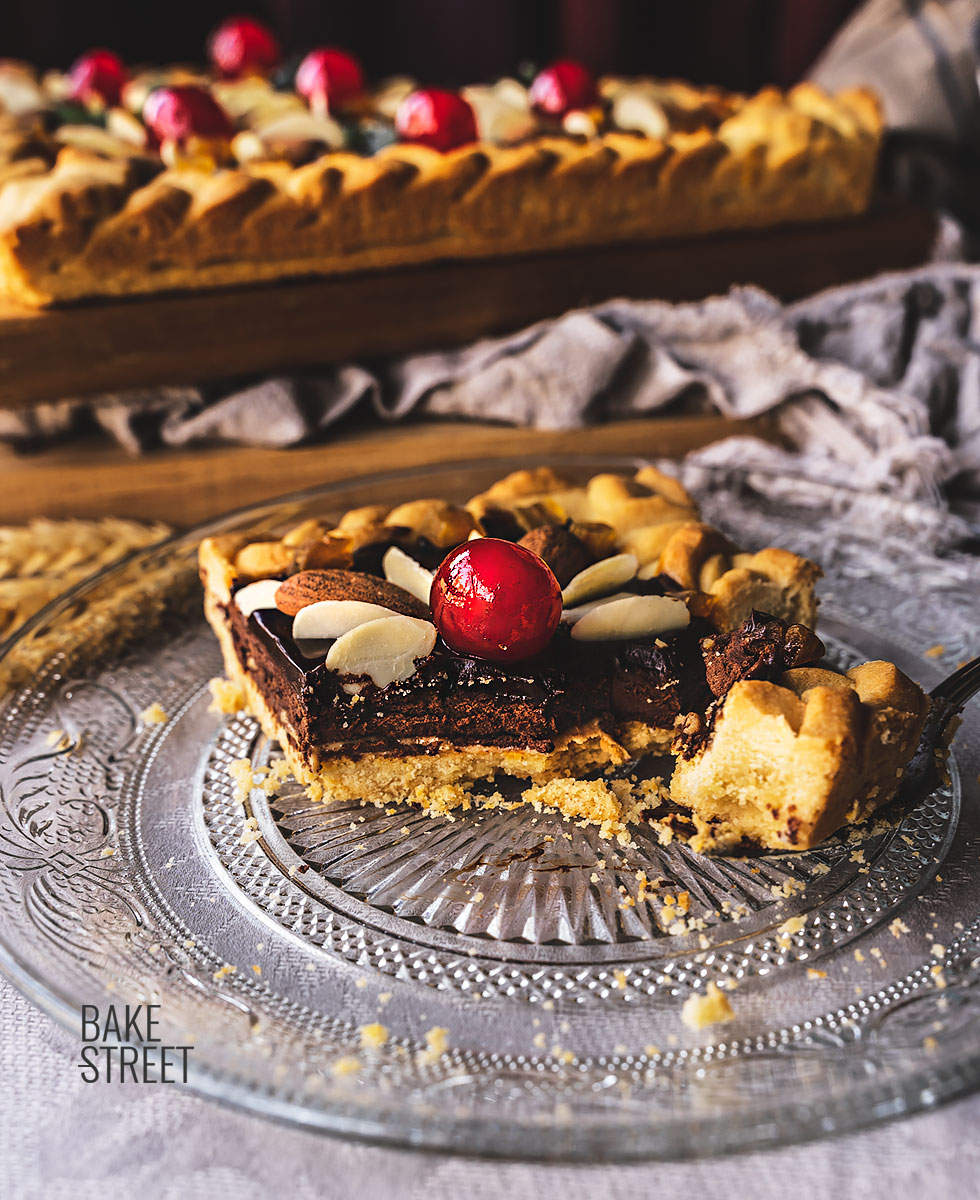
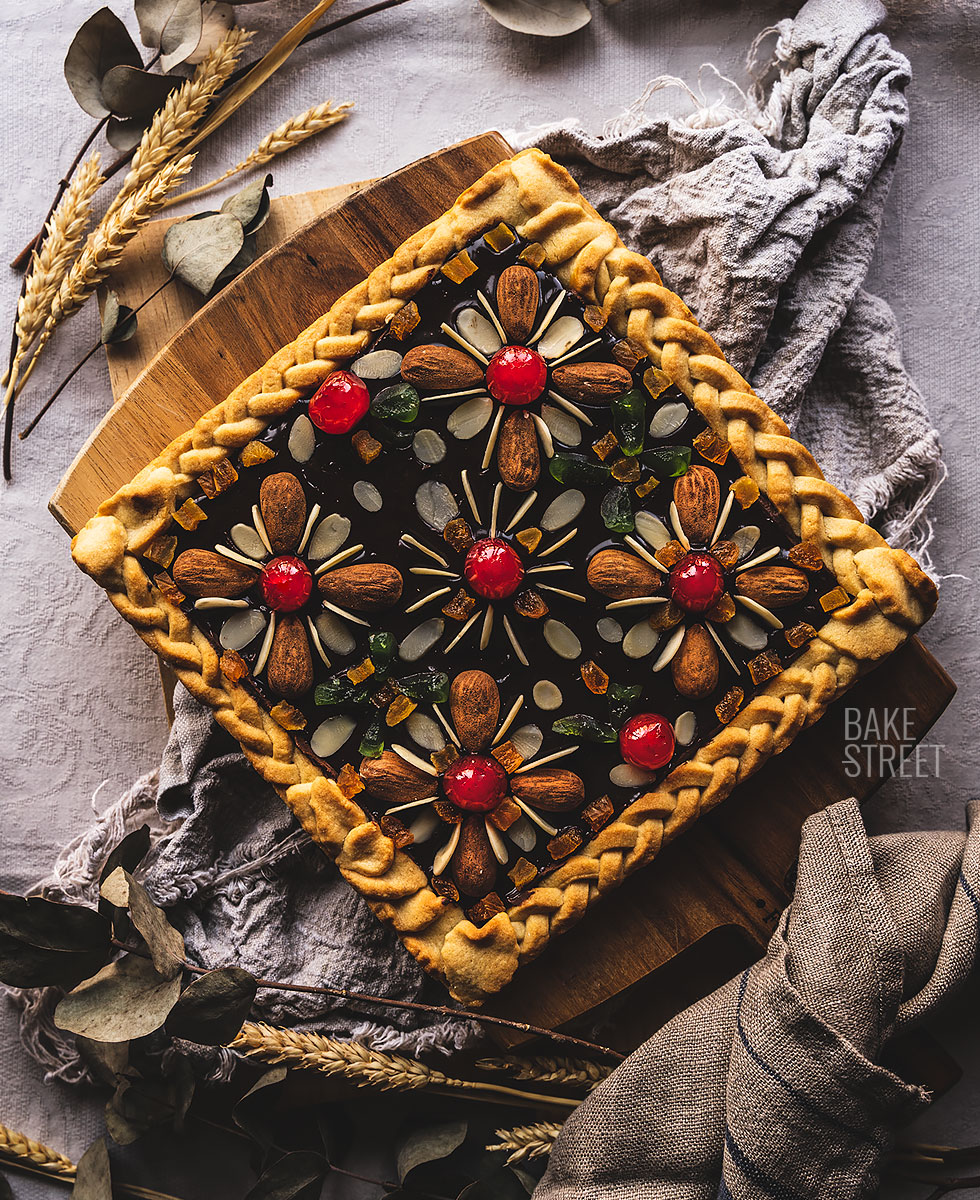
In my case, I followed this pattern which, for me, has a classic, vintage, old-fashioned, but extremely delicate and elegant feel. I liked it a lot and that is the reason why I decided to replicate it giving some different details, especially in the dough shaping.
Recipe Mazurek
DOUGH:
- 250 g pastry/cake flour
- 100 g ground almond
- 75 g icing sugar
- 1 large egg
- 200 g unsalted butter, cold in cubes
- pinch of salt
- 1 egg yolk for brushing
FILLING:
- 2-3 Tbsp unsweetened peanut butter for the base
GANACHE:
- 200 g black chocolate 70%
- 140 g fat cream
SHINY GLAZE:
- 75 g black chocolate 70%
- 75 g fat cream
- 17 g unsalted butter at room temperature
DECORATING:
- whole peeled almonds
- flaked almonds
- candied cherries, red and green
- chopped dried apricots
MATERIAL WE NEED:
- KitchenAid or stand mixer (optional)
- tray + silpat + teflon
- adjustable roller
- square mould 23 x 23 cm
- ceramic weight balls for baking or, failing that, dried legumes
- scraper or sharped knife
- ruler
- pastry brush
- precision tongs
Instructions
Make the dough for Mazurek.
- In the bowl of the KitchenAid, add the flour together with the ground almonds, icing sugar and salt. Mix with the flat beater for a few seconds to homogenise the mixture.
- Add the butter and mix for a few seconds until you obtain a sandy mixture.
- Add the egg and mix again until the dough is more or less homogeneous.
- Transfer the dough to a work surface and finish working it using the fraisage technique. This will help us to obtain a homogeneous dough but without developing gluten.
- Place the "heel" of your hand on the dough and slide the dough forward little by little so that it amalgamates but without obtaining an elastic result. You can see the process in the video.
- Once it is homogeneous, roll out the dough between two Teflon sheets or a silpat.
- Use an adjustable rolling pin and roll to a thickness of 0.5 cm.
- Place on a tray and place in the refrigerator for 2 hours.
Line the mould with the dough.
- Place the mould on the dough and cut a square with the same dimensions as the base. In my case, a mould measuring 23 x 23 cm.
- Line the mould with baking paper and place the square we have cut inside the mould.
- Cut 4 strips, about 1 cm wide, to place on the sides to create a border.
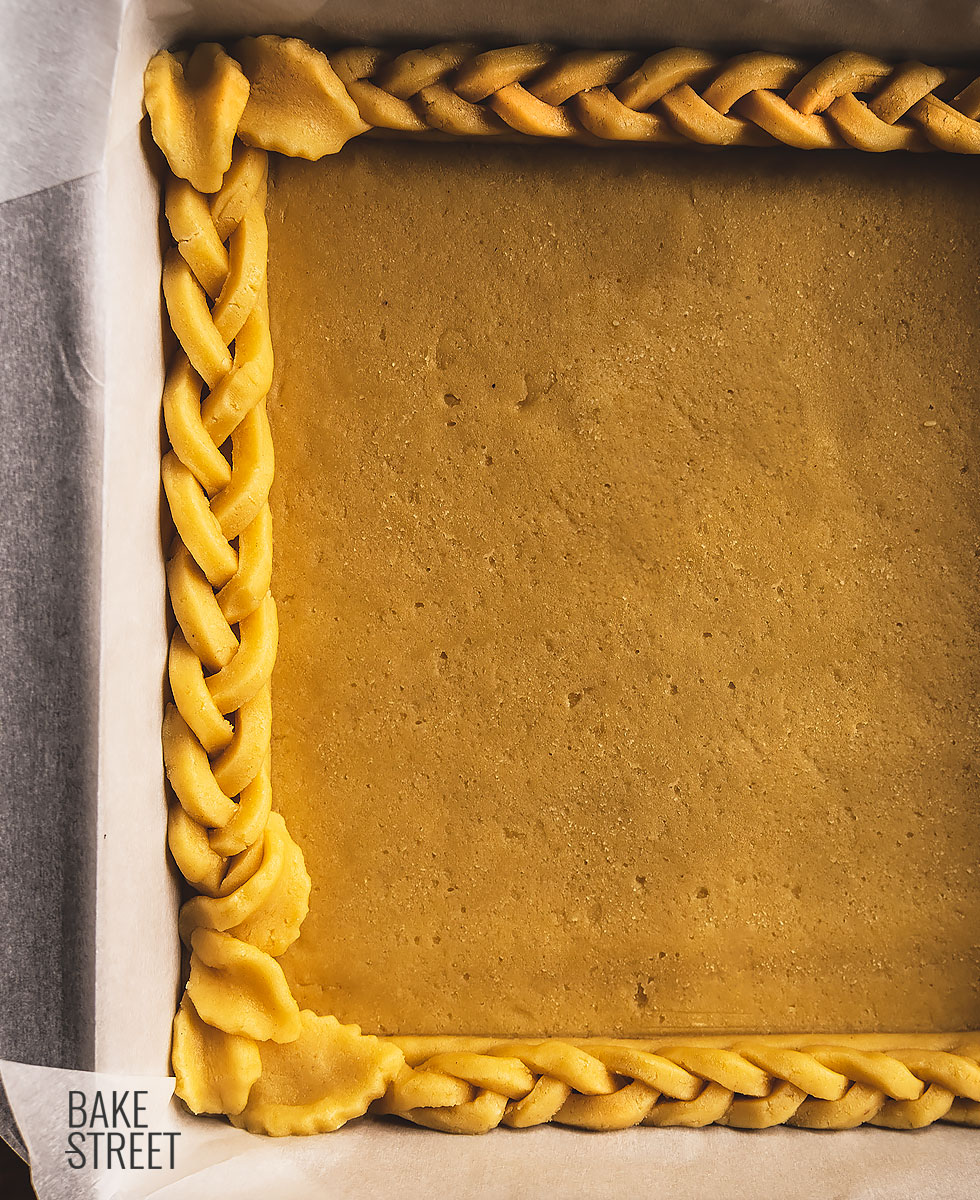
- To create the braids, cut thin strips, about 3 mm wide. Form braids to place on the sides. Don't worry if they are not the same length, we can arrange decorations such as leaves and flowers. We can use cutters to do this.
- Place the braids on the sides, we can use a little water to help the pieces adhere well. Finish decorating as you like.
- Refrigerate for 1 hour.
Bake.
- Preheat oven to 355ºF/180ºC heat up and down.
- Prick the base of the cake with a fork. Line the inside with baking paper and cover with baking weights (ceramic balls) or dried legumes.
- Bake for 20 minutes.
- Remove from the oven, remove the ceramic balls and the paper and bake for a further 5 minutes.
- Remove from the oven again, brush the base with egg yolk and bake for a further 7-8 minutes.
- Leave to cool completely, out of the mould, on a wire rack.

Spread first filling layer.
- Once the base has cooled, proceed to fill it.
- We will give a first layer of unsweetened peanut butter.
- Refrigerate while preparing the ganache.
Prepare the ganache and fill the second layer of filling.
- Chop the chocolate and set aside.
- Pour the cream into a heatproof bowl and place in a bain-marie. Leave until it reaches a temperature, but do not bring to the boil. Remove from the heat.
- Pour over the chocolate, leave to stand for 2 minutes and whisk until completely homogenised.
- Pour the ganache, which will be rather thick, onto the base of the cake. Smooth the surface to achieve a uniform finish.
Prepare the shiny chocolate glaze and fill the last layer of filling.
- In a bowl, add the chopped chocolate and butter and set aside.
- Pour the cream into a saucepan and heat over medium-low heat.
- Remove from the heat and pour over the chocolate. Leave to stand for 2-3 minutes and stir until obtain a homogeneous and very shiny mixture.
- Pour the glaze over the inside of the cake, to give a uniform finish you can use a spatula.
- Leave to stand for 15 minutes before decorating.
Finish decorating the cake.
- Decorate the cake with red cherries, peeled almonds, sliced almonds, dried apricots cut into small squares and green cherries. You can either use the decoration I leave you with or create your own.
- Serve.

Notes
- The dough can be made by hand or, as I show you in the video, in a KA/kneading machine.
- The base dough should not be kneaded/worked too much to avoid developing gluten. This would cause the dough to puff up too much during baking.
- If it is necessary to sprinkle a little flour on the dough to make it easier to handle, you can do so. But remember to sprinkle, not add much more.
- We must work with the dough cold to obtain a good finish. When you are forming the braids, if the dough becomes warm, do not hesitate to refrigerate it for 10-15 minutes before continuing.
- If you want the shapes to hold their shape after baking, follow the steps for chilling as detailed below.
- Brushing the base with egg yolk helps to form a layer that separates the base from the filling, thus preventing it from softening by absorbing the moisture from the filling and preserving its crunchy texture.
- The peanut butter can be replaced with jam if desired. Or omit this part of the filling.
- The ganache filling has a dense consistency, while the glaze is more fluid.
- Always heat the cream and pour it over the chocolate, never the other way round. And, if possible, never in the microwave but in a bain-marie.
- The temperature of the cream must not be too high or we run the risk of separating the fats from the chocolate and damaging the ganache.
- The decoration is completely optional and can be adapted to your tastes or to the ingredients you have at home.
- It can be kept refrigerated in an airtight container for 15 days.

I'm sure you've already planned your Easter menu, but what about how good it feels to break the rules and let yourself go? Well, let yourself go and prepare this Mazurek recipe at home. I assure you that you will fall in love, not only with the process, which is wonderful and super "enjoyable", but also with the end result.
I wish you a wonderful Easter.
Big hugs!
Eva
Sources: La voz de Polonia, Hiloved
This post contains affiliated links
