Ciambelline with mascarpone cream
It’s the first time I’ve made baked doughnuts instead of fried ones. In fact, when I saw the recipe I didn’t think it was doughnuts but some baked, stuffed round bun. They came through my eyes from minute zero. So I decided to go with these Ciambelline with mascarpone cream.
I tried to be faithful to the process of elaboration, but in reality I was halfway there. The ciambelline I saw on the My panne Burro e Marmellata blog were first baked and then fried. In addition to being filled with a sweetened ricotta cream. In my case I chose to carry out only one type of cooking, in this case baked, and then accompany them with a mascarpone cream filling.
Of course you can always follow the Agostina process and cook them with both methods or bake or fry them.
I don’t know what the result of a bun we baked and then fried to start and finish cooking it will be. Not like French toast, torrijas… which undergo this process, but in different steps. I mean to carry out two different cooking processes on the same timeline. I’ll have to try this method one day and tell you the results.
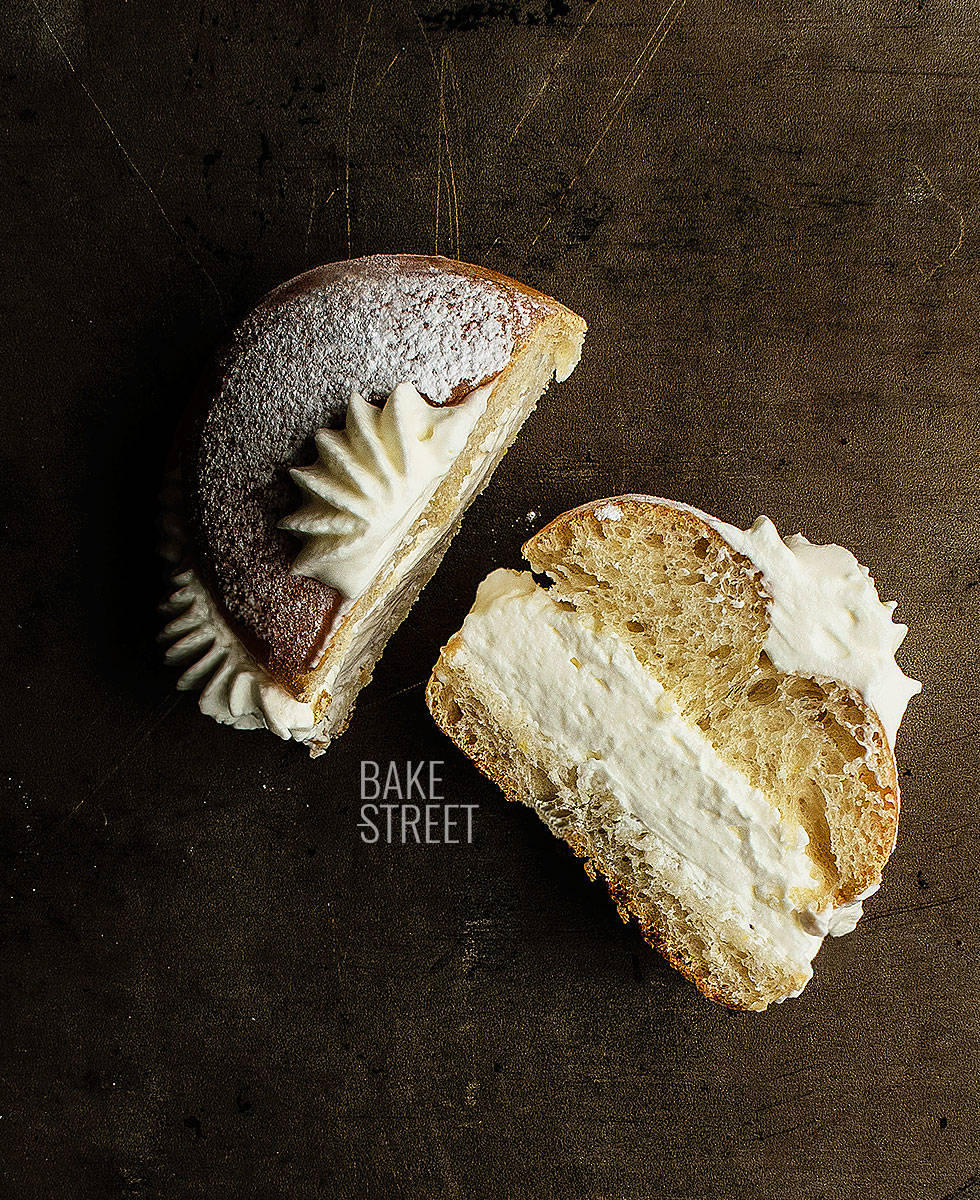
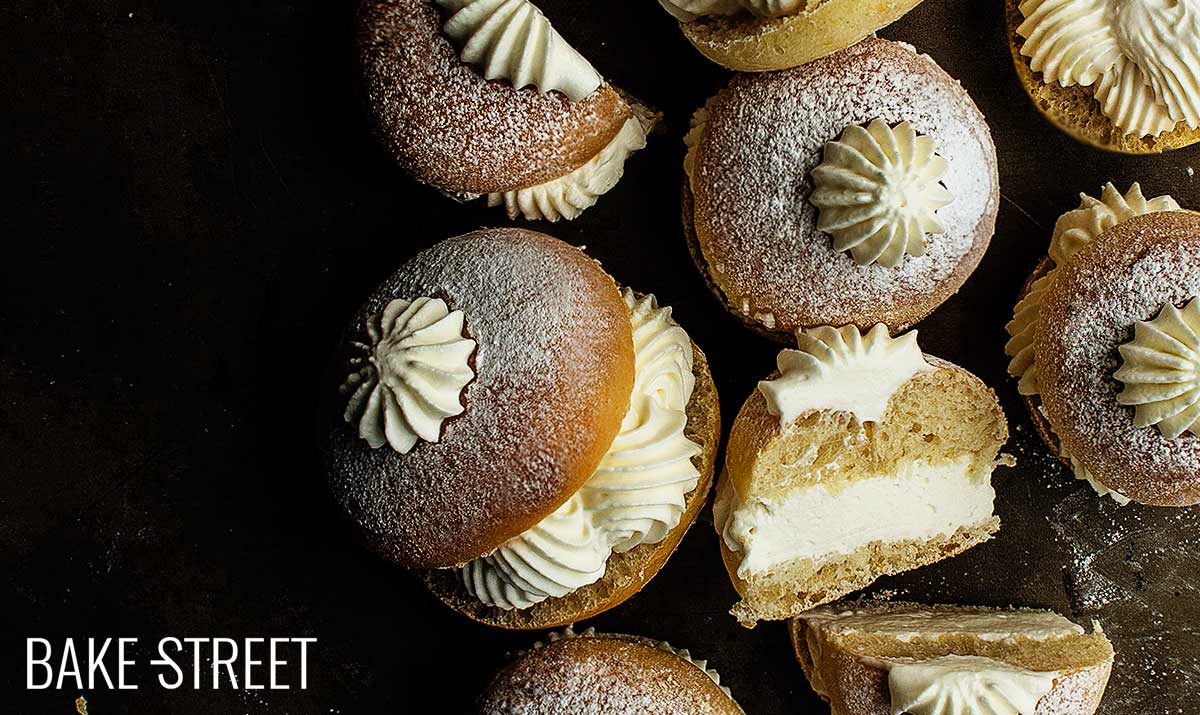
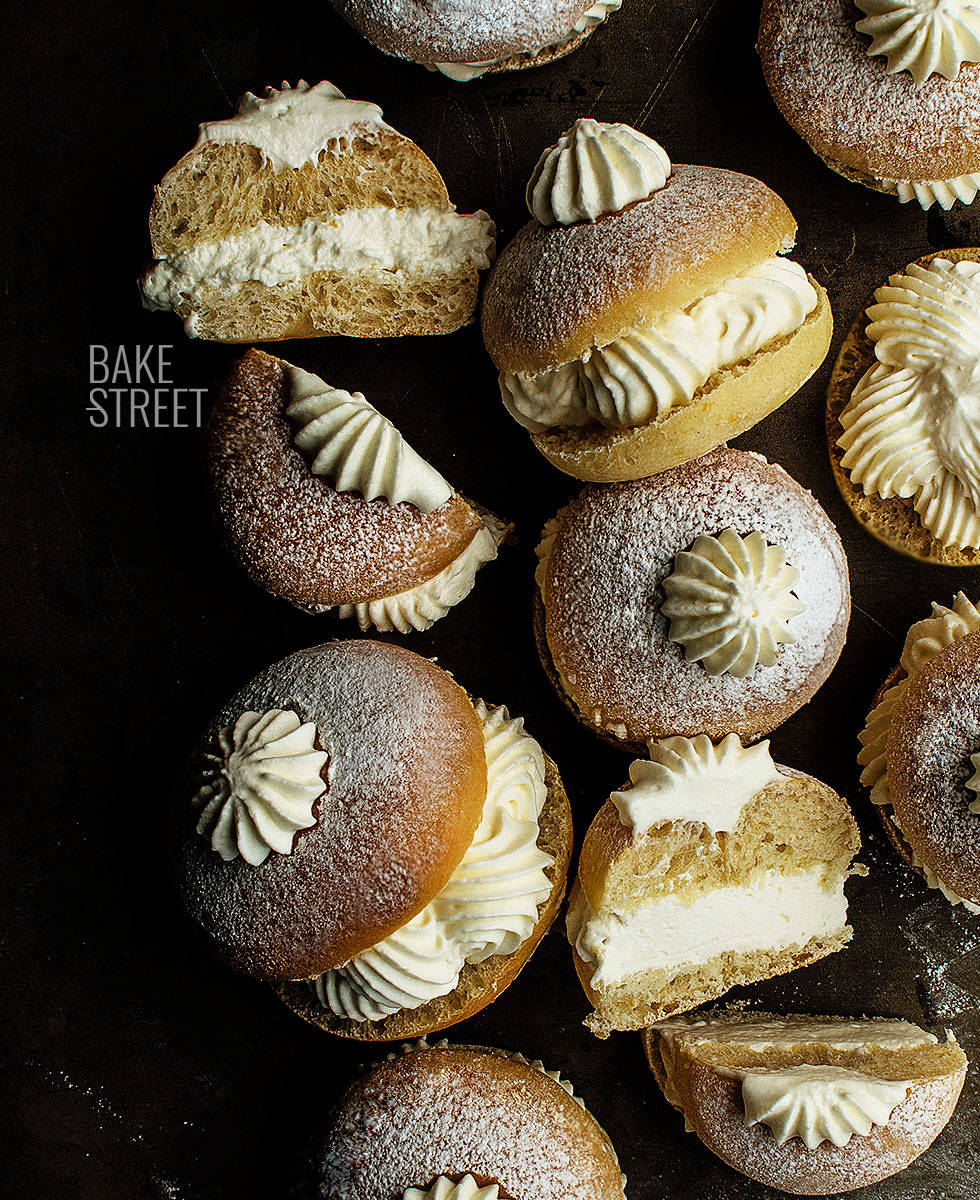
These ciambelline or tiny doughnuts are a real treat. In fact, they’re about the size of a cream puff. The dough is tender, fluffy and very soft, and is flavored with lemon zest and vanilla. Together with the mascarpone filling the combination is absolutely delicious.
Tradition of the ricotta ciambelline.
Apparently these small sweets are traditional from Reggio Calabria, city and port in southern Italy. They are considered part of the zeppole, which is fried sweet dough (similar to a doughnut) and then sweetened. There are also salty versions called zippuli.
It is tradition to consume them in many festivities, including Carnival. It is believed that the tradition of consuming them on holidays is because they brought good luck.
In my case, as I mentioned above, I have “broken” the original recipe a little and transformed it to my own free will. In fact, it has very little to do with the original source, but I think and consider that the right thing to do was to cite where the idea and recipe that I am bringing you today came from.
Mondays are better with music and if it’s with good vibes, better than better. Today I’ll leave you with this song that is now 15 years old, but it’s one of those songs that always sounds just as good when you listen to them and they’re perfect for whatever you’re doing. Make Luv – Radio Edit – Room 5 feat. Oliver Cheatham remix, “Youtube link”.
Ingredients for 30 pieces
FOR THE DOUGH:
- 300 g AP flour
- 140 g whole milk
- 50 g sugar
- 30 g unsalted butter
- 1 large egg
- 1 tsp vanilla extract
- one lemon zest
- 2,7 g dry yeast
- 4 g salt
FOR THE FILLING:
- 350 g cream
- 200 g mascarpone cheese
- 120 g icing sugar
- 2 tsp vanilla extract
FOR DUST:
- icing sugar
Instructions
Make the dough.
- Keep 2 tablespoons of milk.
- In a bowl add the flour together with the egg, milk, salt and sugar. Mix with your hands or the hook in a stand mixer to amalgamate the ingredients.
- Add the vanilla and the lemon zest and continue kneading.
- Add the butter into the mixture and work to start mixing it.
- Dissolve the yeast in the milk we had reserved and pour it to the dough. Knead again until it is completely integrated.
- Knead until you get a good gluten development. The dough must be elastic and not cracked. It will take us about 30 - 35 minutes.
Make bulk fermentation.
- Once we have a perfect gluten development, make a ball with the dough.
- Grease an hermetic container, place the dough inside and let it rise until it grows 1/3 of its volume. In my case it took 3 hours at 70ºF (20.8ºC).
- Place it in the fridge until the next day.
The next day...
- Take the dough out of the cold and let it temper, in my case I left it for 3 hours.
Stretch the dough.
- Dump the dough on a clean work surface and stretch the dough to a thickness of 0,4 inch (1 cm).
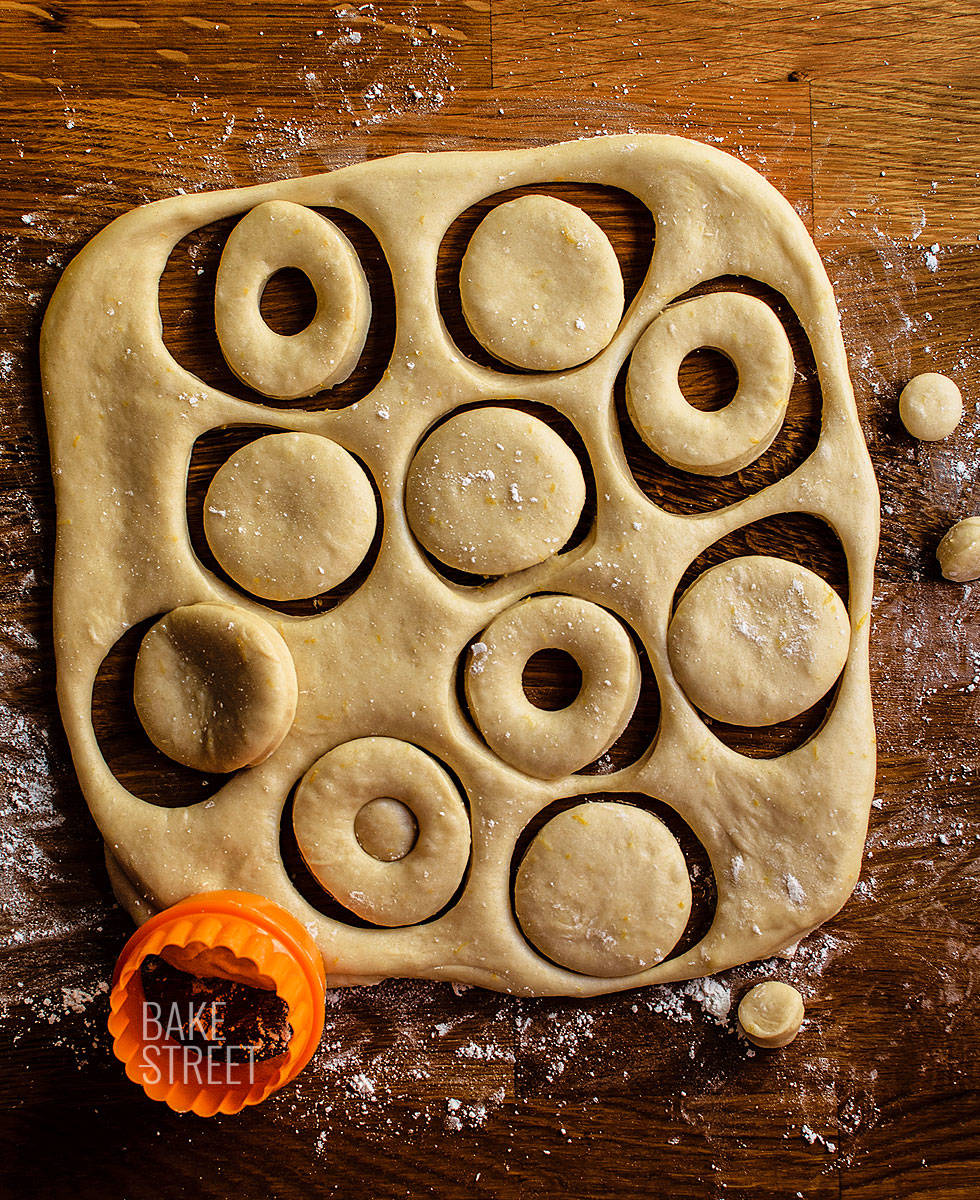
- Using a 2,5 inch (6 cm) diameter round cutter, cut the pieces. In my case, I also made a central hole for them with a 2 cm diameter cutter, but you can omit this step (if you wish) because after the rising time the piece practically joins.

- Make a ball with the remains of dough, let stand for 30 minutes covered with film and then stretch and cut again to get more pieces.
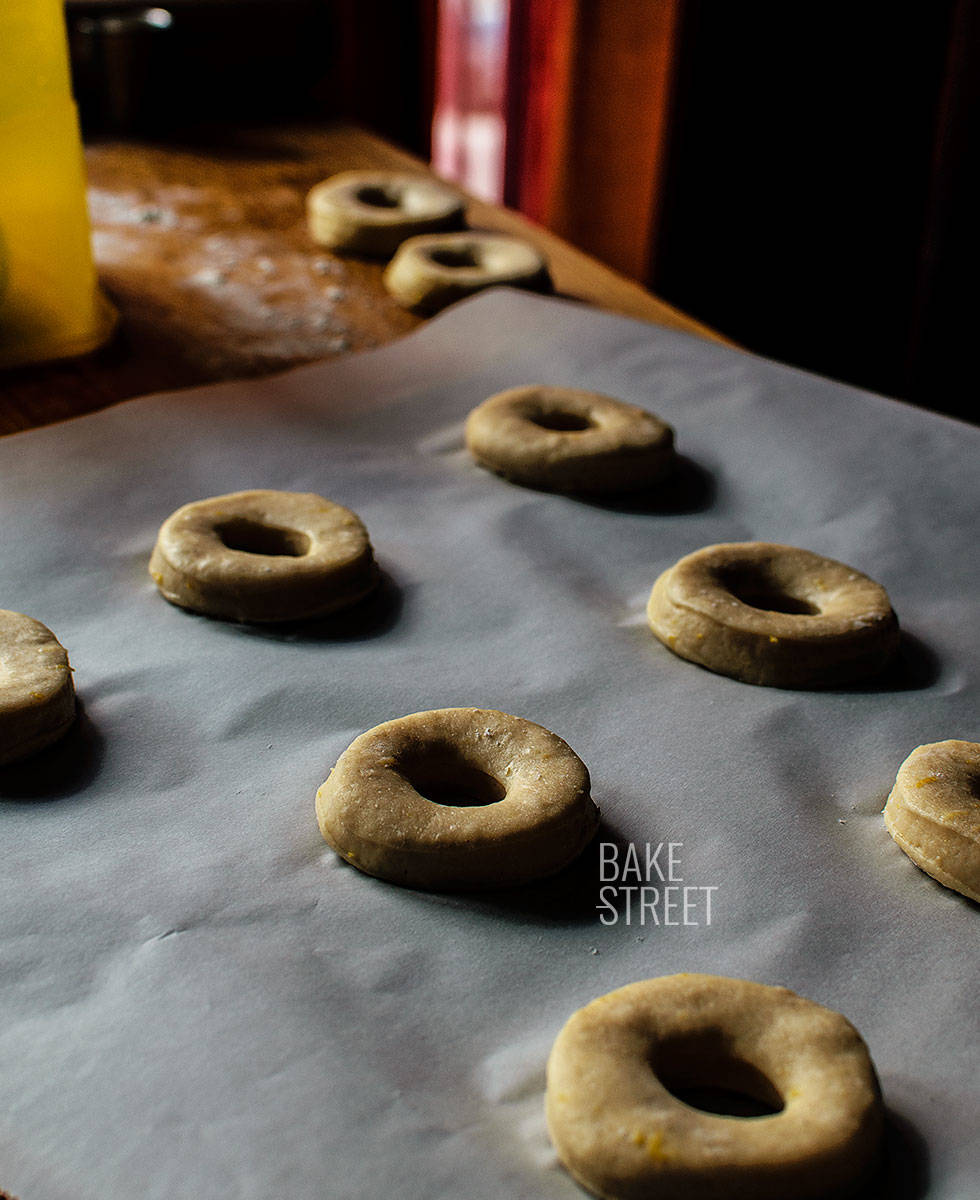
- Place on a tray lined with baking paper, cover with film and let it rise until it doubles in size. In my case, it was 3 hours.

Bake.
- Preheat the oven to 355ºF (180ºC).
- Place at medium height and bake for 9-11 minutes. They will take on a slight golden color.
- Remove and let cool completely on a rack.
- Repeat the process with the other batch.
Make mascarpone cream.
- Cream must be cold 24 hours before used it.
- The bowl in which we are going to make whipped cream must be cold. I recommend to use one aluminium bowl and freeze 20 minutes before beat it.
- Pour heavy cream into freeze bowl and beat with an electric mixer into low speed.
- Once cream is becoming to form stiff peaks, add sugar little by little stirring the whole time. Increase speed gradually but without reaches high one. Ideally use medium speed.
- Before finish to beat the cream, add vanilla extract along with the mascarpone cheese (slightly smoothed with a spoon) and beat until get a perfect whipping cream. Be sure not to over-beat, otherwise cream will become lumpy and butter-like.
- Cover with plastic wrap and chill until used it.
Fill ciambellines.
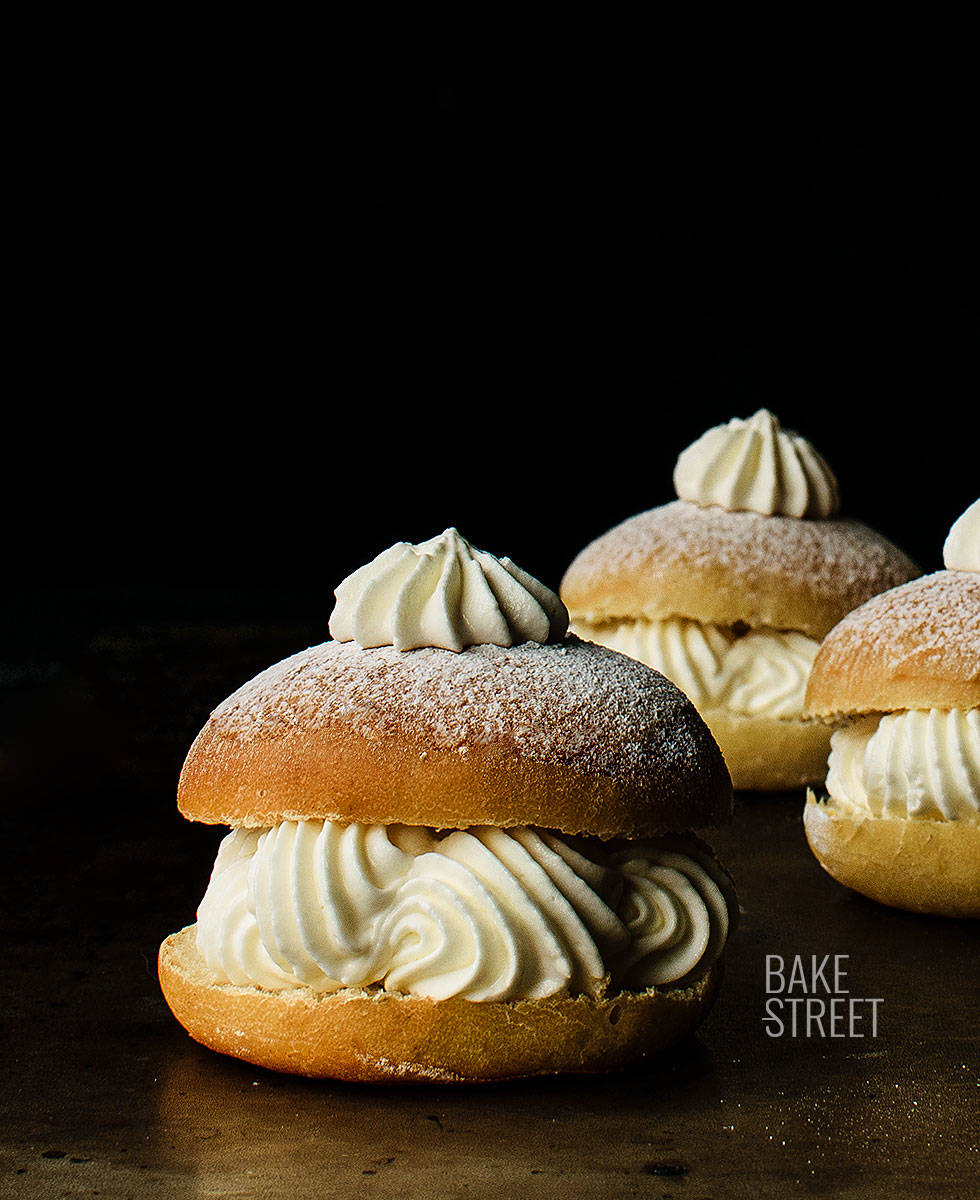
- Put the cream into a piping bag and use a star-shaped tip.
- Cut the ciambellines in half and lengthwise.
- Fill generously and cover with the half we have removed.
- Repeat the process with the rest of the pieces.
- Sprinkle with icing sugar and decorate, if desired, with a cream star on top.
- Serve.

Notes
- It is very important to control the baking time in order to avoid getting dry or not very tender buns. Depending on the oven it can take about 9-11 minutes. Remember that in order to know if they are made we will be able to prick with a digital thermometer inside them, if the temperature is around 190-194ºF (88-90ºC), they will be ready.
- The tray on which we are baking is also very important as not all of them transmit the same heat. In my case, I obtained different results in the baked ciambellines on a tray of Ikea and on this perforated tray. Following the same temperature and baking time, on Ikea's tray, they were a little drier and with a toasted base. Those that I baked in the perforated tray were very tender and with a subtly golden base.
- The ciambellines are much better from one day to the next, if you can bear the temptation, I recommend it.
- We must keep them in an airtight container in the refrigerator.
- They can be kept for 3-4 days if they are filled with mascarpone cream. If we don't stuff them, the buns, they last much longer.

These Ciambelline with mascarpone cream are a perfect snack to accompany coffee, to take away the sweet treat when we open the fridge, to finish a meal between friends.... or simply because we are worth it and we deserve it.
As I mentioned in the notes, they are much richer from one day to the next. The flavors mature, concentrate and intensify. Plus the bun gets some moisture from the cream and becomes incredibly delicious.
This doesn't mean that the day we make them are bad.... at all, but it's the kind of treat that gets better with rest. However, if you sprinkle with icing sugar, you will have to do it again because the moisture in the bun and the filling makes it disappear.
I wish you a very happy and sweet start to the week!
Big hugs,
Eva
