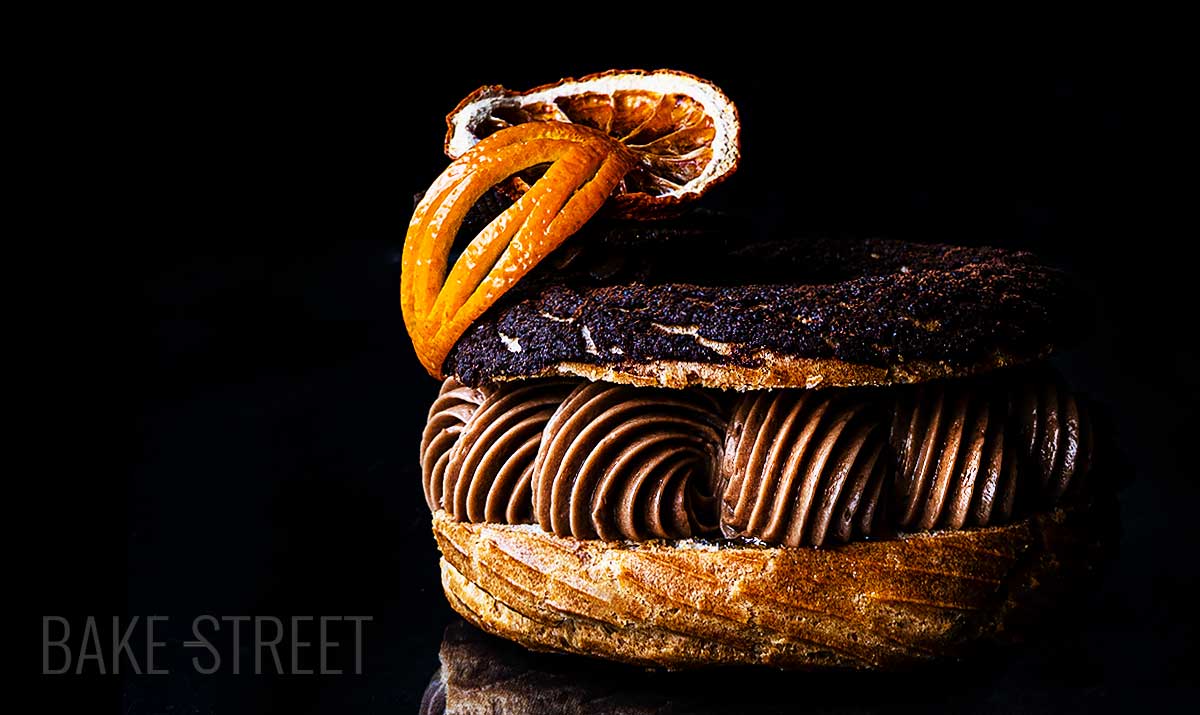
Paris Brest with chocolate mousseline and orange
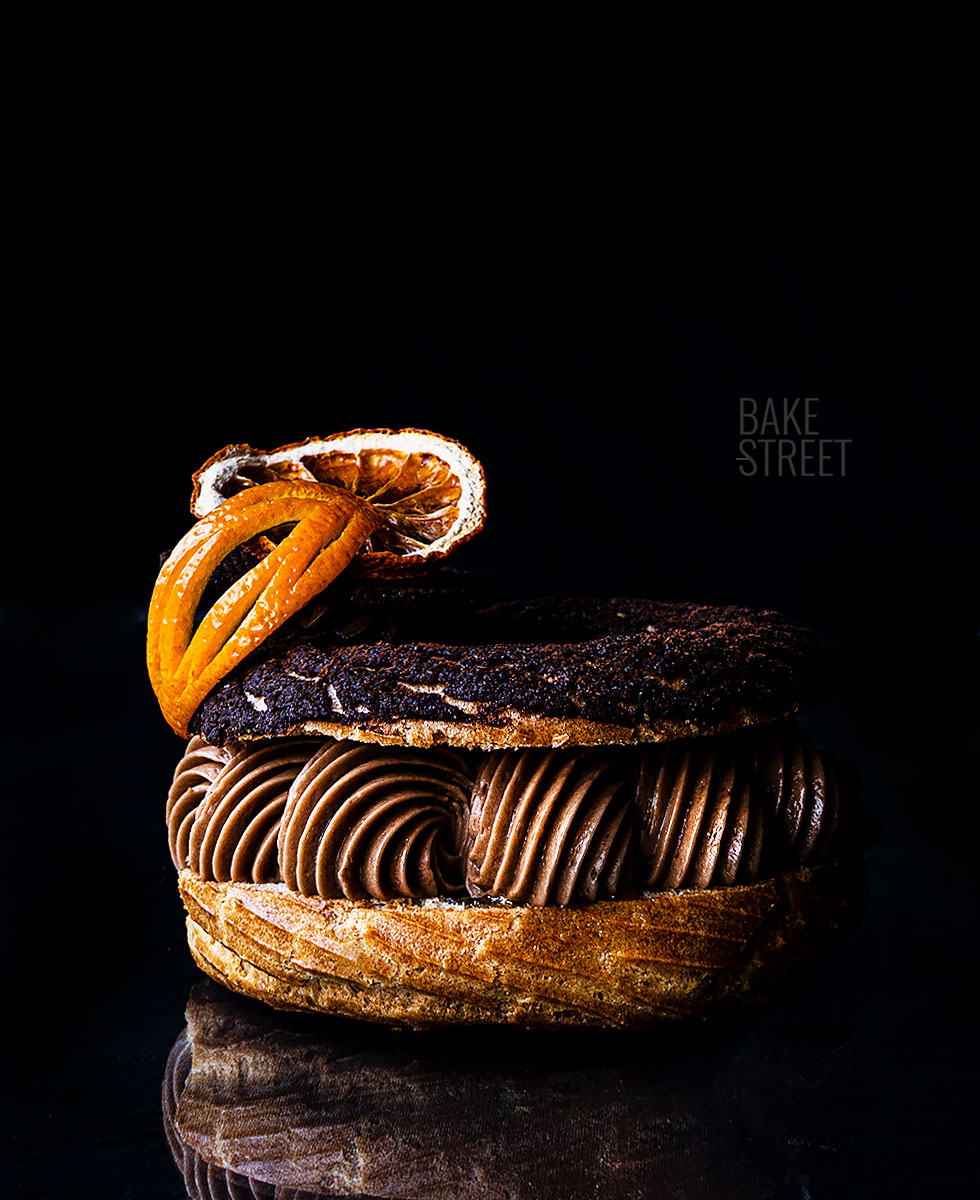
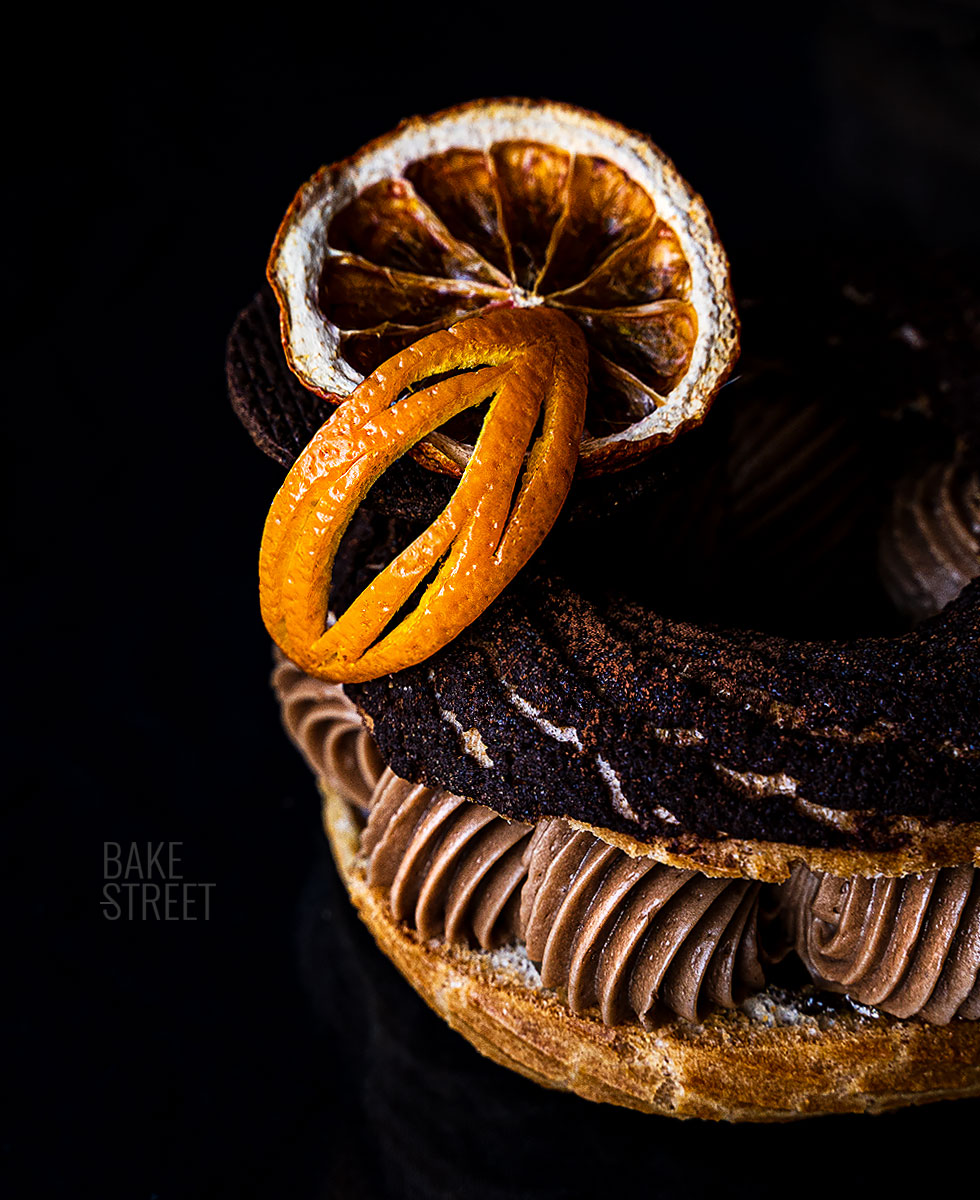
This week we put the doughs aside, but not for long, and we are going to enjoy a fantastic dessert. It’s not the first one I have on the blog, I made another one 7 years ago ,only available in Spanish, (Holly, molly! how time passes), but I felt like repeating the recipe with another format and filling. Today we see how to prepare Paris Brest with chocolate mousseline and orange.
This time, I wanted to make them in an individual format so that you can present them in this way instead of the more usual one. A bigger cake that we can divide into portions. The truth is that both formats are ideal and depending on the circumstances, it will not be better to make one or the other. But it never hurts to know how we can serve the same preparation with different presentations to suit our needs.
Paris Brest origin.
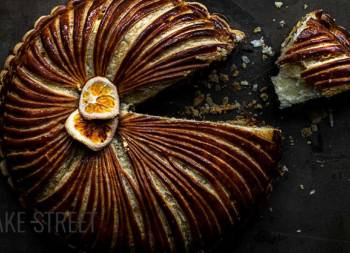
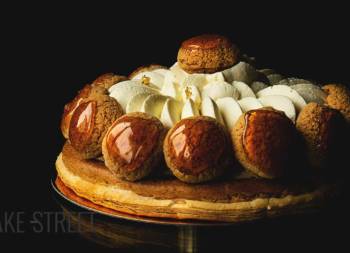
This sweet of French origin was created by Louis Durand, a pastry chef from “Maisons Laffitte” to commemorate the Paris-Brest bicycle race created in 1891. The shape of the Paris-Brest, shaped like a crown, represents the wheel of a bicycle “la petite reine“.
Pierre Giffard, journalist of the Parisian newspaper “Petit Journal“, was the creator of the 1200 km cycle race “Paris-Brest”.
Louis Durand and his wife, Marie, founded a small bakery in 1907. This is the place where this famous cake was created and where they worked until their retirement.
In 1910, Louis Durand, following a request from Giffard, made a cake in the shape of a bicycle wheel. It consists of a choux pastry decorated with chopped almonds and a praline cream.
Heritage and tradition.
In 1935 Paul Durand, the only son of the couple, ran the pastry-shop with his wife Suzanne and was able to perpetuate the famous creation. They had three children, Michel and Philippe, who learned the trade with their father, while Nicole worked running a small restaurant empire.
In 1991, Paul and Suzanne, after several years dedicated to this wonderful profession, left their business to their only grandson, Stéphane. He took over the business together with his uncles, Michel and Philippe. In 1993, Stéphane’s wife Dorothy joined the team and started as an apprentice.
Eventually she became the pastry chef of the shop. To this day, Stéphane, Dorothy and their entire team continue to jealously guard the secret of their wonderful heritage at the “Durand et fils” bakery.
Preparing our chocolate and orange Paris Brest.
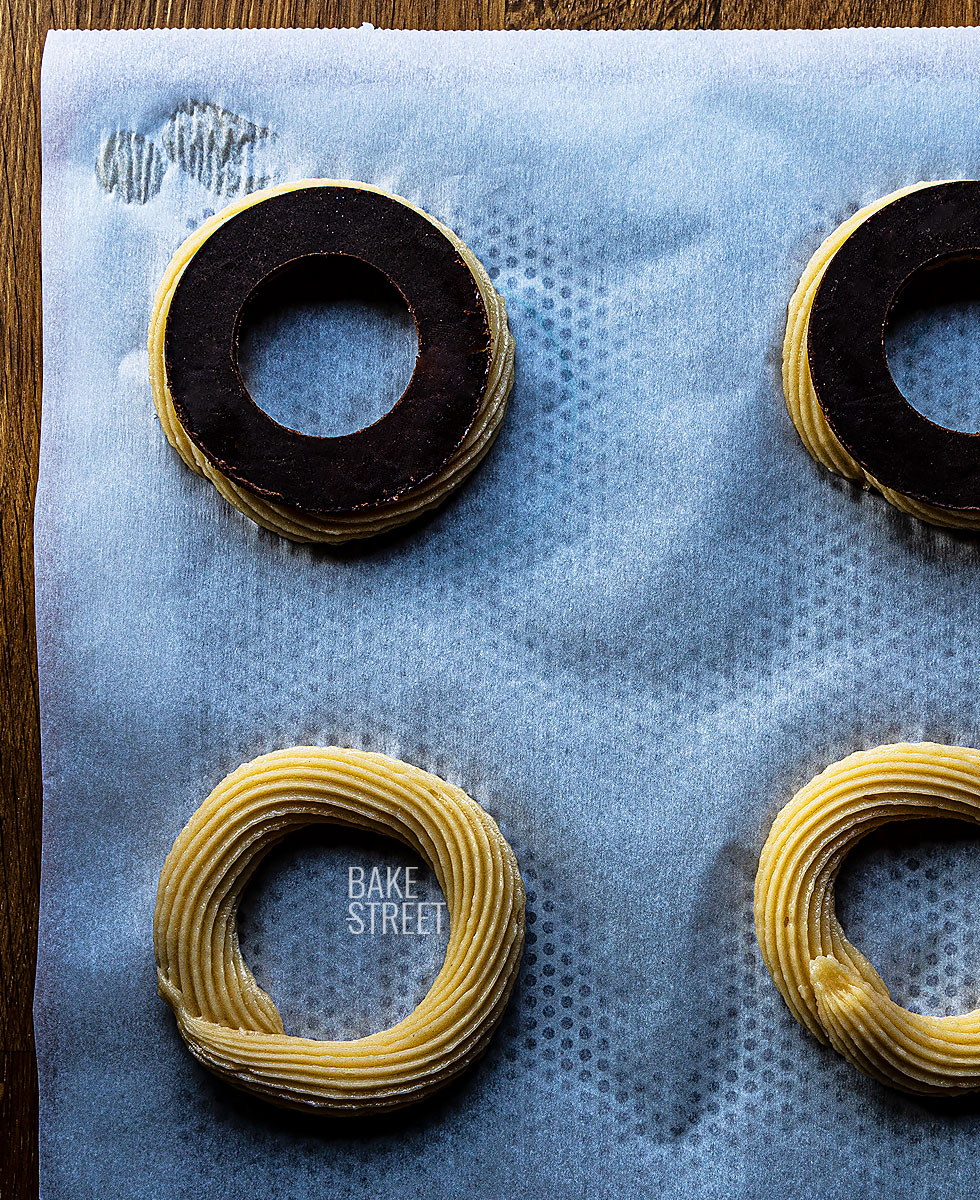
To do this, we will prepare a choux pastry that we will pipe in individual format. In addition, we will place a chocolate craquelin on top.
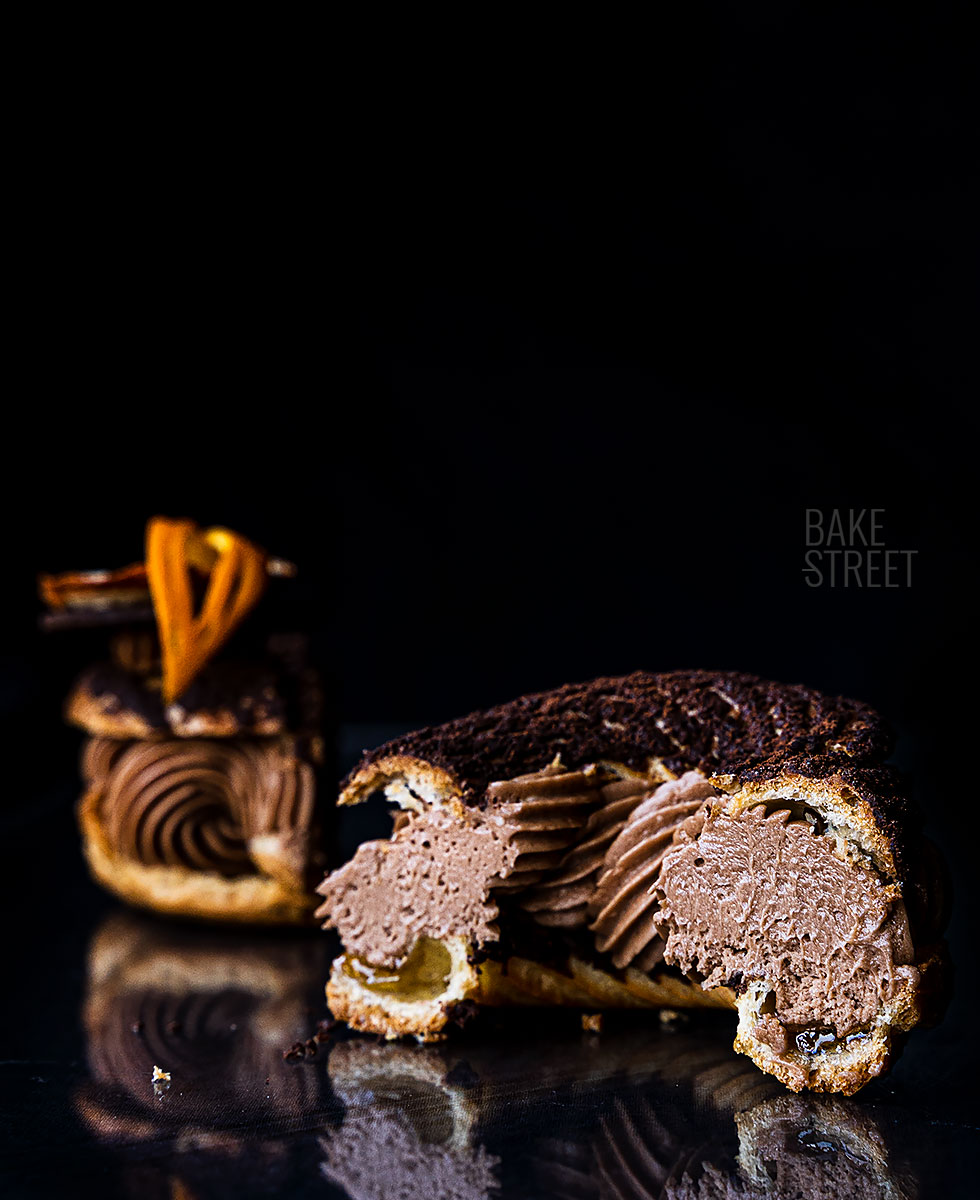
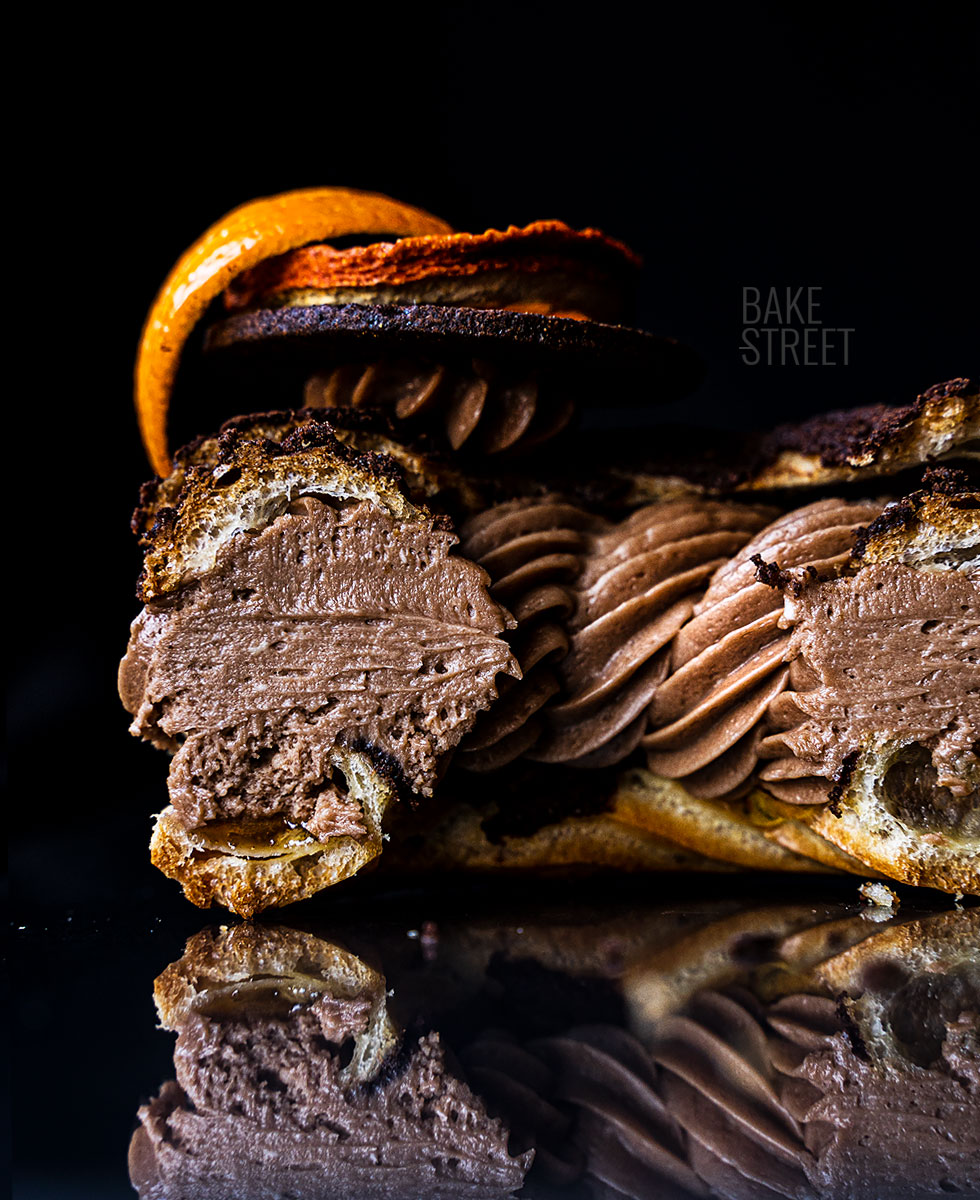
The filling consists of bitter orange jam and a chocolate mousseline. The latter is a pastry cream with melted chocolate and butter… Total and absolute wonder! The recipe I followed to make this cream is from Ettore.. If there’s someone you can trust 100% of his processes, it’s Ettore’s. There is no recipe or process of his that I have tried and it went wrong, it always gives very good results everything you do with it.
Decorating.
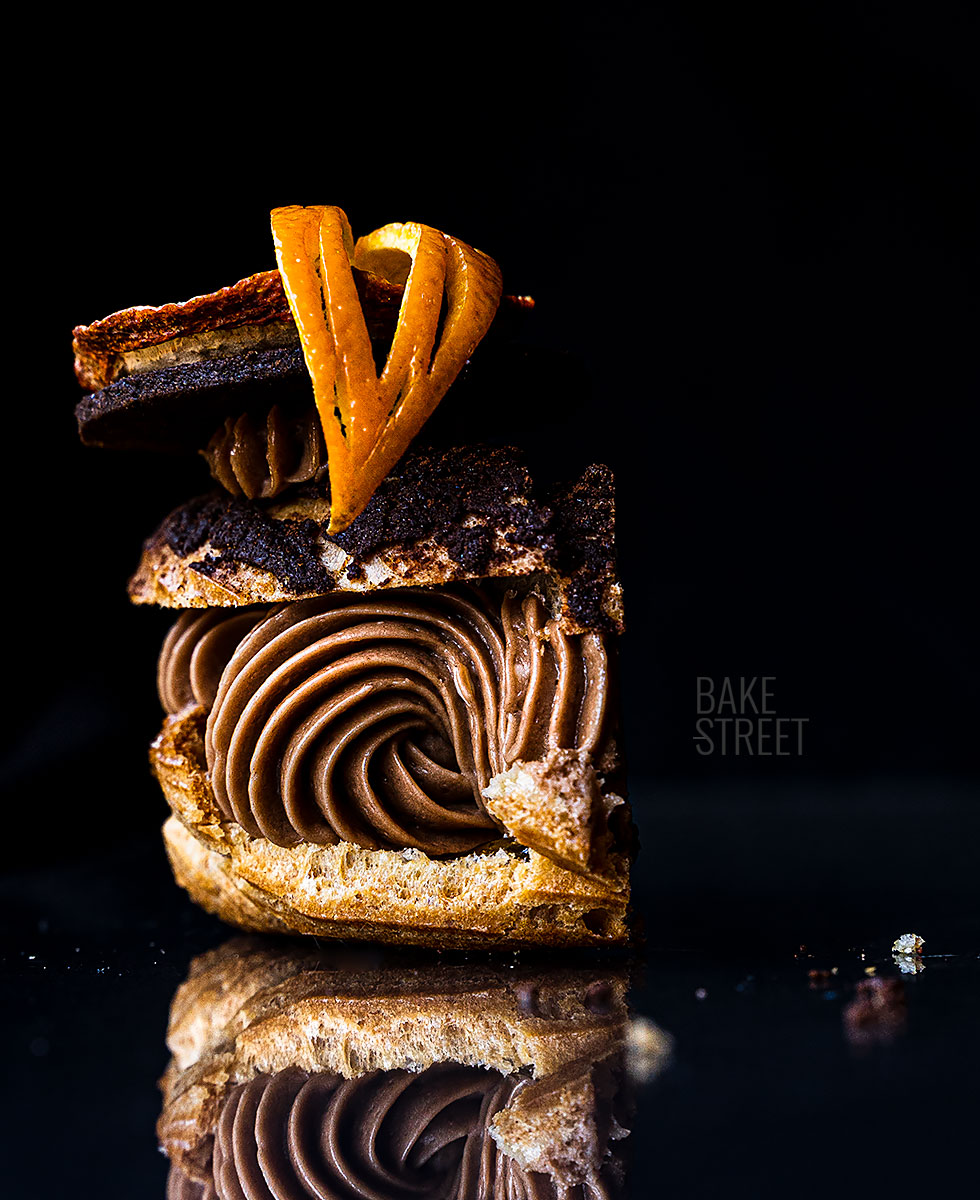
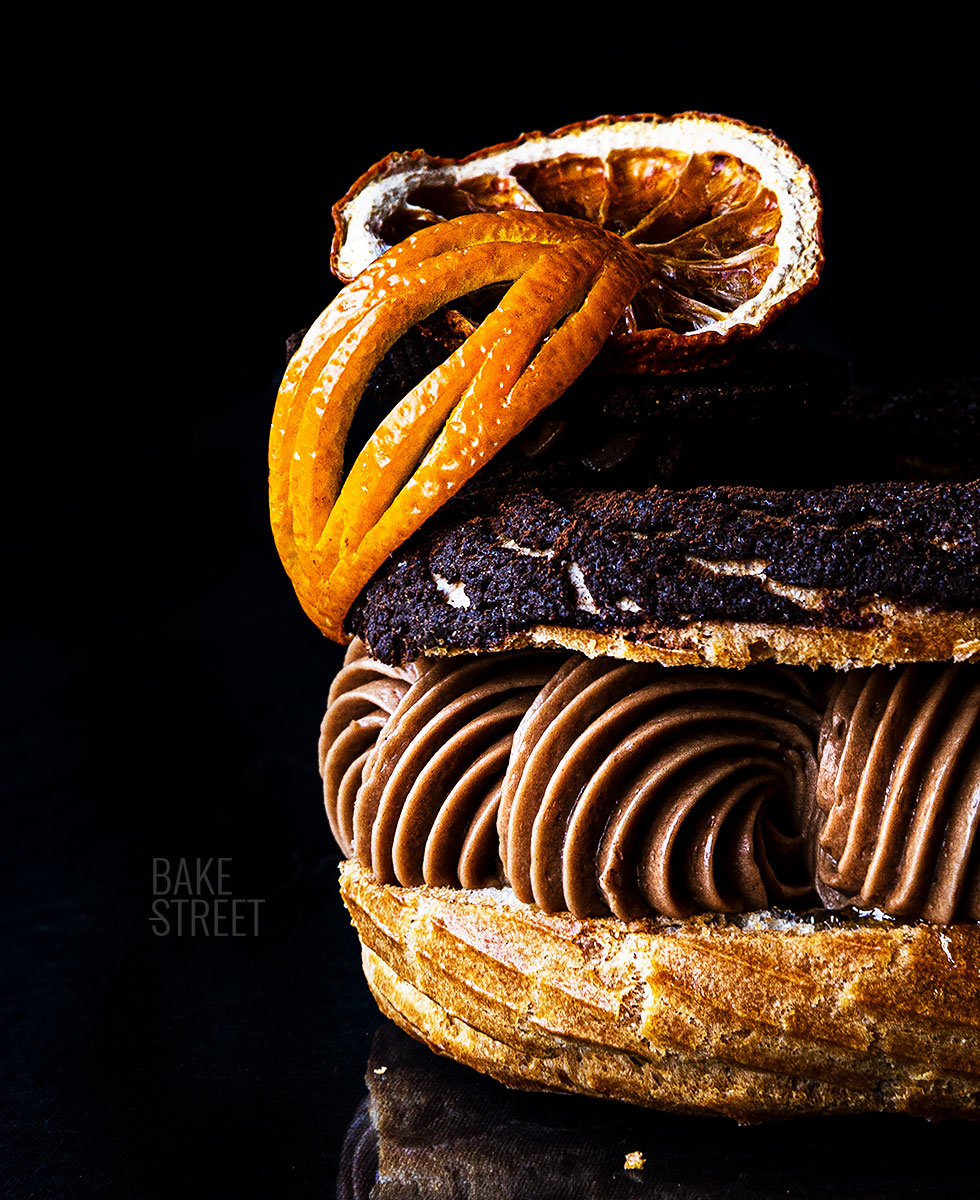
Although it’s not necessary, but you know I can’t resist… I used a chocolate sablée cookie, a slice of dehydrated orange and a leaf made from fresh orange peel. Here you can always give your personal touch and adjust it to what you have at home 😉
Recipe Paris Brest with chocolate mousseline
Ingredients for 6 pieces
FOR CHOCOLATE CRAQUELIN:
- 20 g AP flour
- 20 g unsalted butter at room temperature
- 25 g sugar
- 5 g unsweetened cocoa powder
FOR CHOUX PASTRY:
- 63 g whole milk
- 63 g water
- 70 g cake flour
- 57 g unsalted butter at room temperature
- 2 g salt
- 1/4 tsp sugar
- 2 large eggs
FOR CHOCOLATE MOUSSELINE:
Recipe by Ettore, Bavette
- 330 g + 10 g whole milk
- 65 g egg yolks (about 3 large eggs)
- 17 g cake flour
- 17 g cornstarch
- 65 g unsalted butter at room temperature
- 65 g sugar
- 2 g gelatin (1 sheet)
- 50 g milk chocolate, melted and cooled
- 50 g chocolate 72%, melted and cooled
- 250 g unsalted butter, cool
FINISH AND DECORATION:
- bitter orange jam
- chocolate sableé cookies (link recipe)
- slices of blood orange dehydrated
- fresh orange peel
Instructions
FIRST DAY
Make chocolate craquelin.
- In a bowl add the flour together with butter, cocoa powder and sugar.
- Mix with the help of a spatula until a homogeneous dough is obtained.
- Place between two sheets of Teflon and stretch with an adjustable roller, give a thickness of 2 mm.
- Store in the freezer for at least 1 hour. It can be left until the next morning.
- Take out the craquelin paste, cut it with a cutter of 8 cm in diameter and an inner circle of 4 cm in diameter, and put it back in the freezer until it is ready to be used.
Make choux pastry.
- Preheat the oven to 355ºF (180ºC).
- Sift the flour, set aside.
- In a saucepan, pour the water along with the milk, salt, sugar and butter. Place at medium heat and leave to boil.
- Once the mixture has boiled, remove from the heat and stir in the flour. Remove with a spoon/spatula at a fast and continuous speed.
- We'll get a ball of compact dough that we'll have to dry out. Replace at medium heat, stirring constantly.
- We will notice that the dough clings to the base, in total we leave it 2 minutes without stopping stirring. The degree of drying of the dough will depend on the quantity of eggs that it admits, we see it next.
- Transfer the dough to a large bowl and leave to cool lightly.
- Add the first egg and stir until it is homogenized, so that the dough can also take air and then influence what the dough can raise during cooking.
- Add the next egg and mix until completely combined. If the dough is too dry and does not have the right consistency, add a little more egg. The consistency should be as seen in the video.
Pipe and bake.
- Prepare the piping bag with a star shaped tip, I used 6B Wilton.
- Put the dough in a tray previously lined with baking paper, forming circles 8 cm in diameter. Ideally, you should draw the circles on the paper as a template. Remember that the painted part should be facing downwards.
- Place the craquelin discs on the choux paste and press gently.
- Place in the oven at medium height.
- After the first 15 minutes, let's observe that they are swelling up and we open the door of the oven so that the steam can escape for 3-4 seconds and we close them again leaving them 15-20 more minutes. They will take a golden color on the surface.
- Once the baking time is over, turn off the oven and let it stand inside with the door ajar for 5-10 minutes.
- Remove and let cool completely on a rack.

SECOND DAY
Prepare the pastry cream for the chocolate mousseline.
- Fill a bowl with very cold water and submerge the gelatine. Let it hydrate for 10 minutes.
- In a saucepan pour the milk, place at medium heat and leave until it comes to a gentle boil.
- On the other hand, in a bowl whisk the yolks together with the sugar, flour, cornstarch and 10 g of milk. Mix well with a whisk.
- Once the milk has reached boiling point, pour a little (with the help of a strainer, if you wish, to prevent cream from seeping into the mixture of yolks).
- Whisk well to temper them and prevent lumps from forming.
- Pour the remaining milk and mix again.
- Pour the mixture into the saucepan and place at medium heat while stirring. You will notice that the texture will become denser.
- Cook until the cream has a creamy and slightly dense texture.
- Remove from the heat and add the hydrated gelatine. Remember that we must drain the gelatine very well so that we do not incorporate any water.
- Stir very well, and vigorously, with the whisk so that the gelatine dissolves and integrates completely.
- Add the butter, 65 g, and whisk again so that it integrates completely.
- Add the melted chocolate and mix until the mixture is homogeneous.
- Cover with film and refrigerate for 3-4 hours.
Finish chocolate mousseline.
- In the KitchenAid bowl, add the chocolate pastry cream along with the 250 g of butter. It is very important that both elements are at the same temperature.
- Whisk at medium speed until you get a smooth and homogeneous cream. It will take about 3-4 minutes. If necessary, we stop the KA to lower the cream from the sides and continue mixing.
- Put the cream in a pastry bag with a curly tip, I have used Wilton's 6B.
Filling Paris Brest.
- With the help of a knife, cut off the top of the choux pastries. We can be guided by the height of the craquelin.
- Pipe some bitter orange jam on the base of each piece of Paris-Brest.
- On this, pipe chocolate mousseline cream. We will create a spiral with it.
- Sprinkle cocoa powder on the tops of the Paris Brest with the craquelin and place it on top of the cream.
- Decorate the surface with a chocolate sablée cookie and, on top of this, a slice of dehydrated blood orange and a leaf made of orange peel. In the video I show you how to make it.
- Serve.

Notes
- The chocolate craquelin pastry can be made with light mascabado sugar, it is very good and gives very amazing aromas.
- The chocolate craquelin must be cut when it is very cold, that way we will achieve a clean cut. With hot weather, it will lose the cold very quickly.
- You can see how to make the chocolate sablée cookies and all their tips in this post.
- It is important to dry the choux pastry in the fire once it is cooked. It'll take a couple of minutes. The better we dry it, the more egg it will take.

- The choux pastry gets bigger with the craquelin on the surface. Keep this in mind when you're baking the choux pastry.
- To make the chocolate mousseline I used two types; milk chocolate and 72% chocolate. But, if you wish, you can use only one type of them.
- I always tell you this, but it is important to use good quality butter for better results in terms of taste and texture.
- The decoration is optional and you can make your own choice.
- If you want to dehydrate oranges, you can do it with a food dehydrator.
- They can be kept refrigerated for 3-4 days.
- Before serving, temper them for 15 minutes so that the cream is soft and creamy.

From time to time we have to indulge ourselves and not deprive of such spectacular things as this Paris Brest with chocolate mousseline and orange. And long live the love handles!
The combination chosen, on this occasion, is a hit for sure; orange and chocolate. But you can combine it with other options, since chocolate works well with many ingredients; cherry, raspberry, strawberry, banana, caramel, coffee...
By the way, before I forget. Many of you have been asking me about the online bread workshop that will start in June. Since this date is sold out and thanks to all your messages, we have put new dates for September ;)
I wish you a wonderful Sunday!
Big hugs,
Eva
Sources: Paris-brest.fr
