Pa Fullat – Laminated Bread
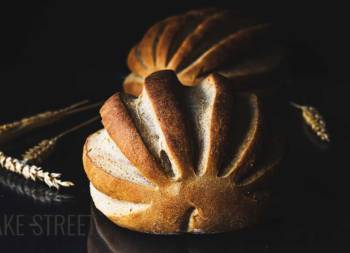
If there are two things I really enjoy making, they are, without a doubt, bread and laminated doughs. Lately I have been practising a lot more in these two areas in order to learn as much as possible about viennoiseries doughs. It was a long-pending subject and, at last, I’m going much deeper into the subject than I have been doing for a few years now. The fact is that I was looking for more variations on these doughs and I came across this stunning bread that I fell in love with as soon as I saw it. Pa Fullat or Laminated Bread.
How is it possible not to have known about this marvel before? I can tell you that the combination of these two processes in the same preparation is formidable. Because I have made many laminated doughs, enriched doughs, puff pastry, bread, laminated brioche… But bread laminated with butter, never. And it is absolutely spectacular.
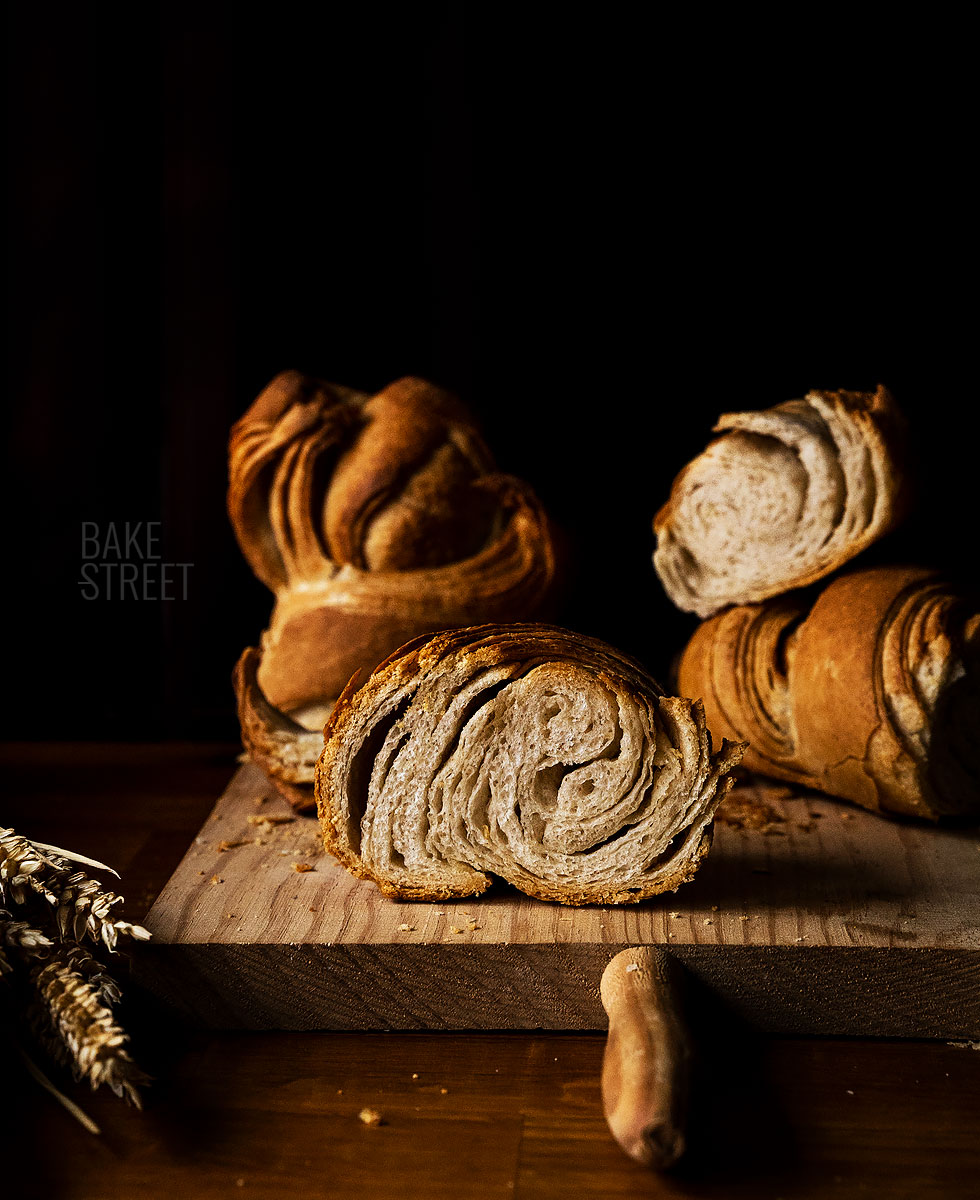
Pa Fullat origin.
I have searched a lot about the origin of this bread, but I have not found any information about it. Apparently it has its origin in Valencia, in fact “Pa Fullat” means “flaky bread”, but it can also be found in other places like Albacete. I suppose that if a baker falls in love with an elaboration, he makes it in his bakery so that his customers can enjoy it too.
I was reading on this forum, where I found several recipes (many of them based on Hilmar’s). Reading her recipe, I saw that she based her recipe on another recipe from another Italian blog. My recipe is based on the Italian recipe, which in turn comes from an Italian book that I have not found. In my case, I have made some modifications to adapt it to my flour, as well as reducing the amount of yeast, which I thought was too high.
I have also modified the preparation process so that it is more similar to the process of making a croissant. The reason I decided to do it this way, I made this recipe 3 times, was to make it easier to work with the dough and to try to work as cleanly as possible. If, for example, the dough is not refrigerated, when rolling out the dough, it will slip and it will be very difficult to roll out the dough.
All the steps and tips that I leave you are the ones that have given me the best results after doing it so many times.
By the way, if anyone has more information about this bread, I’d be delighted to read it! 😀
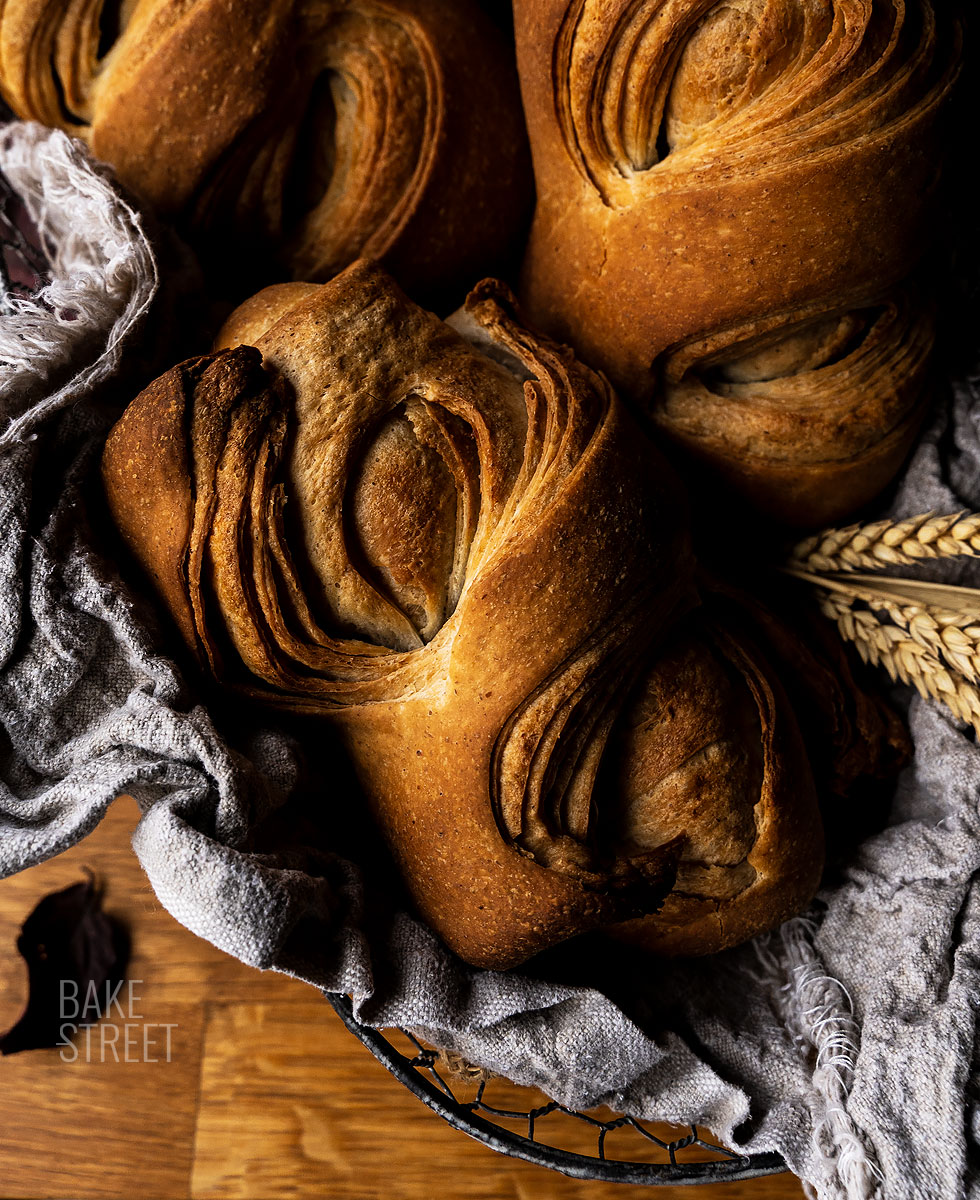
Special bread.
I don’t need to tell you that this bread bears little resemblance to bread as we usually eat it. It is true that, for me, it is a bread that cannot be eaten with just anything. That is to say, I think it is more suitable for breakfast or a snack, rather than to be eaten in the middle of the day. Well, it’s ideal for snacking between meals, hahaha.
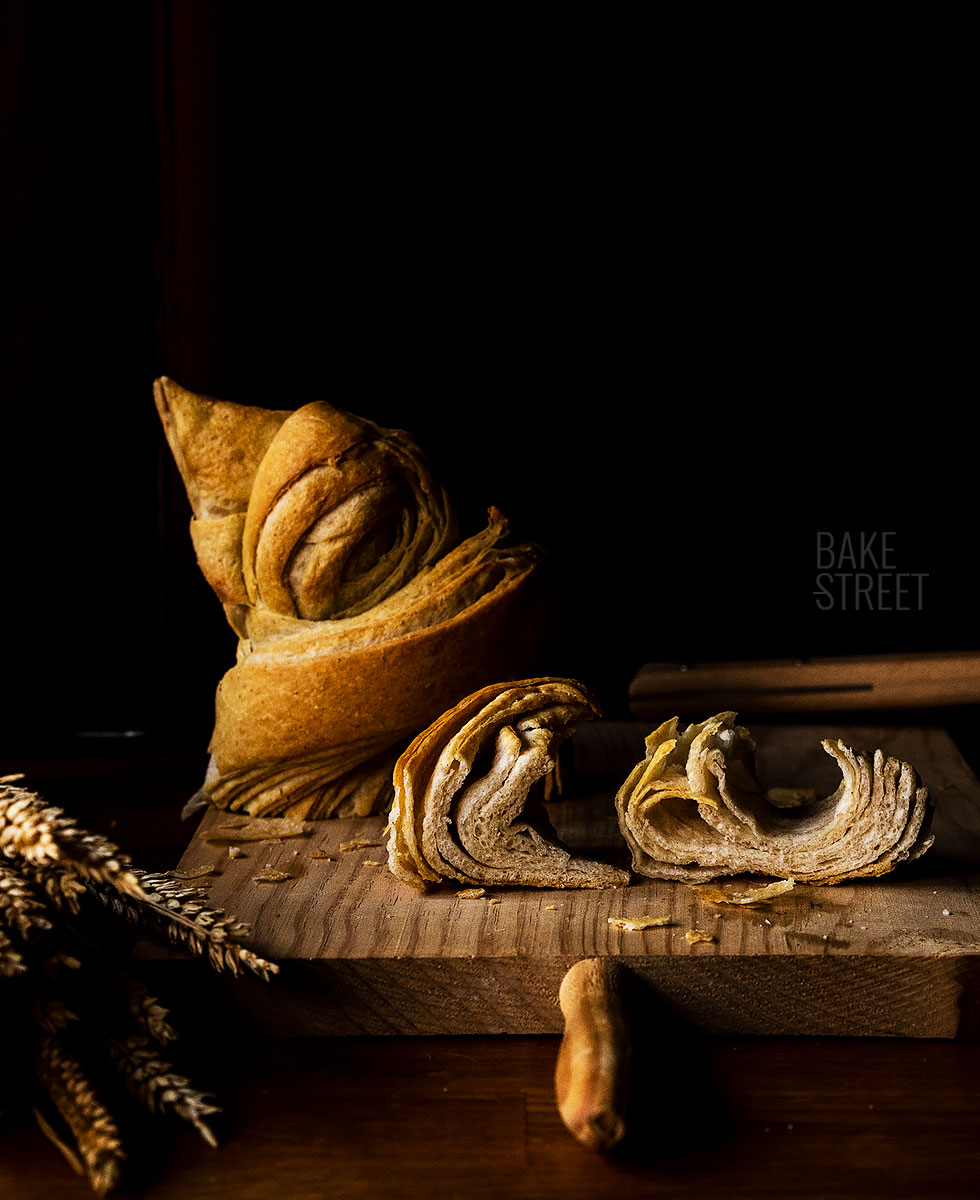
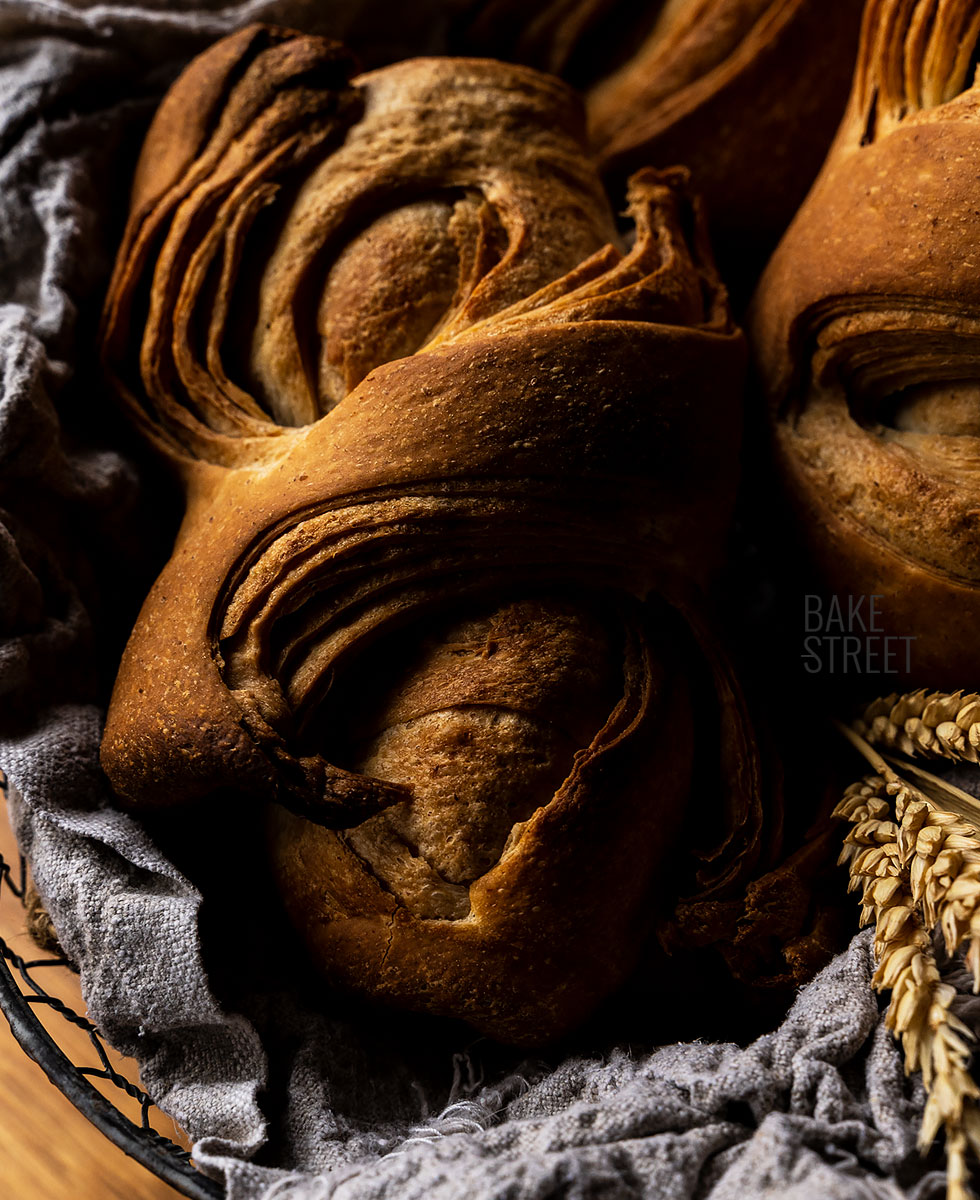
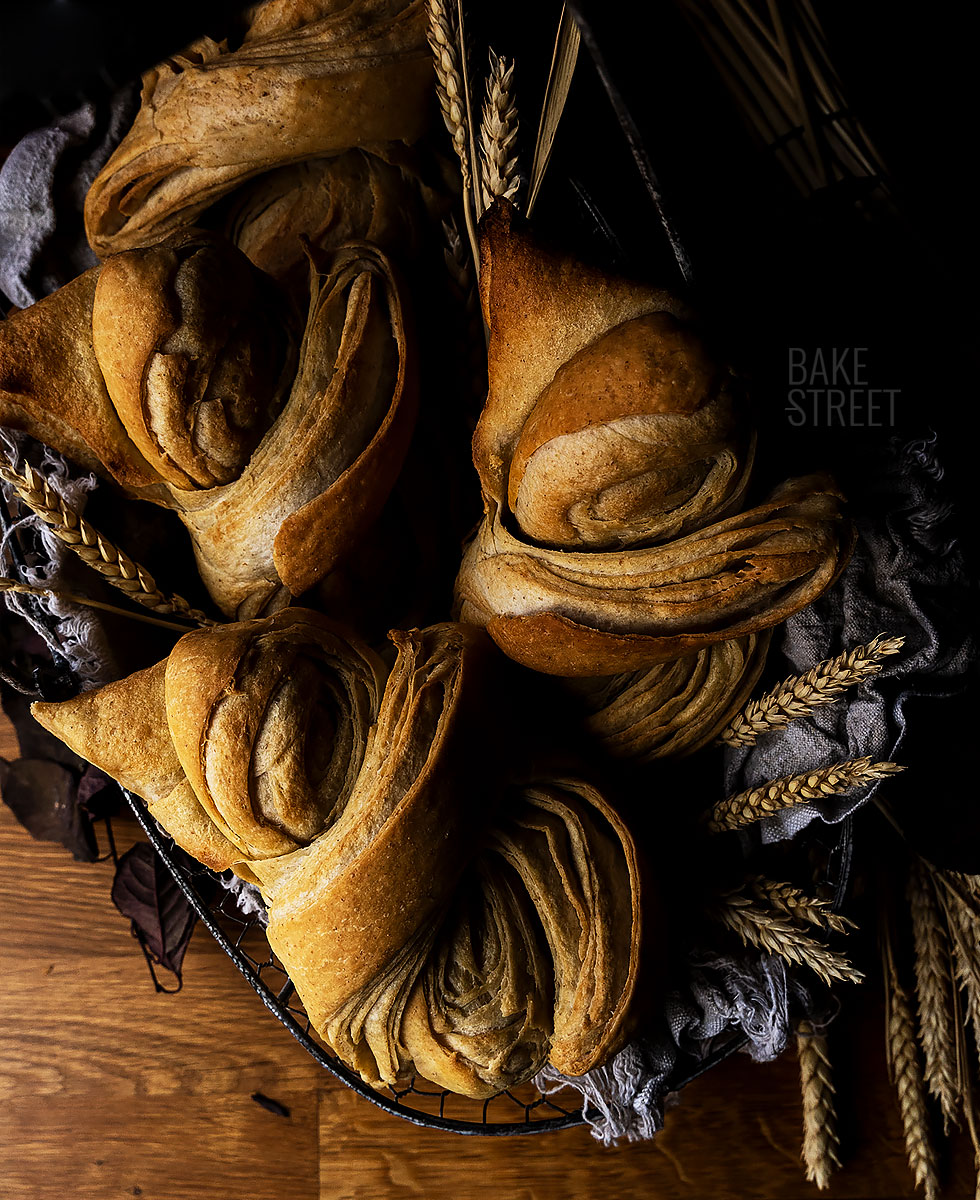
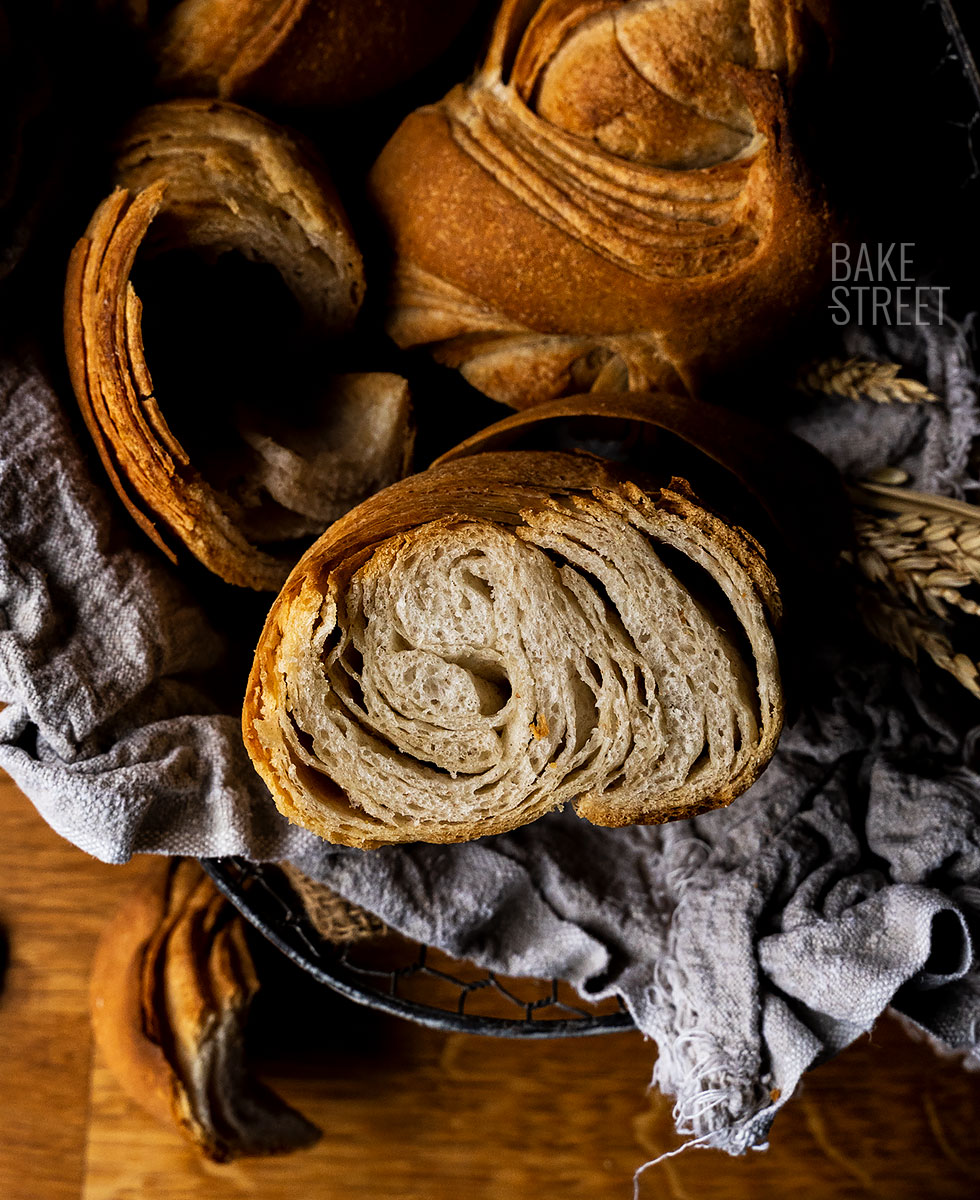
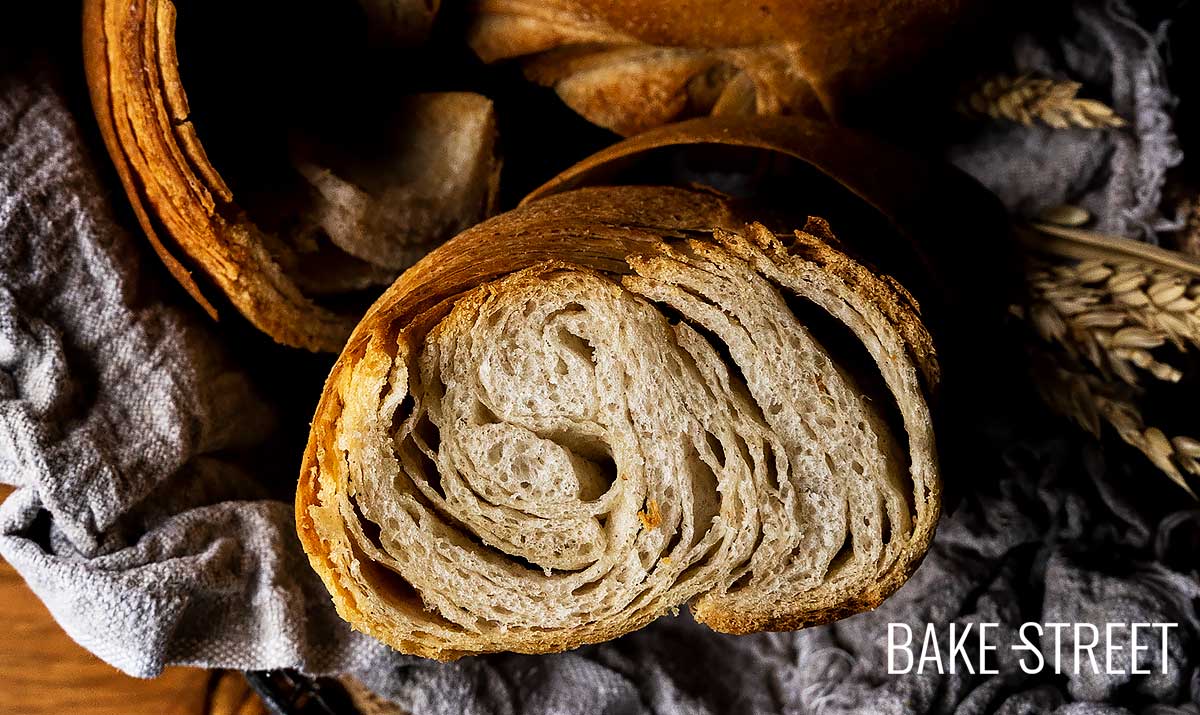
This bread has an extremely crispy crust, accompanied by a surprisingly tender and fluffy crumb. The flavour of butter is very present, so that we enjoy a bread with a very particular flavour and aroma. It is undoubtedly a bread that will surprise your palate and will make you enjoy it very much thanks to its combination of textures.
Pa Fullat recipe
Ingredients for 4 loaves, about 235 g
FOR THE SPONGE (PREFERMENT):
- 100 g bread flour
- 60 g water
- 1.5 g fresh yeast or 0.5 g dry yeast
FOR THE DOUGH:
- 500 g bread flour
- 240 g water
- all of the preferment
- 4 g fresh yeast
- 40 g unsalted butter at room temperature
- 10.5 g salt
- 150-175 g unsalted butter, soft consistency
FOR BRUSHING:
- olive oil
Instructions
NIGHT BEFORE (23:00 pm)
Make preferment.
- In the bowl of the KitchenAid, or you can mix everything by hand, add all the ingredients and mix with the hook on speed 1.
- Do not develop the gluten and do not knead intensively, just mix until there are no dry ingredients left.
- Cover the bowl with a shower cap or plastic film and leave to rise for 10-12 hours at room temperature. In my case 68ºF/20ºC.
- In summer we will do it differently. Once we mix the ingredients, let it rise at room temperature until it grows 1/3 of its volume and refrigerate until the next day.
NEXT MORNING (9:30-10:00 am)
Make the dough for Pa fullat.
- In a large bowl, add all the chopped preferment along with the flour, some of the water and fresh yeast (crumbled). Mix until a homogeneous dough is obtained.
- Dissolve the salt in a little water and add it to the dough. Work well until it is integrated.
- Once we have developed the gluten, we will obtain a dough with a soft and smooth texture, add the butter.
- We will do it little by little and kneading at the same time to integrate it.
- It is a dough with low hydration, not as much as the candeal bread, but not as comfortable to work as a dough with 65% hydration. We are working with a dough at 50% hydration. So to carry out the kneading without suffering too much, I recommend kneading hard combined with resting to make it more bearable. Remember to cover the dough at each rest because it dries out easily and the surface can crust.
- Knead until the dough has a smooth and soft surface.
- Once we have the dough with a perfect gluten development, make a ball with the piece.
Make bulk fermentation.
- Put the dough in a bowl or container, previously greased with olive oil, and let it rise until it has almost tripled in volume. In my case it was 1 hour and 15 minutes at a controlled 80,6ºF/27ºC. (My husband made me a homemade leavening machine for the panettones!)
Divide and roll out.
- Dump the dough onto a clean work surface and gently degas. Divide the dough into four equal pieces, about 235 g each.
- Keep one of the pieces and store the rest in a container to prevent them from drying out.
- With the help of a rolling pin, roll out the dough to approximately 15 x 35 cm.
- Spread a thin layer of butter on the surface, using your own hands.
Make a single fold.
- Make a single fold, cover the piece with plastic film and store in the fridge while you roll out, butter and fold the rest of the pieces.
- Remember to keep them in order so that you know which one to work with first.
Roll out again and make a second single fold.
- Take the first refrigerated piece out of the refrigerator.
- Roll out with the help of a rolling pin to the dimensions of 15 x 35 cm again.
- Spread a thin layer of butter on the surface and make a single fold. In total we make two single folds in each piece of bread.
- Wrap tightly in plastic film and store in the freezer while rolling out the rest of the loaves.
Shape breads.
- Sprinkle a work surface lightly with flour and roll out the first piece of bread.
- We will do it with the metal rolling pin, this time we will give dimensions of approximately 15 x 25 cm.
- Spread a final thin layer of butter on the surface of the dough, without covering one of the ends.
- With the help of the rolling pin, flatten the unbuttered end of the dough. This will help the dough to seal properly.
- Roll the dough over itself, without exerting tension or pressing the dough, and roll it on the work surface once it has been rolled to help the bread seal properly.
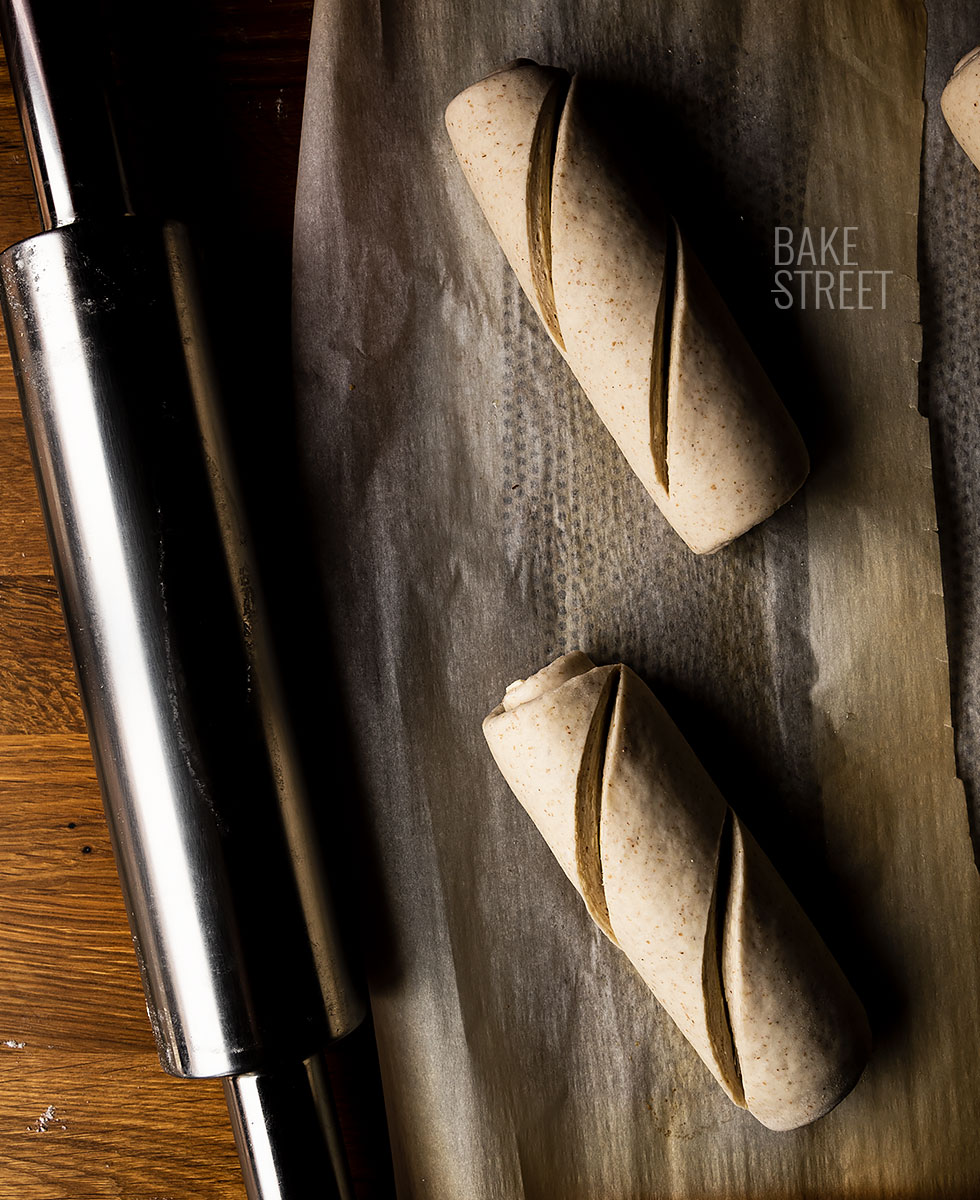
- Place on a perforated tray lined with baking paper.
- With the help of a lame or knife, make two inclined and parallel cuts on the bread without reaching the ends. This will give the bread depth so that it will rise and expand well during baking.
- Cover with plastic film and leave to rise until they double in size. In my case they were 2 hours and 15 minutes at 78ºF/25.5ºC.

Bake.
- Preheat the oven to 410ºF/210ºC with heat up and down.
- Place the tray, stone or steel plate in the lowest part of the oven and a container/tray with volcanic stones that we will place inside as soon as we turn on the oven, so that they will also take temperature. We can place them under the steel plate or just to one side of it, leaving space for the bread. The ideal is to preheat them 30 to 40 minutes beforehand.
- Five minutes before placing the bread in the oven, heat water (a little more than half a cup), you can do this in the microwave.
- Brush the surface of the loaves lightly with olive oil.
- Put the loaves in the oven, in my case I baked them two by two, using the board to help us (sliding the loaf over the plate) and pour the boiling water over the container with the stones, close the door. We should try to do this as quickly as possible so as not to lose the temperature inside the oven.
- Bake for 15 minutes with only bottom heat and steam, turn off the top resistance. Turning off the top heat will help the bread to expand and prevent the crust from sealing prematurely. You will obtain a bread with great volume.
- After the first 15 minutes, open the door slightly to release all the steam inside, being careful not to burn yourself, remove the tray/container with stones and close the door again.
- Bake for a further 25 minutes at 390ºF/200ºC with heat up and down.
- Remove pa fullat from the oven and leave to cool completely on a rack before opening.
- Bake the other two pieces following the same process..

Notes
- The variety of bread flour used will determine the final amount of water to be added. The dough should not have a higher hydration level because we will not be able to laminate it well and it will lose its shape during the rising process.
- Remember that for each gram of dry yeast, 3 g of fresh yeast are used.
- If we want to make the preferment to have it ready on the same day, instead of using 1.5 g of fresh yeast, we will increase it to 4 g.
- It is important not to exceed 2% yeast in relation to the final weight of flour used in the recipe.
- The quality of the butter will always influence the final taste.
- Kneading is less laborious than when we make candeal bread. I recommend that you do it by hand because as it is a low-hydration bread, the kneading machine (the ones we usually have at home) does not give good results. Unless you have a professional dough mixer, in that case do it there because the result will be much better and it will take you less time.

- Many people use olive oil instead of butter. I tested with both ingredients and I liked the ones I made with butter much better, both the taste and the final result of the laminate. But, of course, I leave it up to you.
- I show you how to laminate the breads by making two simple folds. I made loaves in this way and others with a double fold and a single fold. In the second case, a lot of layers are created, but I think that as a loaf we don't get a great benefit from it and the result is not as attractive. I like the way they look better the way I show you, but of course, you can opt for this option if you prefer.
- When shaping the loaves, do not press them, but roll them gently.
- The cuts should not be shallow, but rather deep (without going overboard and cutting the whole loaf). We want the bread to open up during baking to encourage its development and expansion.
- The fermentations, if done at a lower temperature (room temperature), will be longer. It can be done without problems and the result will be good anyway. In my case, I speeded up the process with the proofing machine to be able to record the videos well.
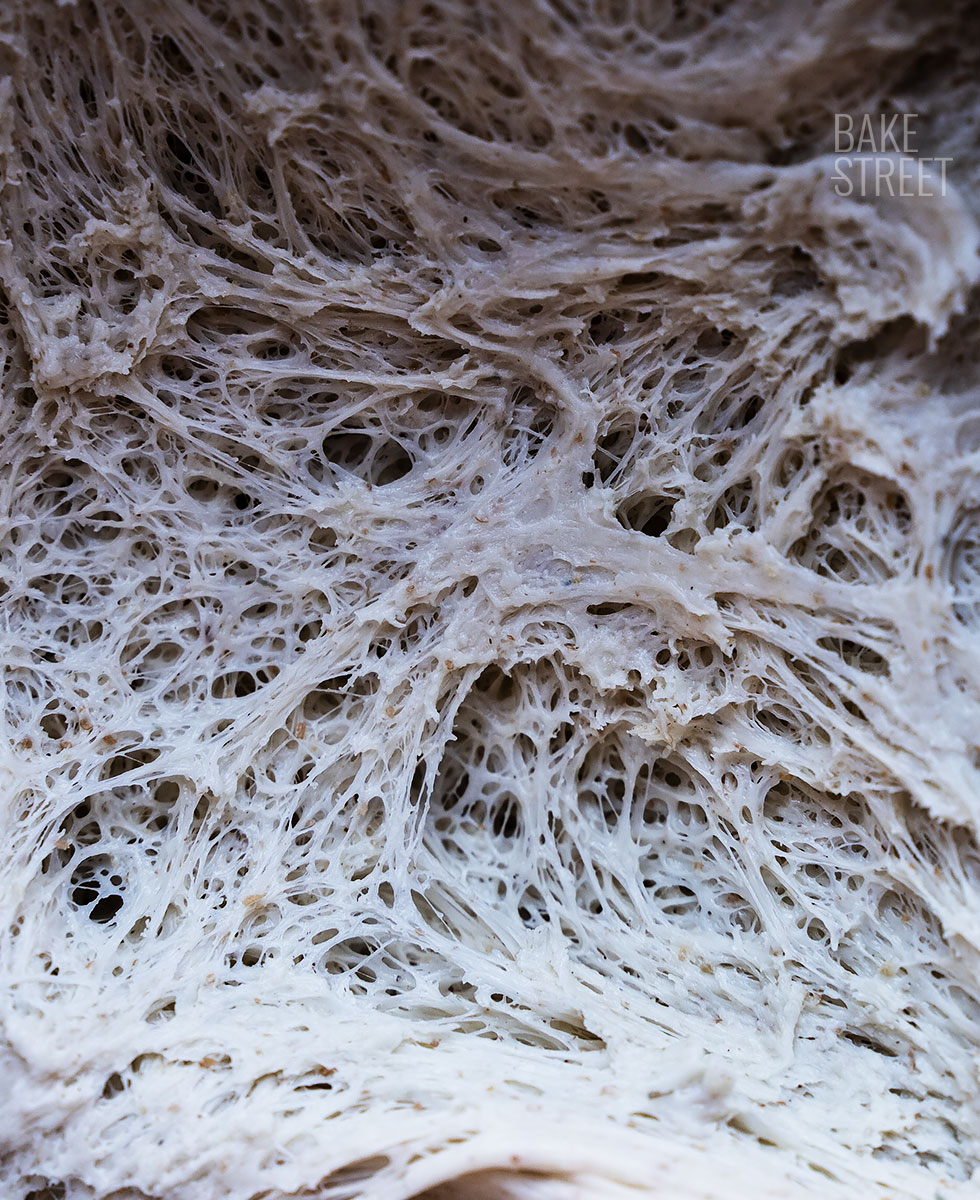
- It is a bread that must enter the oven at the right fermentation point. That way we get a tender, spongy crumb with perfectly separated layers.
- This bread has a short shelf life. Ideally, it should be eaten within the day because after the first 24 hours it loses its incredible sponginess.

Needless to say, I can't wait for you to try making this Pa Fullat or Laminated Bread at home. If you like making bread and laminated dough, you're going to really enjoy it. But not only during the process, which is quite entertaining and rewarding, but also with the final result. I still remember its textures and I'm really in love with it.
Not to mention the smell coming out of the oven during baking, it's fascinating....
If you don't have many plans this weekend, now it's easy to see us in this situation, a good option could be to make this bread at home, so you can enjoy a total delicious snack!
I wish you a wonderful weekend!
Lots of love,
Eva
