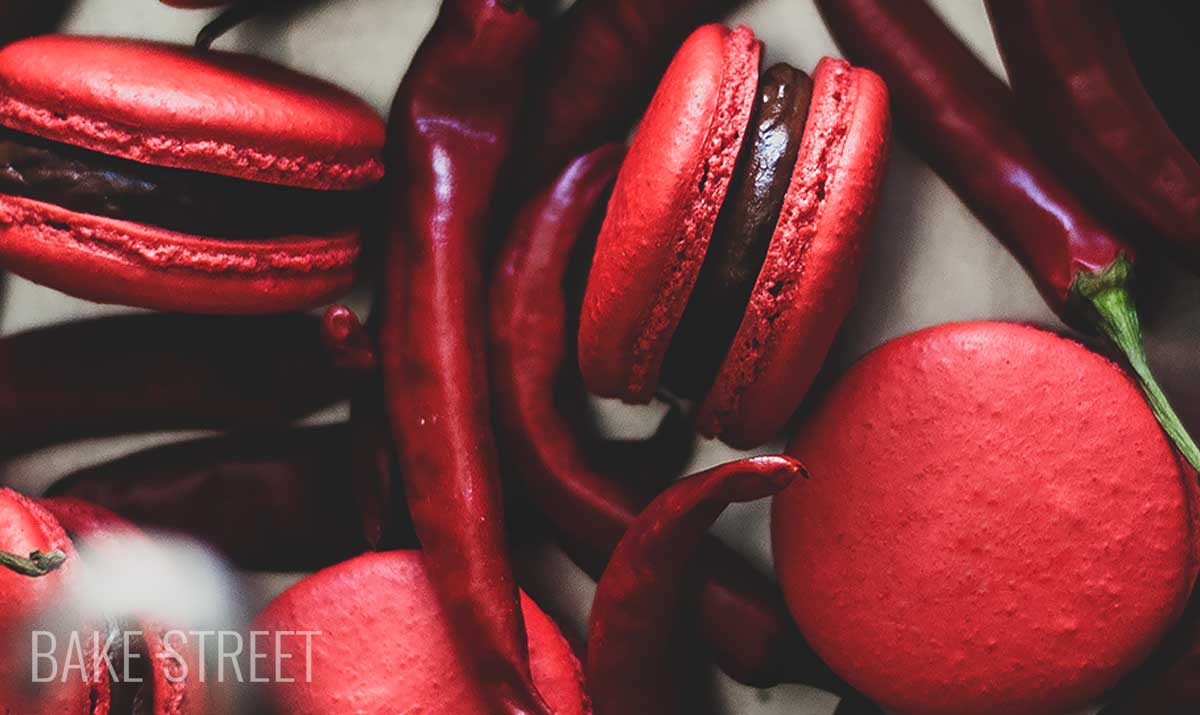
How to make perfect macarons {Part 2}
We continue with more content from the macarons workshop, this time today’s post to find out how to make perfect macarons will contain the recipe for making perfect macarons accompanied by a video, along with all the tips I have been discovering over the years making macarons and also the conservation of macarons. The recipe that I have always made and that I have always taught to make is the same that Pierre Hermé teaches us in all his books.
When I was practicing to learn how to make them, I tried countless recipes… I couldn’t say how many, because I remember that there were a lot. And, the first time I got half decent was with Hermé’s recipe. At that moment I was invaded by a sensation of absolute happiness and they were nothing of the other world!
But it was not only the outside aspect, but also, the flavor, the texture… Of all the ones I tried, without a doubt, this was the one I liked the most. So I continued practicing with his recipe and, little by little, I bought all his books that I really love!
First of all I want to tell you that making macarons is not an easy task when we start, but not because they are complicated in themselves, but because they require certain steps that we must do as they are specified. Just as in baking certain changes are allowed without affecting the final result, in baking, there are some preparations that do not leave us much margin. In fact, most of the “catastrophes” that may occur are due to that.
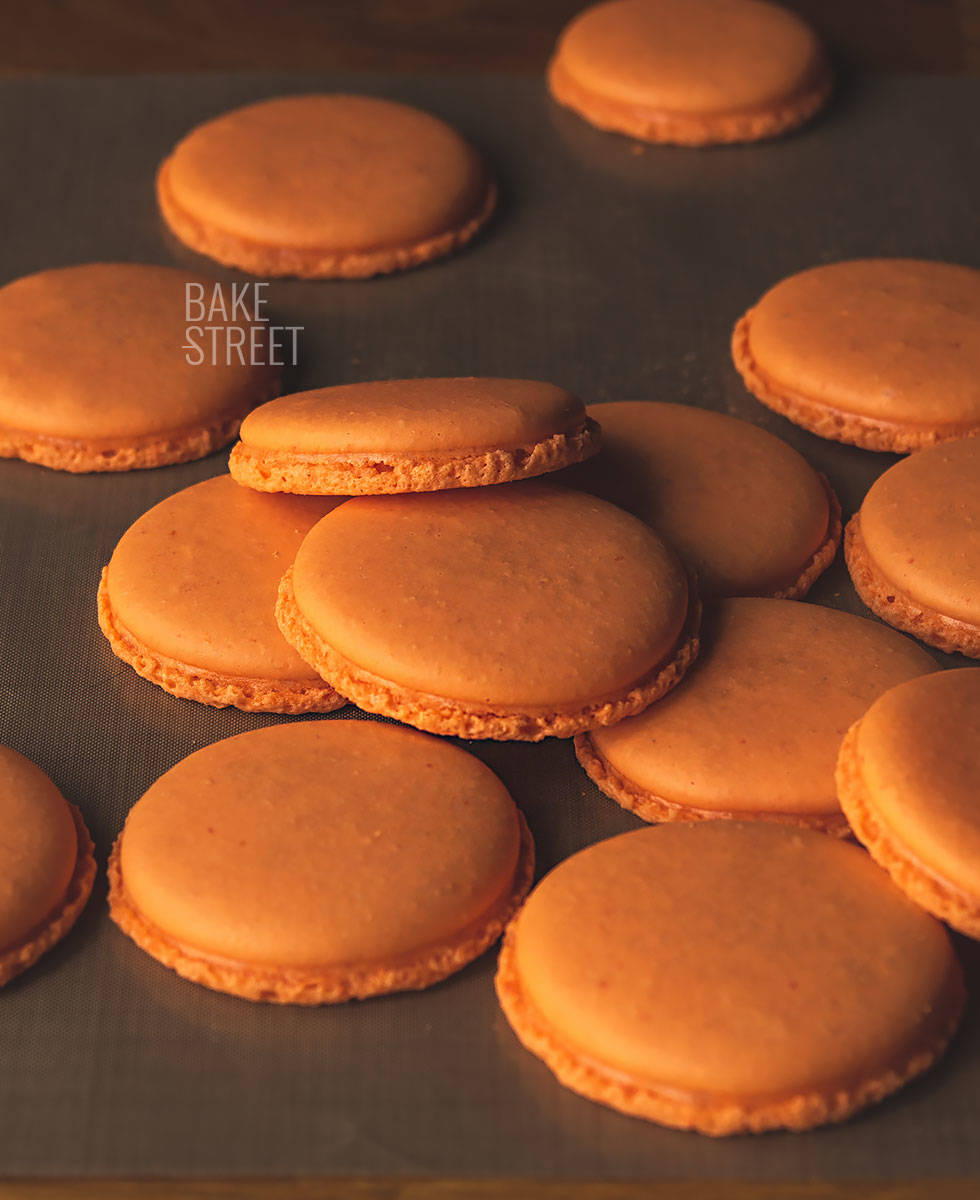
Points that we must respect:
- Use store-bought icing sugar, no homemade
- Process almond and icing sugar for a smoother finish
- Age egg whites help, but I tell you that I have done them without doing this step
- Make a good merengue, here there is no more option
- Find the exact point of macaronage, this is practice.
- Allow the macarons to dry to prevent them from exploding during baking
- Bake them correctly. Here the oven plays an important role, and also know it… Almost or more than your partner!
You see? It’s not that much either, hahaha.
Don’t get overwhelmed, when we read it it seems a lot, but when we do it it’s easier.
Yes I want to give you a recommendation for when you are ready to bake them. The tray on which we bake, influences. It depends on the material with which it is made, it is heated more or less and this is transferred to the macaron. I’ve tested my perforated Buyer tray and an Ikea tray… Everything I’ve done on the perforated tray is perfect!
For baking macarons I always prefer Teflon, it is a very clean material, which we can reuse many times and the finish is ideal.
My recommendation to start making macarons for the first time is to make white macarons. I always recommended this in my workshops. Why? Because the colorant can make us pass unnoticed a slight excess of heat from the oven. In the long run, we will leave macarons that lose color or are of a different shade.
When we make white macarons, we can appreciate that variable very well and see if it turns brown more at the base, the surface… And correct it.
Making macarons.
I’m going to recommend to you what I did with my students. Before you get ready to make macarons because you can get the emotion, read the recipe well. One, two, three or as many times as necessary. Watch the video, with each step, each movement… Because when you’re at doing them, you won’t have much margin to check whether you’re doing well or not.
Leave all the heavy and prepared ingredients before you start to make them. In addition to all the necessary material.
Make a brief sketch in a notebook with the steps you have to take at every moment. And, go over this post before you do the macaronage.
When you have the battere inside the piping bag, you will have done part of the work… Very big. But we still have work.
To pipe the macarons there is often a problem and it is the issue of sizes… It is complicated to make them all of the same and when we are going to join them… Surprise! Each one belongs to its father and mother. For that reason I am going to leave you some templates so that you can piping them with greater tranquillity. I leave you 4 different sizes plus another heart-shaped template 😉
I know the right way to pipe the macaron is pressed and finished with a beautiful twist from our hand that leaves a perfect finish on the macaron. To start, you just have to press with the straight piping bag to prevent them from coming out in a strange way, stop pressing when you want to finish and move to another circle to pipe again. If you do not stop pressing, you will get a thread of batter to one macaron to another … I’ve experienced this in many workshops, hahaha.
Eventually, you’ll get the best out of it.
After piping only have to let them dry before baking, the time can be between 20-60 min, depending on humidity. In the elaboration I explain to you in detail when they will be ready to bake.
Macarons template.
The templates have the old logo, because they are a few years old! In addition to the name of the workshop with which I named it.
- Macarons template 2,5 cm
- Macarons template 3,5 cm
- Macarons template 5 cm
- Macarons template 8 cm
- Macarons heart template
How will I know if my macaron is fully baked?
After hundreds of tests in which sometimes they were perfect, other slightly toasted or something raw, the best help to know that they are ready is to touch the top of a shell before taking them out of the oven. We open the door slightly and with the fingertip we make a soft movement on the shell, if this dance is still raw, if it is firm they are in their point.
About what minute should you begin to ” raise the macaron ” and foot formation?
If we have carried out the process of elaboration of the macaron in a correct way, it will begin to rise around 5-7 minutes. In the remaining minutes it will settle and finish its internal cooking.
Once half of the baking time has elapsed, you can open the door as many times as necessary without removing the tray from the oven, it will not affect them negatively unless you leave the door open for a few minutes.
Hermé recommends that you open the door a few seconds in the middle of baking to facilitate the steam exit and again 2 minutes before finishing. This last one you will fulfill without wanting only by the mere fact of checking how your macarons go.
Once they are completely cold, we proceed to refrigerate them in an airtight container until the next day. They can also be filled once they have cooled completely, if you wish.
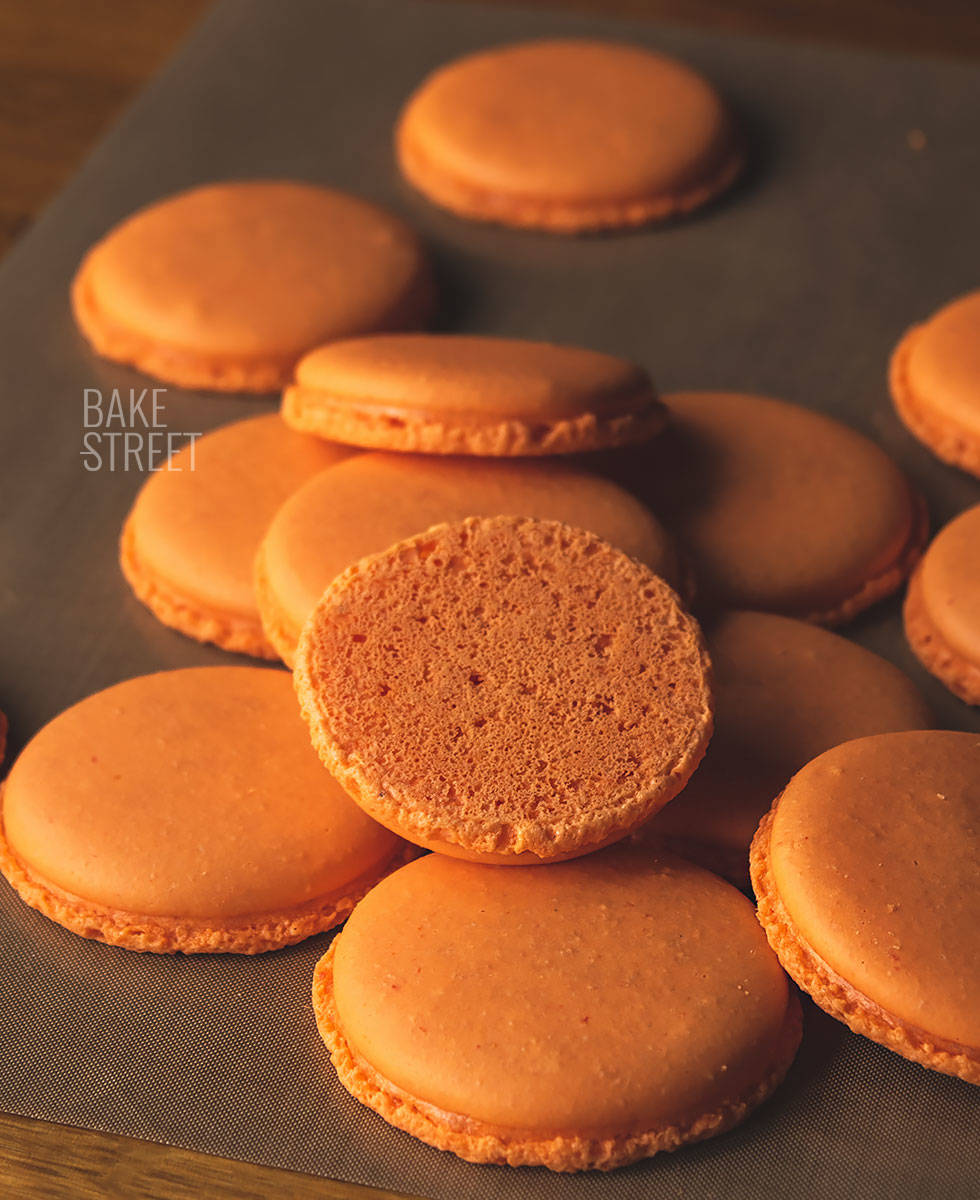
Macarons should be allowed to mature once they are filled.
To do this they must spend a minimum of 24 hours in the cold. I know, it’s a long time, but believe me if I tell you it’s worth it. The shell of the macaron acquires humidity, more flavor, better texture since it is crunchy on the outside and very tender on the inside…
When you begin to bake for the first time the macarons I recommend you to do it in batches of 4 in 4 shells.
The reason?
Learn to take the exact baking point to your oven without having to throw ingredients and hours of work in the kitchen. The same piping bag can be used to carry out several tests, this was the method I used to teach in my workshops. You can cut the macarons of the parchment, once dry, of 4 in 4 and bake them.
And always accompanied by your notebook noting how you preheat the oven, baking times, temperatures, sizes… All the notes you take will serve to improve the process of development to achieve perfect macarons.
Macarons preservation.
The best way to preserve our macarons will always be in an airtight container that we will place in the fridge.
As I have commented previously the macarons acquire their exact point of maturity to the 24-48 hours of being in the cold. This makes them take on a soft and tender texture, and enhances their flavour surprisingly. If we leave our macarons (shells) out of a recipient, they will dry out, totally losing the little humidity they may have and they will become very hard.
The fillings, of course, also influence how long we can keep our macarons. Normally they can be conserved without problems during a week if they are filled with ganache, curd, meringues…
On the other hand, if we use more humid fillings such as jams or reductions, these will last a little less time because the macaron will absorb that moisture and even if several days elapse can reach the surface of the shell.
A tip for their perfect preservation is to know when we are going to consume them and in this way to be able to fill them according to the time that should last us in well condition.
Ingredients
With this recipe we will get about 8-9 large macarons or 12-14 medium macarons
- 75 g ground almond
- 75 g icing sugar
- 28 g+28 g egg whites
- 19 g water
- 75 g sugar
- paste food coloring
- aroma or extract
Instructions
Make macarons.
- Weigh the ground almond together with the icing sugar. You can weigh it directly in the food processor if you wish.
- Blend both ingredients together. Our aim is to achieve a very fine texture of the almond together with the icing sugar. WARNING: When you process almonds, make them with intermittent touches, not too long. Otherwise the blades will be heated with friction and the almond will release oils that we are NOT interested in this process.
- Sift the mixture. It is not necessary to do it two or three times, with one we will be perfect.
- Weigh the egg whites and separate them into two equal parts of 28 g each.
- Mix one of them with the food coloring and the extract. The other we will pour it in a bowl to whip it and to elaborate an Italian merengue.
Make Italian meringue for macarons.
- In a saucepan pour the water together with the sugar and cook over medium heat without stirring. Leave until it reaches 118º C, for it we will help ourselves of a digital thermometer.
- While it reaches the wished temperature we begin to whip the egg whites (that we had reserved in a bowl previously) until we get soft peaks.
- Start with the lowest speed and gradually increase.
- We will never reach the maximum speed of the manual mixer, otherwise we will dry the egg whites. It is preferable to whip gradually rather than suddenly and with a high speed.
- Once the syrup reaches 118ºC, remove it from the heat and begin to incorporate it little by little and in a fine and continuous thread to the semi-mounted whites. While we do this, we will beat at the same time with the electric whisk or in the Kitchen Aid.
- Whip until obtaining a firm meringue, but without forming hard peaks. We don't want a firm and dry meringue, but one that falls on itself.
- A small tip to know the state of merengue is the use of a thermometer.
When we are whipping the meringue and we consider that it is ready, put the thermometer in it. If it marks between 50º-47ºC, it will be ready. WARNING: This information is for guidance only. If we take a long time to whip the egg whites and stop very often to check the temperature, it will fall before reaching the desired point and, therefore, this guideline is not worth us as a step to follow. - Add the un-whipped egg whites with the dissolved food coloring to the almond mixture. Do not mix or stir, and add the meringue as well.
Make macaronage.
- Make macaronage with gentle, enveloping movements. We have to integrate some ingredients with others without beating them, as we do not want the meringue to lose its firmness.
- Place silicone spatula underneath and towards the centre, we go up incorporating it into the centre again. We will make a few movements but not many! We must observe that texture takes our mixture once the ingredients are integrated.
- When we find ourselves doing the macaronage and want to know if our batter is ready, we will deep and remove the peak of the silicone spatula in the batter with a quick movement. If the peak falls and is incorporated practically whole, it should not be totally integrated, then we will have it ready.
- When you do this test you can hit the bowl against the table a couple of times after removing the spatula, so we will imitate the effect of gravity that will appear after piping the macaron in the tray.
Pipe.
- Once we have the batter ready, it is time to place our macarons on the baking tray (pipe). At the time of baking there are several options to place the macaron: we can do it on baking paper, Teflon or silpat.
- We can use a smooth tip or make a cut at the end of the piping bag. When you cut the piping bag to place the nozzle, make sure that the cut you make on the sleeve is far from the exit of the tip, otherwise you can deform the macarons when piping.
- To pipe the macarons we can make drawings on the baking paper or use templates. Remember that I attach 4 templates with different sizes: very small, small, medium and large. In this way it will be much easier to control its size without having to make circles in the paper oven.
- Place the templates under the baking paper and pipe.
- With the vertical piping bag, gently press and release before reaching the limit of the circle. They tend to grow a few millimeters after the piping because they expand slightly, so it is advisable not to reach the edge.
- Once we have all our macarons on the tray, tap a couple of times against a work surface to help settle them and expel possible air bubbles.

Drying process or croûtage.
- The drying time will be relative and will depend on various conditions, the place where we live, temperature, humidity ... It can range from 20-45 minutes as a normal average or even go a couple of hours in cold times.
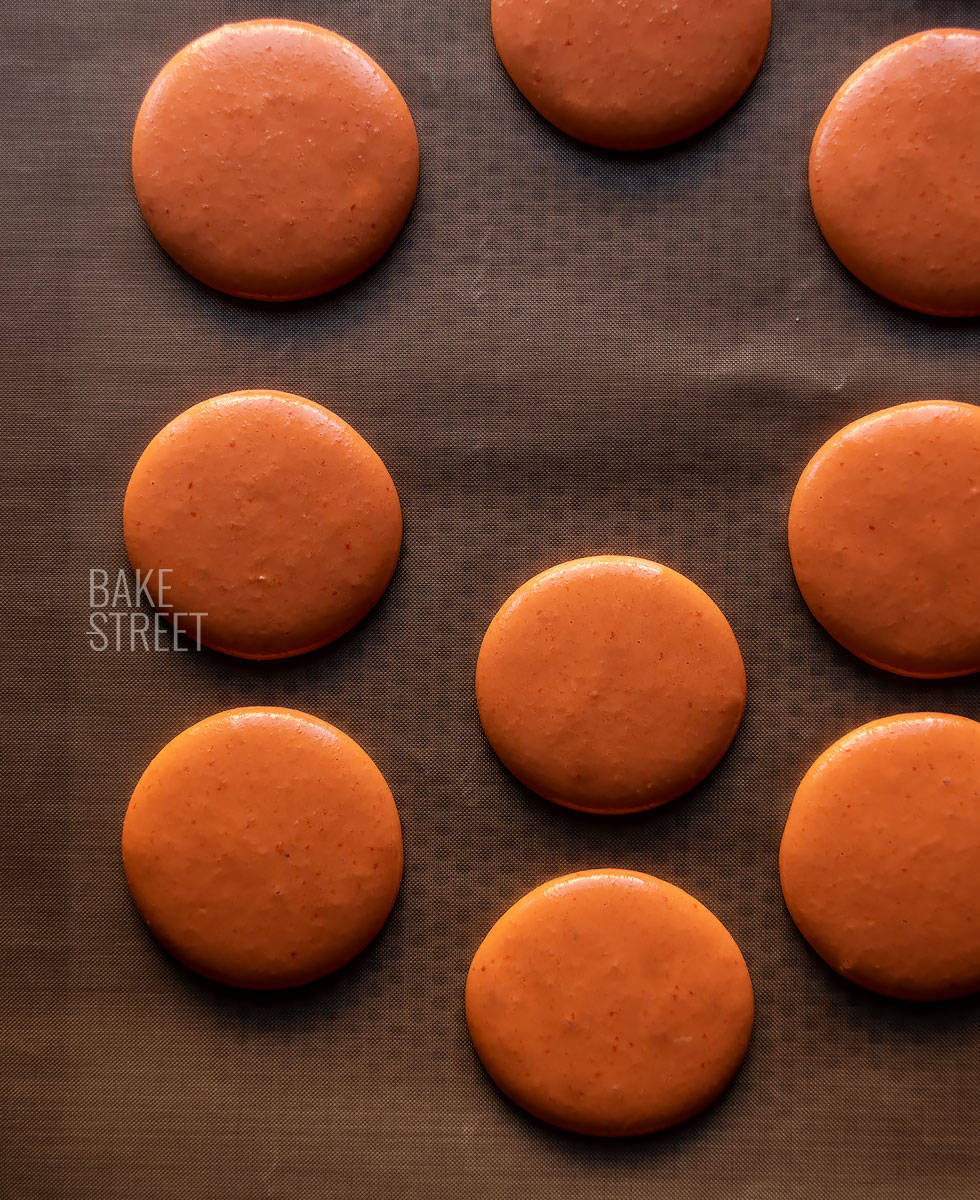
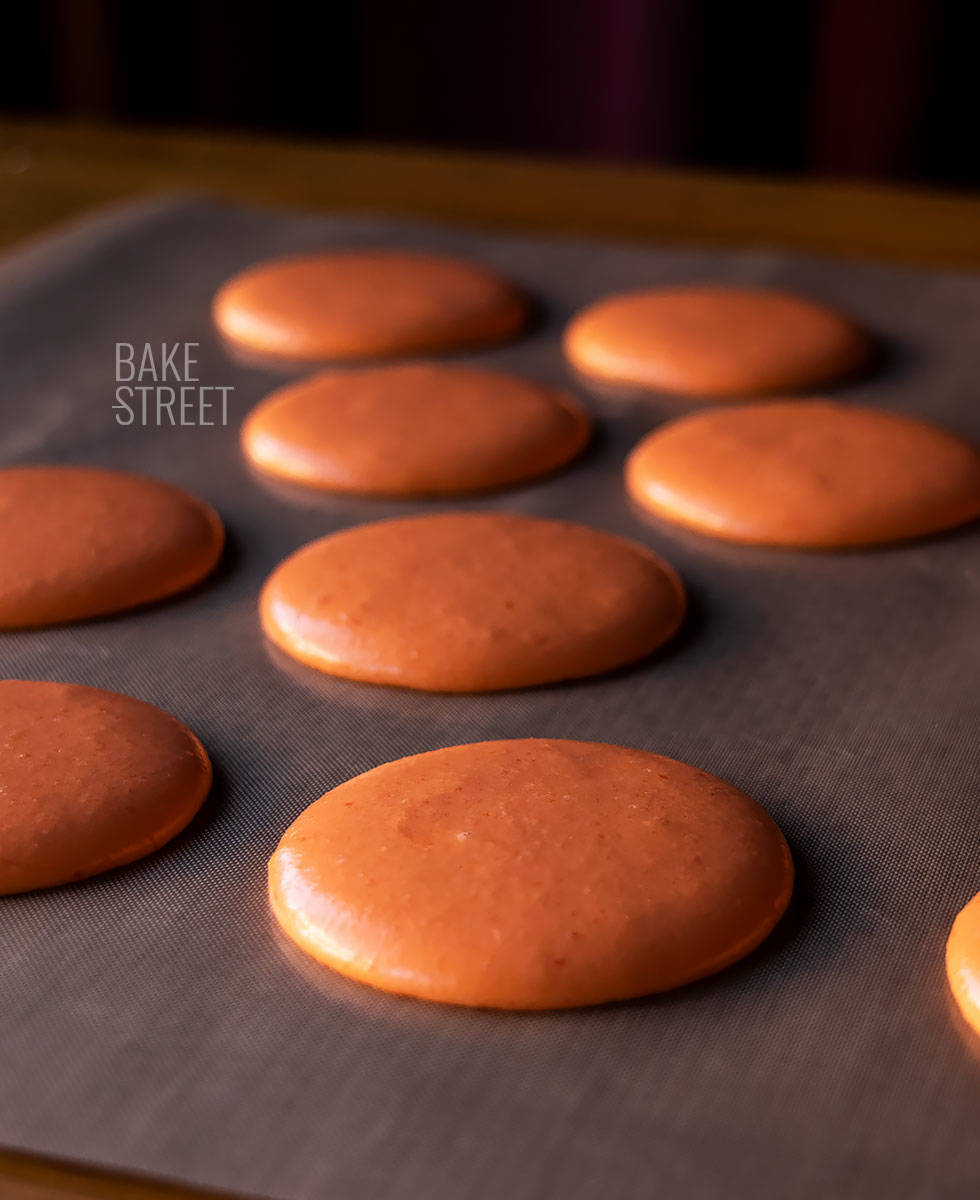
- In order to know when they are dry it will be enough to pass the fingertips over one of them, the batter will not stick to these. In addition we will notice that the surface will have taken a satin aspect.
- In order not to spoil our macarons the best thing will be to make a macaron in a side as a sample and it will serve us to know how the time of drying evolves.
Bake.
- Preheat the oven to 310ºF/155ºC. We must preheat a minimum of 10 minutes before baking, it must have the correct temperature when we place the macarons. It will be very useful to help us with an oven thermometer to know and know the interior temperature.
- Placee the macarons inside and lower the temperature to 300ºF/150ºC.
- Halfway through baking (depending on the size chosen, see NOTES) open the door for a few seconds to encourage the steam exit, close the door and finish cooking. In some cases we will have to gradually lower the heat and in others we can bake at 290ºF/145 ºC throughout the time without changing anything.
- Remove from the oven and transfer to a smooth surface or another cold oven tray (room temperature) on the parchment, teflon... and let it cool completely. Never place them on a rack. The reason is that they are still tender and the base could take the form of it.
- Once they have cooled, we will be able to separate them from the paper without problems. They will actually peel off on their own.
- Store in an airtight container until the next day. You can also fill them the same day if you wish, but remember that they must mature 24 hours in the fridge before consuming them.
Notes
- To make a correct syrup: When our thermometer reaches 239ºF/115ºC, we can lower a little heat intensity so that the temperature increase in the syrup is slower and favors the evaporation of water resulting in a correct syrup. We will leave until the syrup reaches 244ºF/118ºC.
- If you want to whip egg whites in the KA, you must use more egg whites than I leave you in the recipe. It's a very small quantity and the whisk will hardly be able to beat them.
- I know that when you're making merengue you'll think - shouldn't this be whipping until it's firm? No, it's not necessary. We run the risk of beating the egg whites and drying them out, a consequence that will bring us disastrous macarons. The egg whites will be whipped, with a lot of brightness and firmness but not too rigid. In fact, if we turn the bowl with the whipped meringue this will not fall. In my workshops I always did it so that they could see that it stayed inside without moving.
- How will I know when I've reached the perfect point of macaronage? This is probably the most delicate and important point of processing. We must achieve a homogeneous mixture, but with the ideal drop point so that it integrates again into the batter without leaving "peaks" on the shell of the macaron. You will have read in many places that the best option is to make a cut in the batter and count 20 seconds until what happens again or that it has to be similar to the fall of the "lava"... But of course, when we are at home making our macarons we think... - What speed do I count the seconds... does the lava fall like that? I think so... - I don't know about you, but I've never seen a volcano erupting up close and I've seen how lava flows to engrave it on my retina. So we find ourselves in the kitchen removing the batter, making it dizzy and asking the whole family for their opinion as to whether what we say is right. Of course, they will support us or tell us... - no, I think a little more...ays you've gone too far-. After many tests I realized that the best thing I could do to know which was the exact point at which to separate the piping bag after piping, the peak fell and was incorporated into the batter without leaving a trace, was simply imitate it. When we find ourselves doing the macaronage and want to know if our batter is ready, we will deep and remove the peak of the silicone spatula in the batter with a quick movement. If the peak falls and is incorporated practically whole, it should not be totally integrated, then we will have it ready. When you do this test you can hit the bowl against the table a couple of times after removing the spatula, so we will imitate the effect of gravity that will appear after piping the macaron in the tray. Don't forget that when you put the batter in the piping bage and pipe it, it liquefies a little more.
- Another feature that tells us that macarons will turn out well is a brightness on the surface of the shell, it creates a kind of glossy film (this you will notice after making many macarons).

- It is very important to know 100% how it works our oven, this is fundamental, otherwise we can have very unpleasant surprises. The time of baking and temperature that I leave you is indicative. In my case it works perfectly, but I've had to make countless macarons to find the exact point. These guidelines will serve to guide us approximately, but they can always vary a little depending on the oven. It is very important to carry out tests. The baking time will depend on the size of our macarons:
- For very small macarons we will bake for 8-9 minutes
- For small macarons we will bake for 10-12 minutes
- For medium macarons we will bake between 13-15 minutes
- For large macarons we will bake between 18-20 minutes
- When the base of a macaron begins to overcook, in addition to being visible to the naked eye, we will perceive a characteristic burnt smell. You will know this well to those who have happened to you. You will also see a darker shade at the base of the macaron.
And with this post, we continue the second part to know how to make perfect macarons. I know that today's post is much longer and contains too much information... Read it as many times as necessary, take notes and prepare everything before you are ready to elaborate them.
And patience! Rome was not built in a day. Don't despair, I know that these little demons can drive us crazy on more than one occasion. But when we are enjoying them... That's priceless! In a short time I will leave you another post to continue these two that I have left you.
I wish you a wonderful weekend!
Big hugs,
Eva
