How to make homemade Pastrami
Believe it or not, I’ve never tried Pastrami before. Yes, I know it’s going to seem crazy to you….
If you like gastronomy very much, how come you haven’t tasted this delicacy? I couldn’t tell you. Maybe it’s the large amount of food available that makes me late to try some of them, that I find unattractive at first… The thing is, I’ve discovered a delicacy I’m never going to part with, ever. Today I’ll show you how to make homemade Pastrami.
For those of you who don’t have a close knowledge of this product, I will tell you a little about it and its production process.
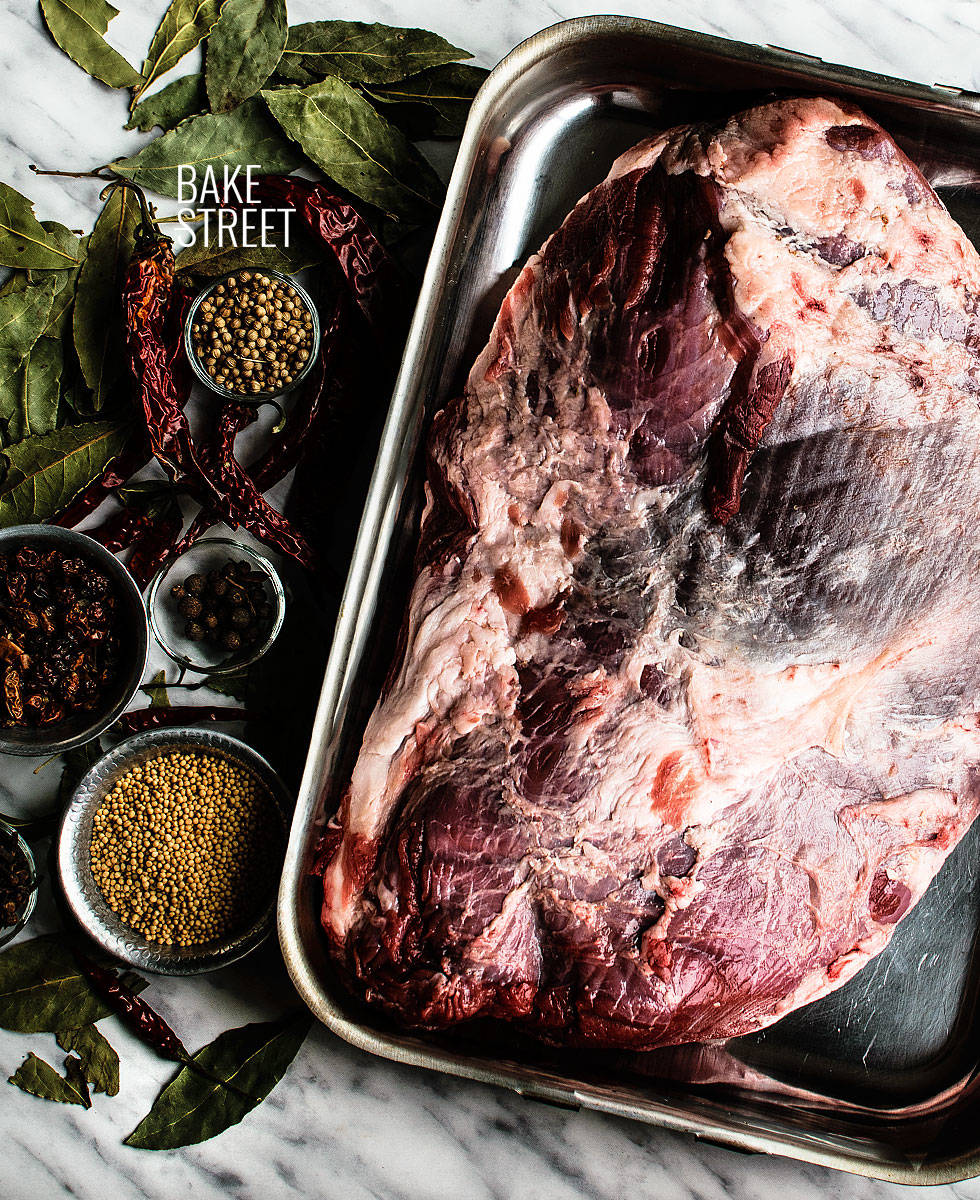
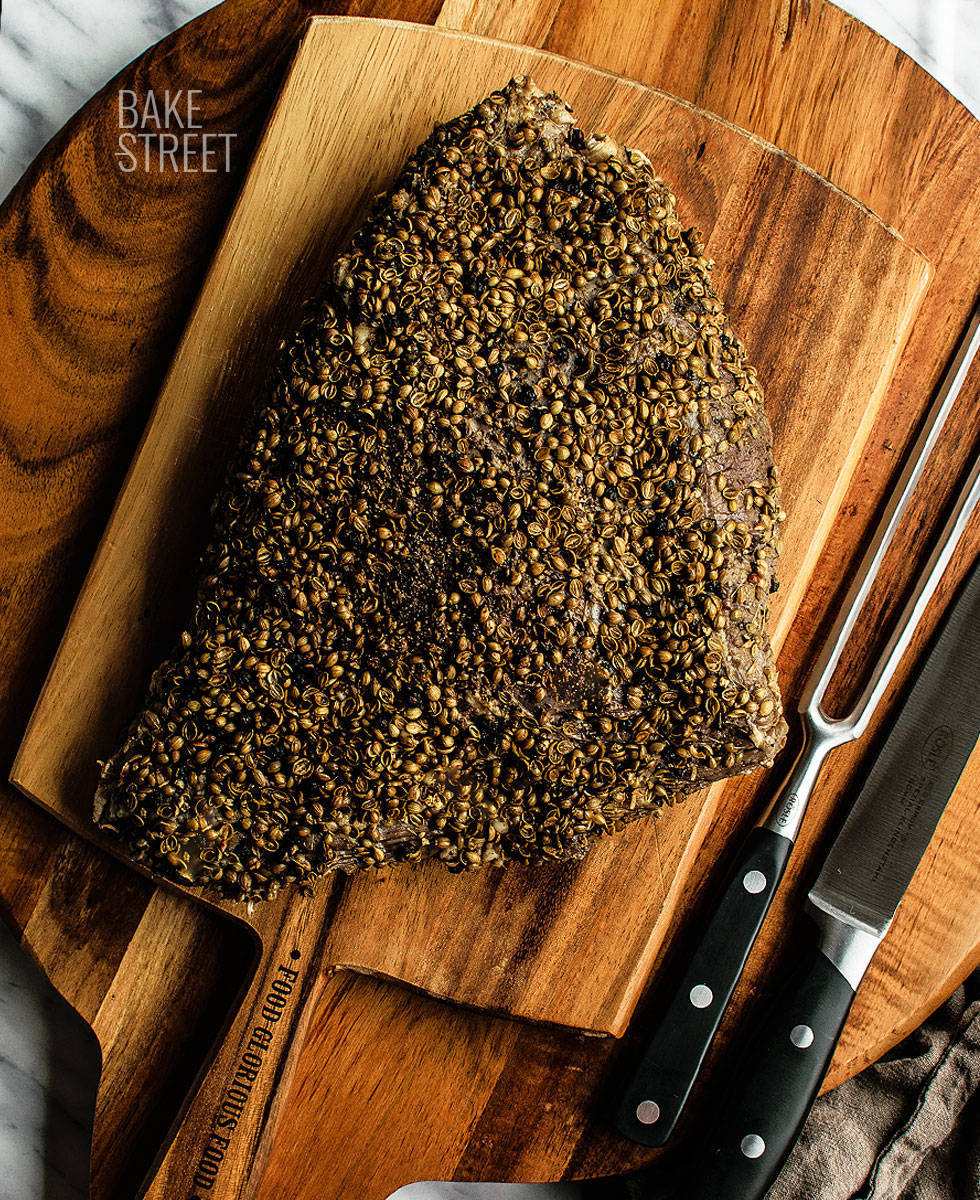
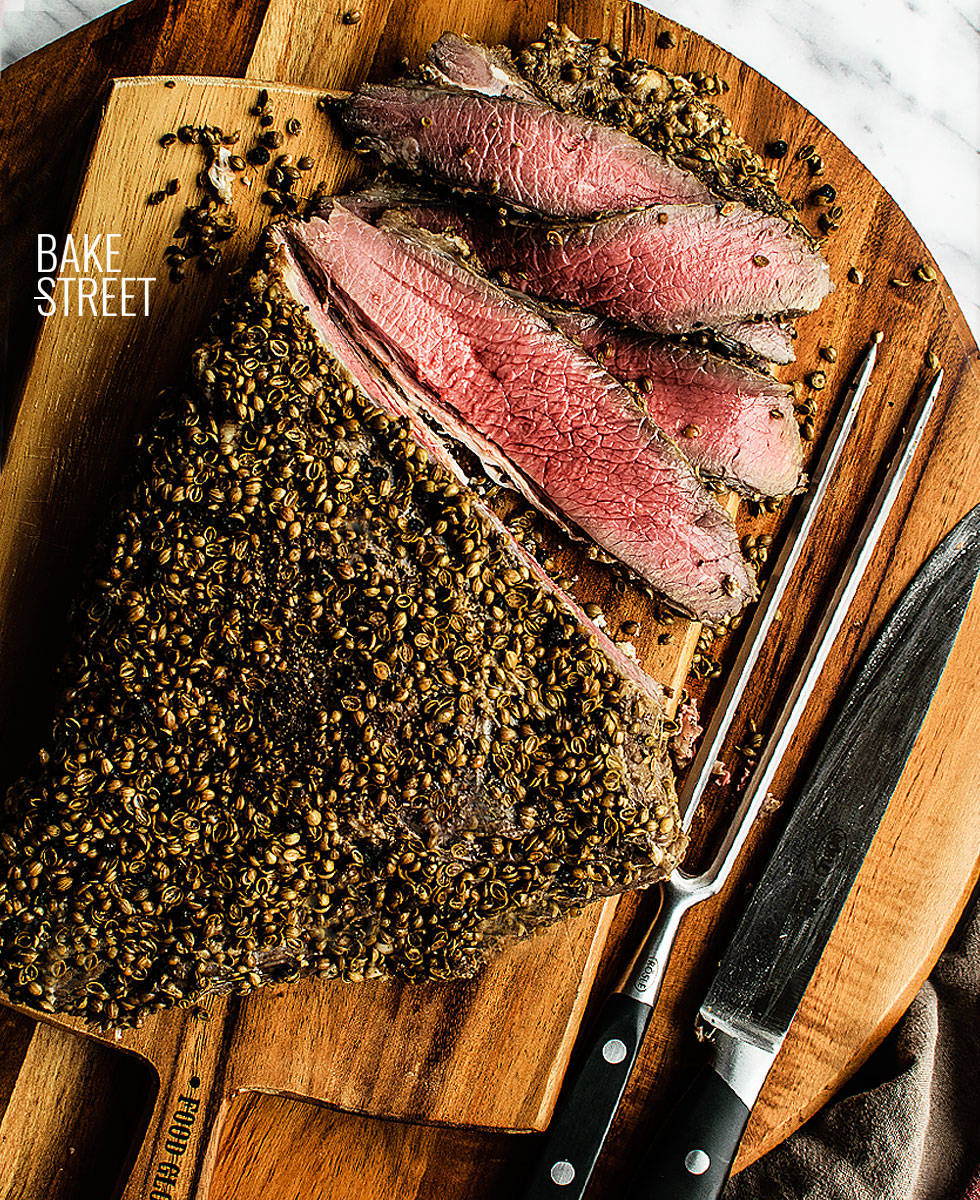
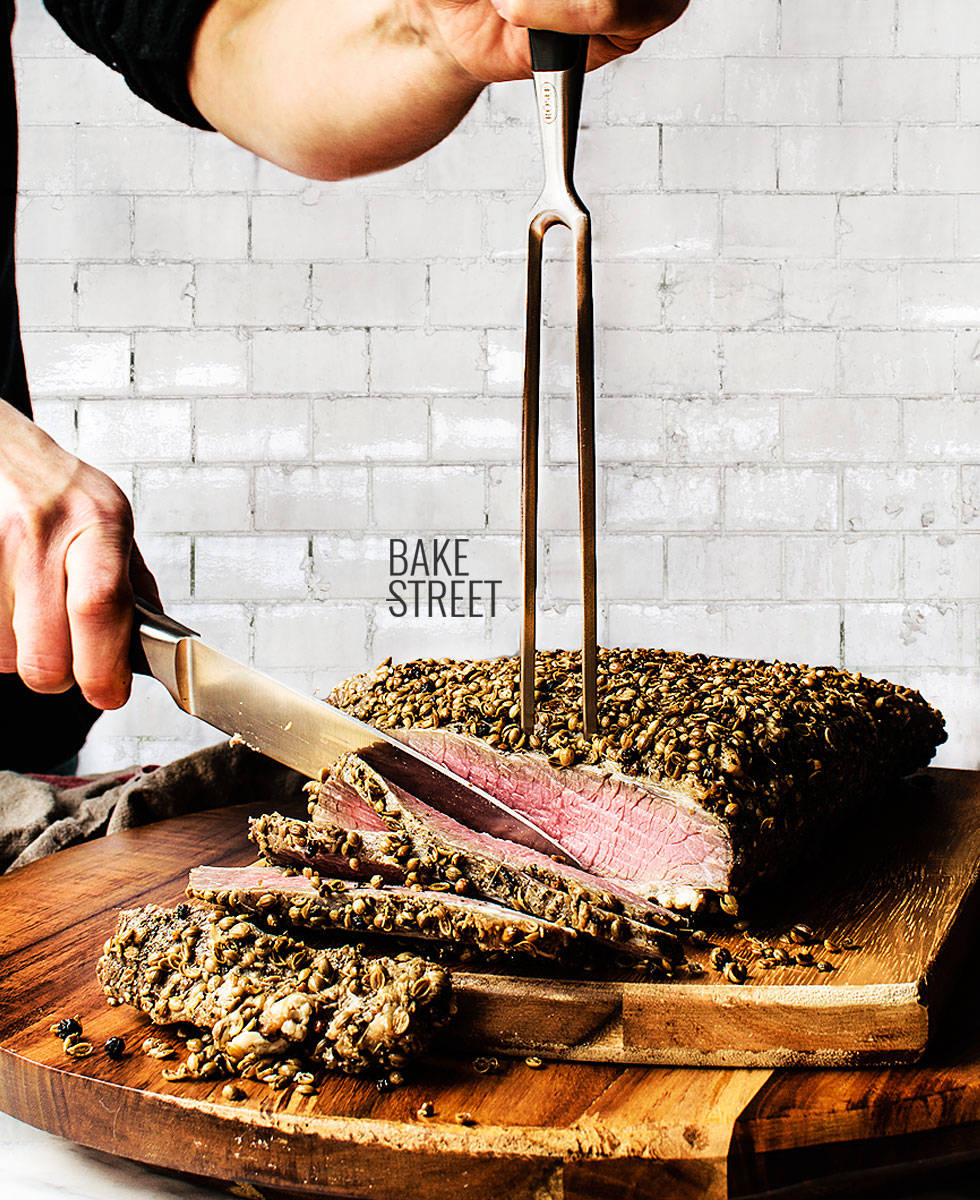
Acacia wood board and Rösle knife and fork from Claudia & Julia
What is Pastrami?
Pastrami is a product made from red meat (usually veal) that undergoes a brine process (water with a salt concentration of more than 5%).
Its name may come etymologically from the Romanian word for “pastra” which means to maintain and/or conserve. It is believed to have originated from Jewish immigration from Bessarabia (Russian Empire) in the second half of the 19th century to the United States. Today it is cooked with Pastrami in Moldova and can be said to be a clear hallmark of the local Jewish cuisine.
To do this, a piece of meat is taken, usually brisket, washed with cold water to bleed out (although this step can be omitted) and immersed in a spicy brine for about 6 days. In some cases the time is even extended to 15 days. It is then dried, covered with spices and smoked. Finally, it is steamed, always controlling the temperature to obtain a perfect cooking point of the meat with a juicy result.
What should we consider when making homemade Pastrami?
The first thing to keep in mind is that we are going to work with a piece of raw meat and, for the same reason, we must take extreme care of the process in terms of hygiene and steps to follow.
We must wash our hands thoroughly every time we go to work and/or handle the piece of meat. I would also recommend that you wear gloves at all times. Like the containers in which the meat is left in brine, they must be clean and made of glass or other supporting material and prepared for this use. In my case I have used large glass containers.
When we subject a meat to a curing process, whether wet or dry, we run the risk of the botulism bacteria developing. Do not be afraid, because there are products that prevent this from happening. That’s why it’s important that you read the whole process well before you get ready to prepare it.
What is botulism?
It is a toxin produced by Clostridium botulinum bacteria found in contaminated areas such as untreated soil or water.
It is an anaerobic bacterium (capable of surviving or developing in an oxygen-free environment) whose spores are capable of living in contaminated food or subjected to inadequate processing and/or storage processes. To develop, it needs low acid or alkaline media with pH values above 4.5.
How do we prevent this bacteria from developing in our Pastrami?
The use of common salt and spices act as potent bactericides, but if the curing process is to be longer than two days, we must make use of Prague powder or curing salt.
We can find it in the two formats mentioned above and we must differentiate them when using them because they are not the same.
Nitro salt and Prague powder.
Curing salt, nitro salt or potassium nitrate is a chemical compound that prevents the development of this bacteria in the curing process of meats, sausages and fish. In addition to providing that pinkish tonality to meats; Pastrami, Serrano ham, chorizo…. It gives a strong and spicy flavor by binding to the iron atoms of myoglobin, forming nitric oxide responsible for delaying the development of rancid flavors in fat.
It occurs naturally in nature, but has been carried out industrially to ensure food preservation. In fact you can find it on the labels of many products under the name E252.
The Prague powder has the same characteristics as the curing salt, but with the difference that this is a mixture of common salt with nitro salt we will find it with a pink tone, so the amount of the latter ingredient is reduced compared to pure nitro salt. This pinkish color is given so as not to confuse it with common salt.
That’s why in some recipes you will find that they use more if they use Prague powder or if they use nitro salt.
You must be careful and know which element you are working with since pure nitrous salt is nitrate and this compound, at a higher dose than recommended, is toxic and lethal to humans.
You should not be afraid to read all this, if we follow the steps well, there is no risk of intoxication. But I do want to emphasise each of the ingredients so that you do not run any risk to your health, as there are many recipes in which the amounts are wrong and therefore harmful to us.
How much nitro salt should I use?
In my case I have used nitro salt or pure potassium nitrate. That is, the chemical compound that mixes with the Prague powder. The reason for using this ingredient is, that in Spain, I have not been able to buy the other ingredient. I imagine it may be because it is not widely used in our homes.
The amount I have added is very small for that reason, only 0.4 g. This amount is not random, in my case the manufacturer of the product I used specified that I should use 0.15 g nitro salt/kilo of meat. The nitro salt should be mixed with common salt by 1% and, depending on what we are going to do, in no case exceed 2%.
Of course, in your case, always follow the specifications of the product you use and determine the manufacturer.
Carrying out our Pastrami.
After all the talk I have given you before, but which I consider to be of the utmost importance, we will continue with the process of our Pastrami.
This meat, besides being subjected to brine to cure it, must be flavored with spices. It is very important to achieve a super aromatic environment that penetrates into the meat that we will cook later.
After removing it from the brine, we will desalinate it under cold water, dry it very well and cover it with spices and a little mustard (the use of this is optional, but recommended).
To cook it it is very important that you follow the steps I specify in the process as well as the temperatures that I detail you. If there is anything complicated when it comes to cooking meat, it is to find the exact cooking point. You will see that I have not smoked the meat, believe me that I would have loved it, but the homemade methods I have seen to make at home did not convince me. If one day I can do it in a BBQ with good results, I will let you know.
First we will cook the meat on a grill, this way we will expel some liquid and we will achieve that the spices are finished toasting to become more aromatic. Then we will wrap it in aluminum foil to finish cooking.
Let stand and cool before consuming. At this point we can do two things, cut it or steam it until it reaches 194ºF/90ºC inside. Highly recommended if you want to achieve a juicy and tender meat.
I know it’s a long and laborious process, but it’s certainly worth it considering the price you have in store (42€/kg) and the price we’ll get for 2 1/2 kg of homemade Pastrami (the piece cost me 19€).
And since it’s the weekend, there’s nothing better than starting it off with a little music. Today I leave you with this song by Republica – “Ready to go”. The video is terrible (I link you to Youtube for those of you who don’t have Spotify), in fact I don’t think it’s suitable for anyone who might have epilepsy… But the song is fantastic 😉
Ingredients
I have followed the recipe and process and elaboration, with some adaptation, from The sauce at BBQ
- 88 oz (2 y 1/2 kg) beef brisket without removing the external fat
FOR THE BRINE:
- 132,2 oz/ 1 gallon (3,750 g) water
- 7,05 oz (200 g) salt
- 0,014 oz (0,4 g) curing salt (nitro salt)
- 4,25 oz (120 g) sugar
- 1,75 oz (50 g) light muscovado sugar
- 10 garlic cloves
- 1 Tbsp cilantro seeds
- 1 Tbsp black peppercorns
- 2 chopped bay leaves
- 1 Tbsp yellow mustard seed
- 3 Cobán chiles, smashed
- 1 Tbsp allspice seeds
- 1 Tbsp cloves
- 1 crushed cinnamon stick
- 1 tsp ginger powder
- 1 tsp mace powder (optional)
FOR RUB:
- 4 Tbsp good quality mustard sauce
- 3 Tbsp black peppercorns, toasted and ground
- 3 Tbsp cilantro seeds, toasted and ground
Instructions
Prepare the spices.
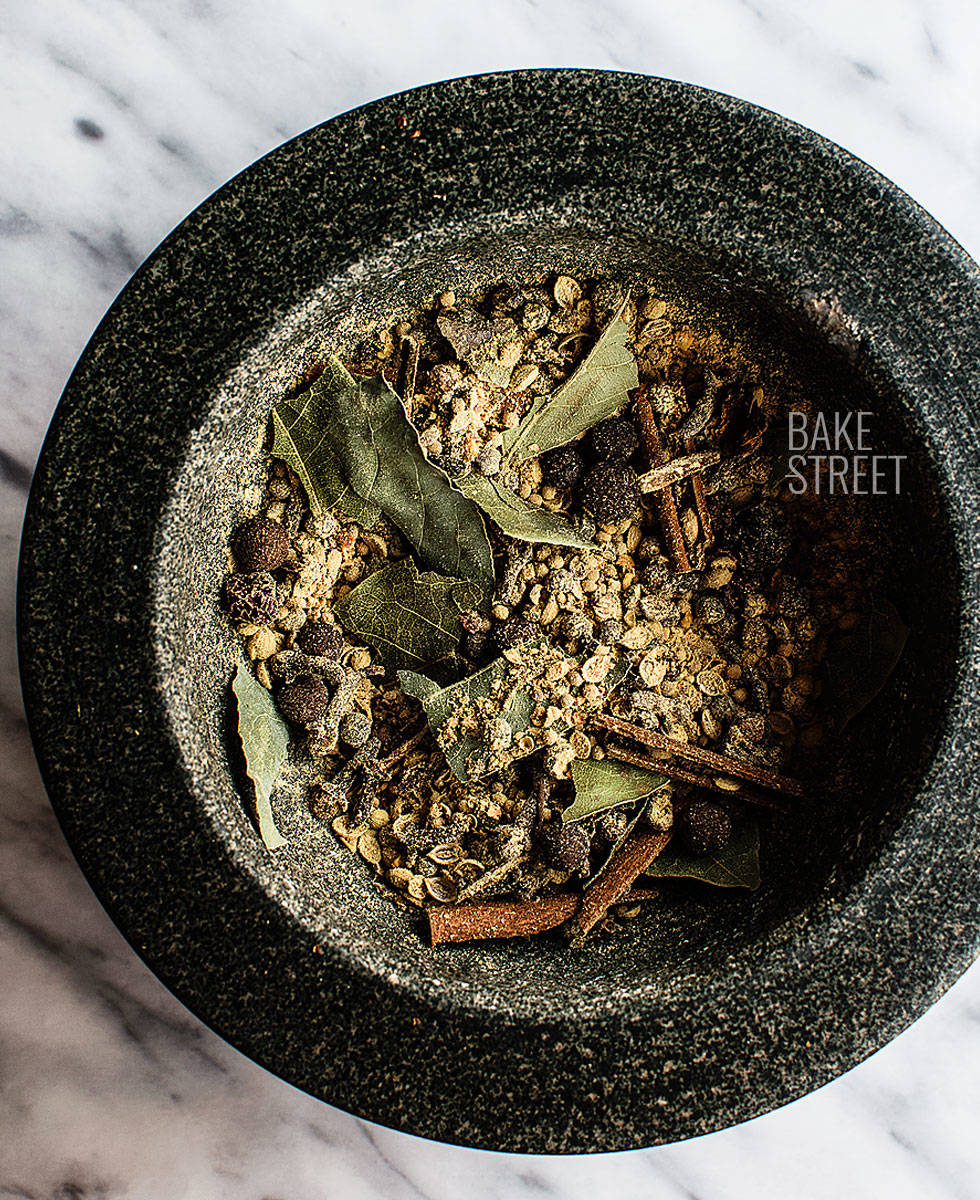
- In a medium saucepan, add the cilantro seeds along with the black peppercorn and mustard.
- Place on medium heat and leave until it begins to brown slightly and gives off a fragrant smell.
- Remove from heat and place in a mortar.
- Mash gently, we do not want to crush the spices but crack them so that they add more aroma to the brine.
- Add the remaining spices to the mortar and mix.
- Set aside.

Make the brine.
- Mix the salt together with the curing salt. Set aside.
- In a very large pot pour the water together with the salt mixture, the two types of sugar, the crushed garlic and all the spices.
- Leave at medium heat until it comes to a boil, stir occasionally.
- Once it comes to the boil, leave for 1 minute and remove from heat.
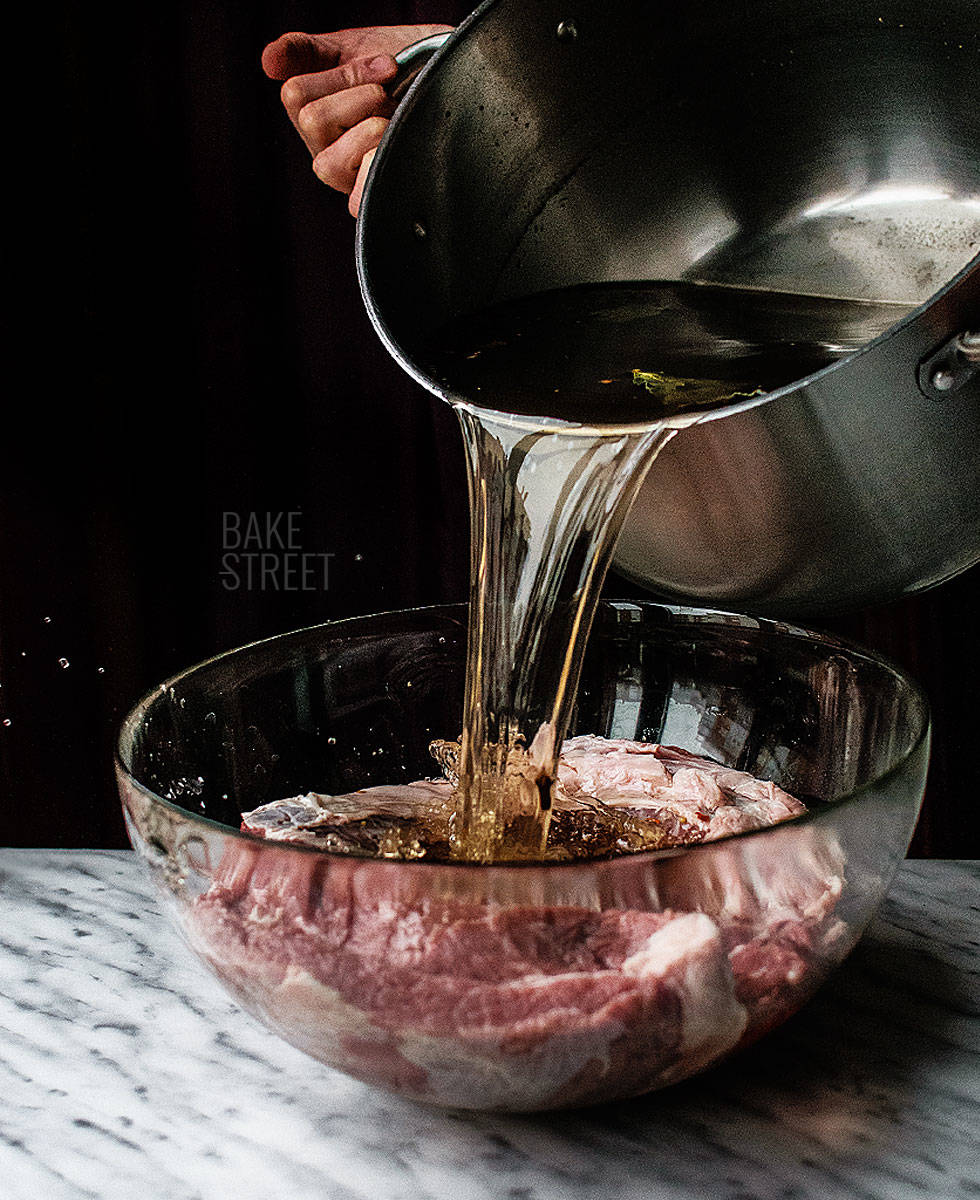
- Let the brine cool completely.
Add the meat to the brine.
- We wash our hands very well with soap, dry ourselves and put on some gloves (in my case I used vinyl) and wash the meat with very cold water.
- Place in a large bowl and pour the brine over it.

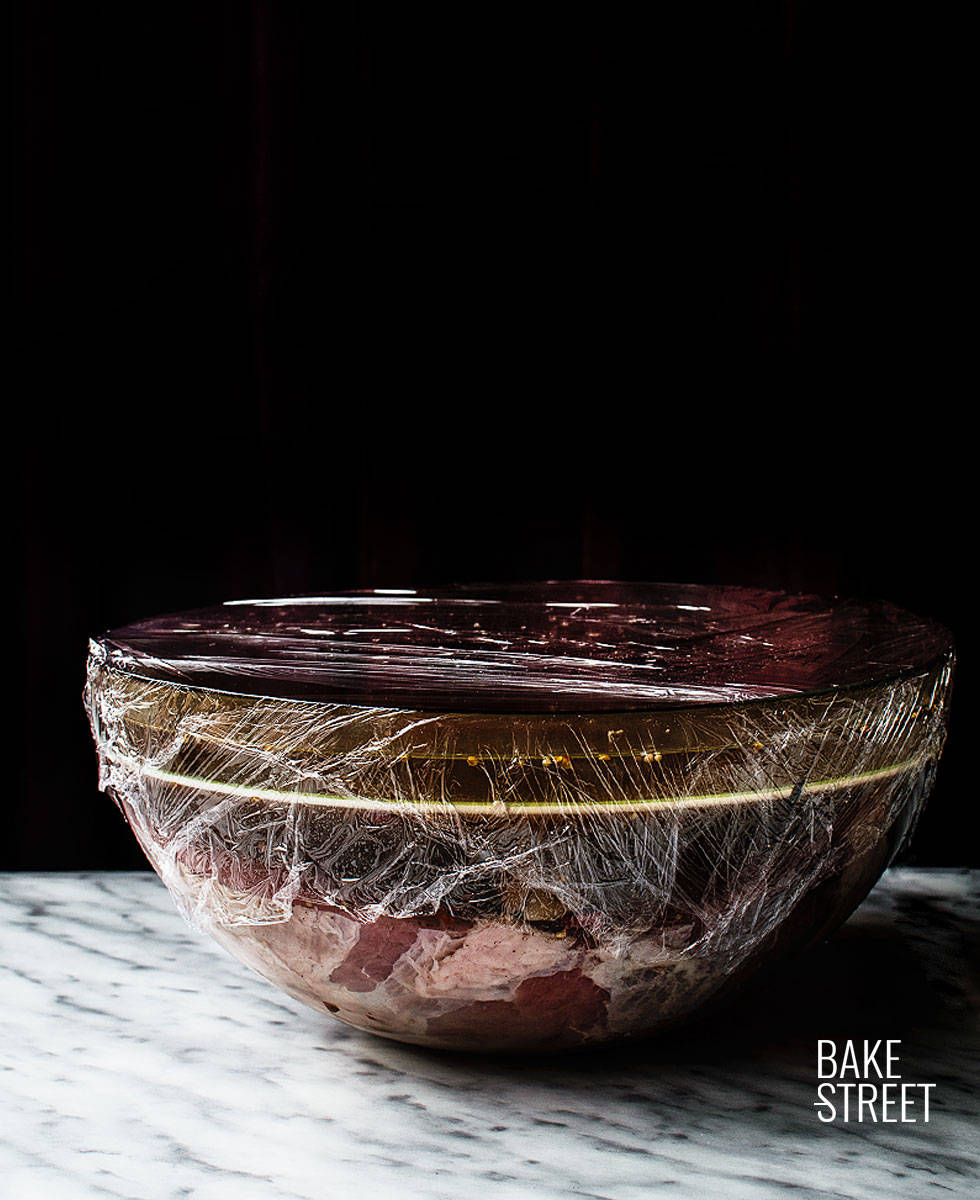
- To ensure that the meat does not float, we will place a flat plate over it. The base of the plate is the one that we will place on the meat to guarantee that no air bubbles are formed.
- Cover very well with film the container, I recommend to put 2-3 layers, and keep in the refrigerator.
- Leave the meat in the brine for 6 days.

What should we do during these 6 days?
- Every day we must turn the meat over and stir the brine so that all the ingredients do not settle on the bottom.
- Very importantly, every time we set out to turn the meat and move the brine we must wash our hands thoroughly. In addition to wearing new gloves every time we do this step.
- Turn the meat over, move the brine well, replace the dish, cover with film and refrigerate until the next day.
After 6 days....
- Once the time of rest has passed, we will remove the meat from the brine. Remember to always handle meat with gloves.
- Wash under cold running water to remove excess salt. The meat will have a muted color due to the curing of the salt, this is completely normal.
- Place the meat on a rack to allow it to drain and dry well with kitchen paper.
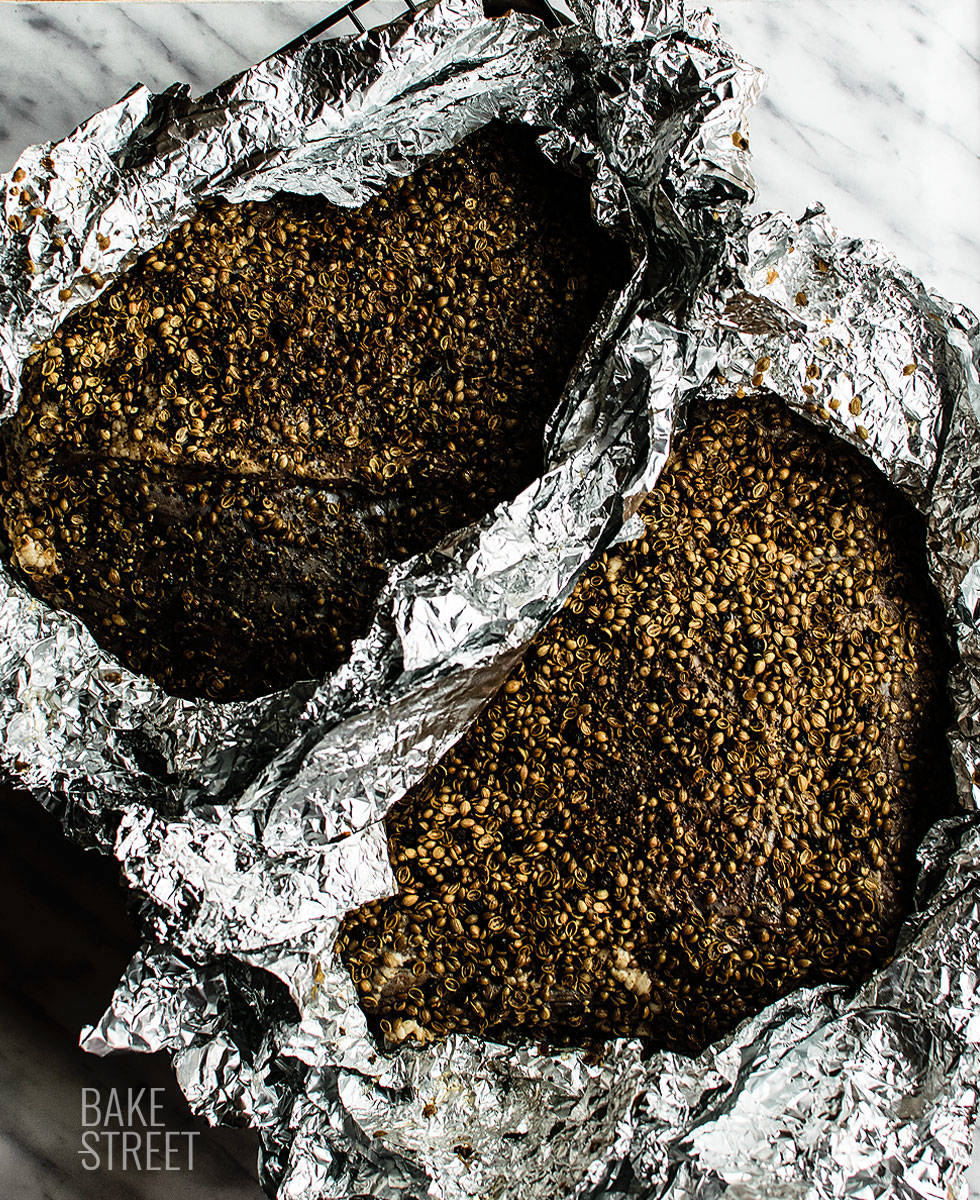
- Spread two tablespoons of mustard (approximately) over the entire surface on one side and cover with the ground pepper and cilantro.
- Repeat the process with the other side of the meat. Don't forget to cover the sides too.
- Let stand at room temperature for 2 hours.
Bake.
- Preheat oven to 230ºF (110ºC).
- Line a tray with aluminium foil and placed it under the rack. This one must be medium height.
- Put the meat in the oven, place it on the rack at medium height and cook for 1 hour.
- After this time, remove the meat from the oven and wrap it very well in aluminium foil. We will use 3 sheets to wrap it and we will try to make it very tight.
- Put it back in the oven, this time placed on a tray, and bake for 2 1/2 to 3 hours at the same temperature. Our meat must reach an internal temperature of 160ºF (70ºC) inside it, pricking the central part of the piece.
- Remove from the oven, prick the base of the foil, place it on a heavy rack and let it cool completely.
Once it has cooled, refrigerate with the foil until the next day.
Ready to enjoy our wonderful homemade Pastrami.
- We can consume the Pastrami directly cut, thin or thick at our choice, directly from the piece or cook it with steam to make it juicy.
- Preheat oven to 230ºF (110ºC).
- Place a deep tray in the oven and place a rack with a sheet of aluminium foil on it. Pour 4 cups of boiling water and place the Pastrami on the rack.
- Cover the whole tray with aluminium foil with pastrami, so that we seal all the holes and cook until it reaches the interior temperature of 194ºF (90ºC). The tray can never run out of boiling water, if necessary, we will add more.
- Remove, let stand 30 minutes and enjoy.

Notes
- The best meat to make Pastrami is the beef brisket. It can also be done with veal flank from the top, but it looks better with the piece I recommend.
- When you buy the meat, ask your butcher not to remove the fat from the piece.
- If you buy the same quantity as me, you will have to divide the piece in two equal parts to carry out the brine process if you have not enough space in your fridge. Mainly because I didn't have a container big enough to store it in the fridge. I used two very large glass bowls and divided the brine, cooled and beaten so that it does not sit on the bottom of the two containers.
- You can divide the recipe in half without any problems. In my case I decided to do this amount for the work involved and enjoy it more!
- The meat must always be covered with brine, and there must be no meat in contact with the air or floating.
- Remember to turn the meat over every day, as well as remove the brine.
- Always wear gloves when handling meat and wash your hands thoroughly.
- If you are very afraid to do the brine process, you can always buy Corned Beef which is brined veal, this will make you omit the first part of the process.
- You can also make a brine process of 24-48 hours maximum and omit the use of nitro salt. The taste will not be the same, but with good results too.
- Respect the cooking temperatures and control them with a digital thermometer.
- Once the Pastrami is ready, it can be refrigerated for 3 days or frozen for up to 6 months.
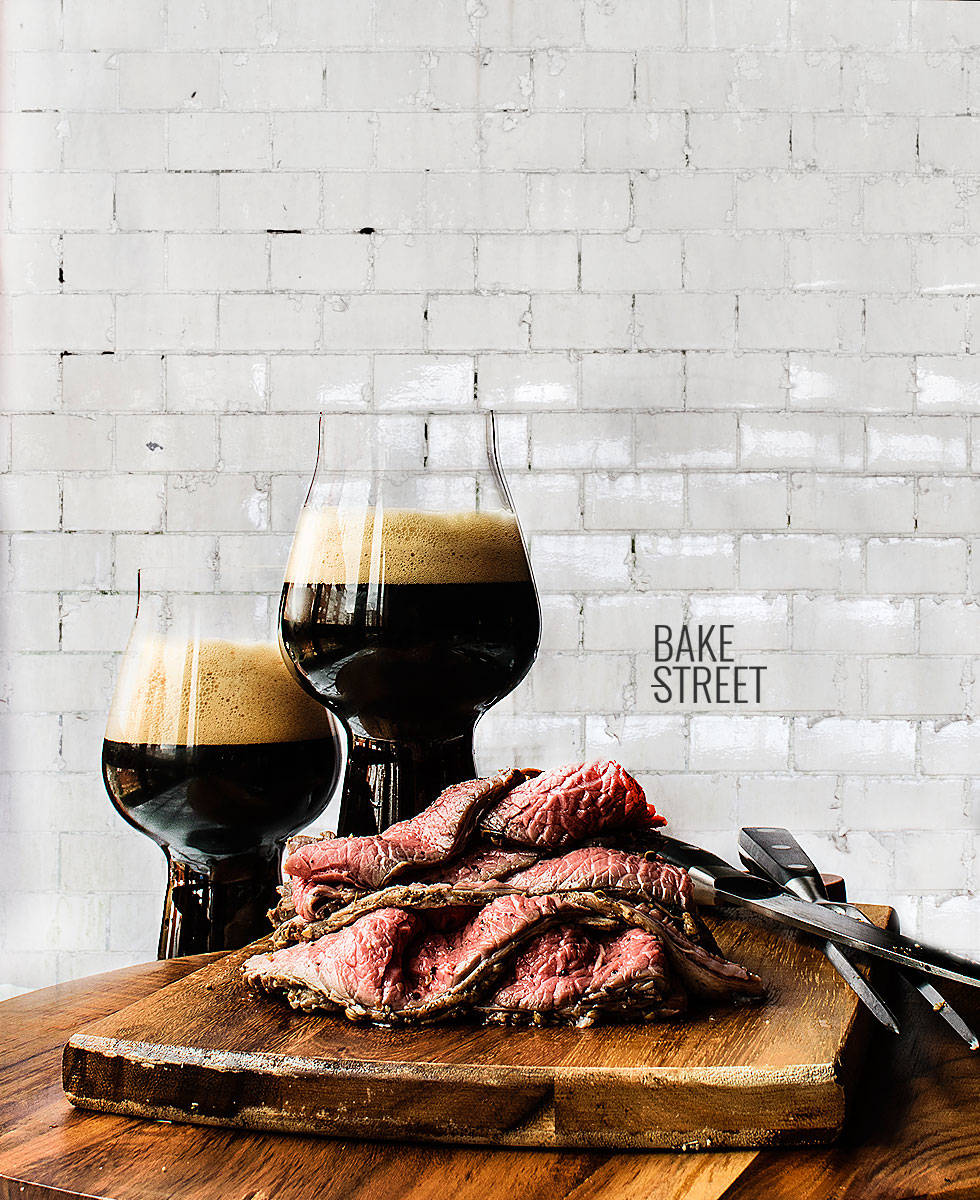
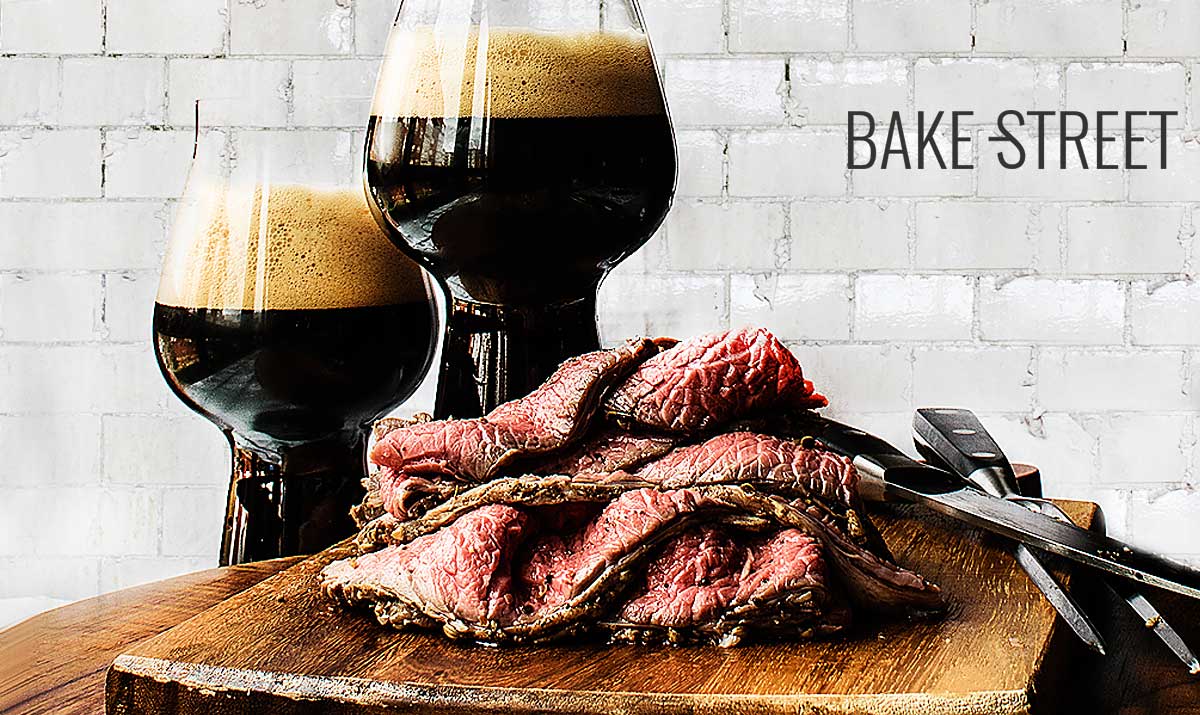
Beer glasses Luigi Bormioli from Claudia & Julia

I hope you'll encourage yourself to make homemade Pastrami. As I was saying, for me it has become a must! It is absolutely delicious cut into very thin slices or something thicker, as my partner likes them.
You can make a lot of incredible sandwiches or you can eat them just like that. Its aromatic, spicy flavor.... along with that tenderness and juiciness has captivated us forever.
I am looking forward to seeing yours!
Big hugs,
Eva
